

DIY: HID Retrofit in an EK


Thread Starter
Black magic
Joined: Jan 2007
Posts: 68
Likes: 0
 DIY: HID Retrofit in an EK
Hello all,
I decided to do a HID retrofit because besides the cool look I also do a lot of backroad driving and I hate my shitty aftermarket headlights. I had bought them because I wanted projectors (stock output blows). The output on those headlights were OK, but the housing was way too flashy. Anyways, hope you guys find this helpful.
What you'll need:
- D2S bulbs
- D2S projectors (I used a pair from a TL)
- Wiring harness
- ZKW lens or replica clear lens (optional)
- Shrouds (or you can make your own)
- Ballasts (I used a pair from a TL)
- LED rings (optional)
- Flat head and philips screwdrivers and 10mm socket wrench
- Primer and paint (optional)
- Adhesive/glue
- About 7 hours
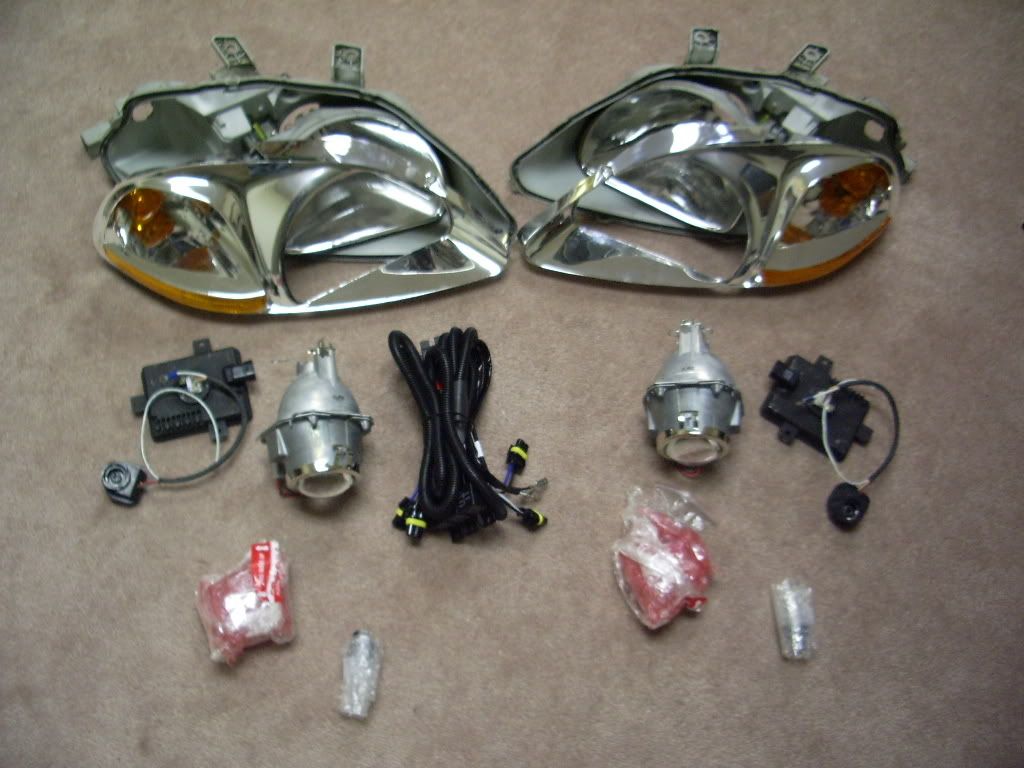
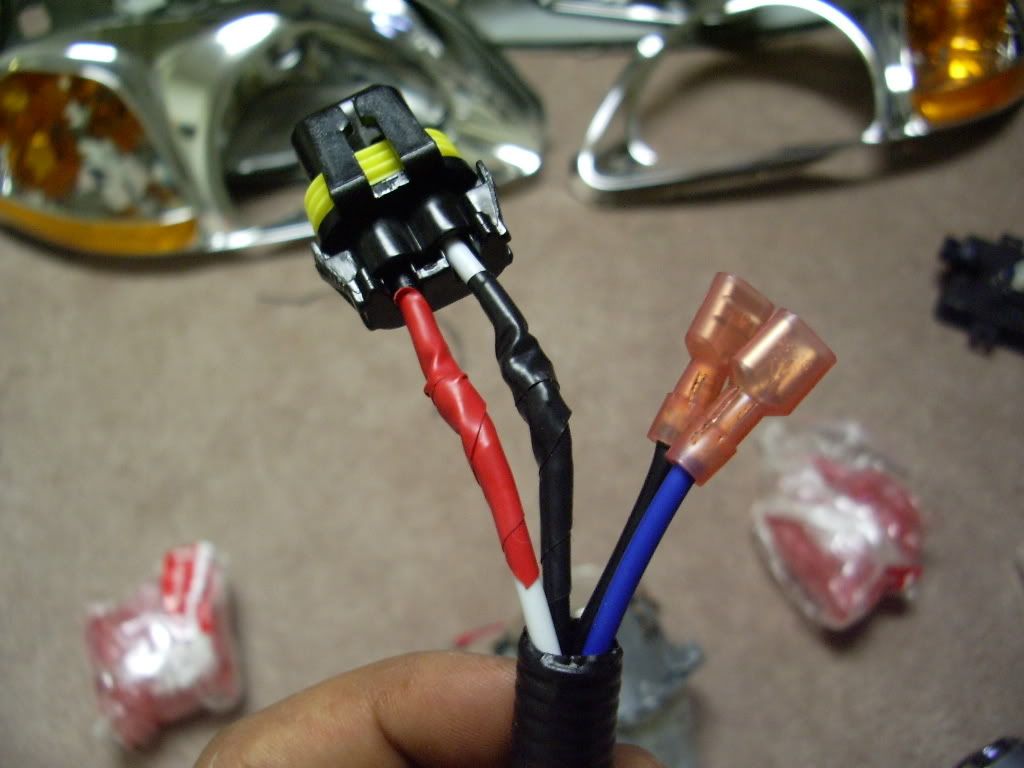
1) I had to start off with some splicing so my TL projectors can plug into the ballasts without any trouble.
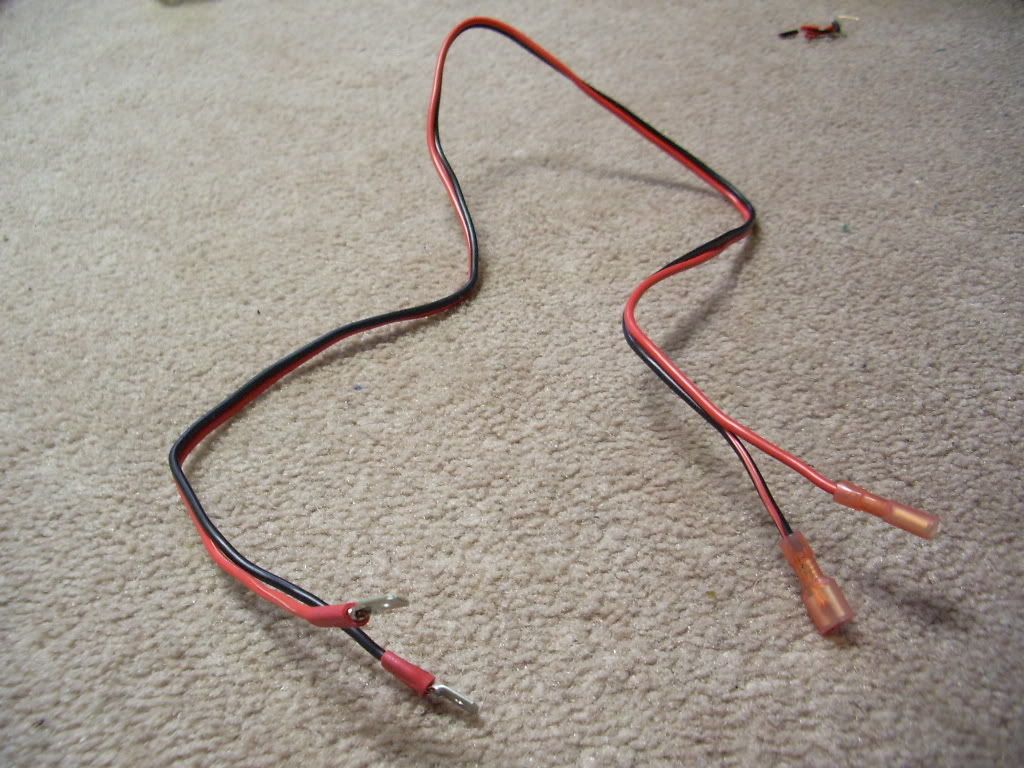
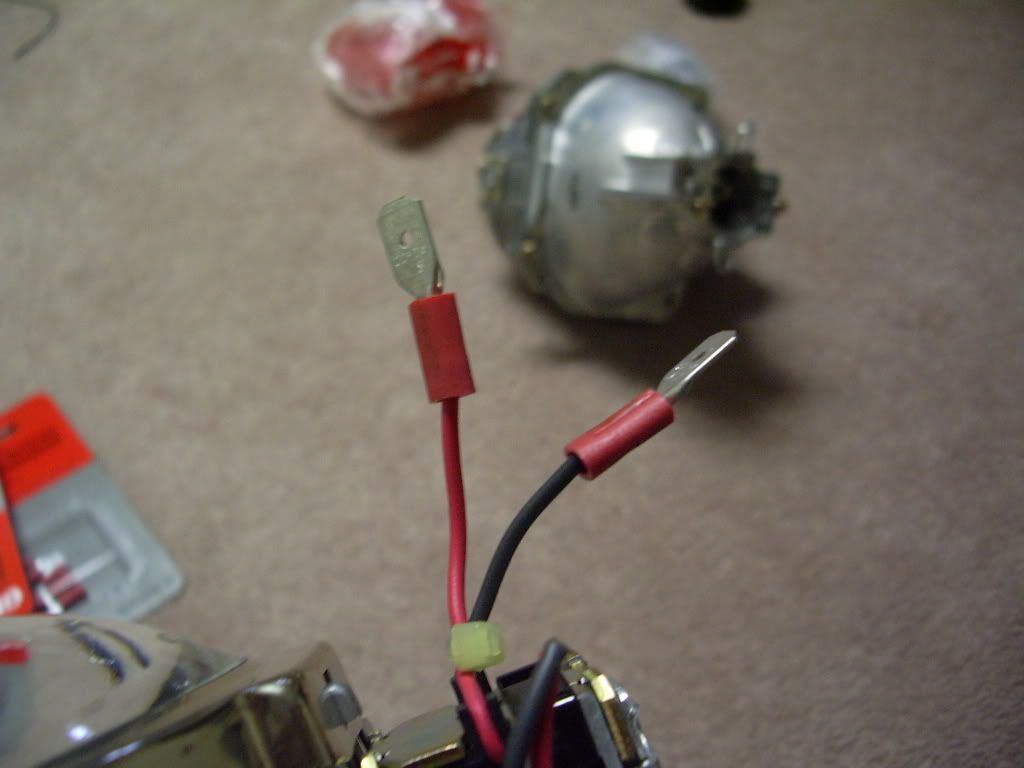
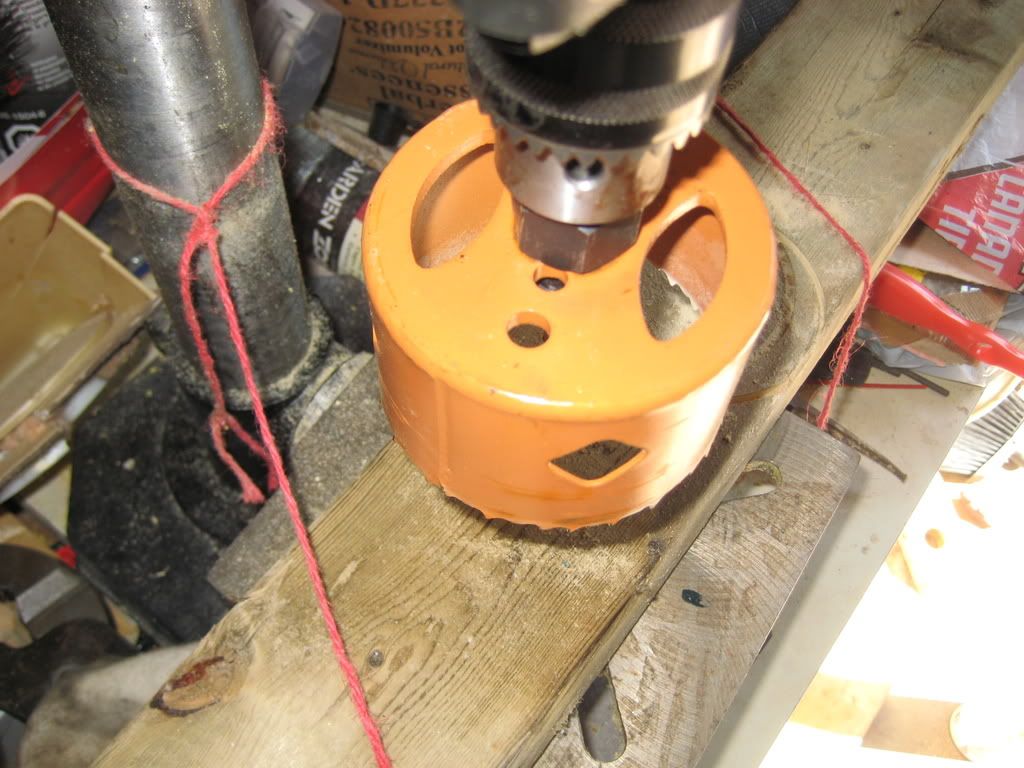
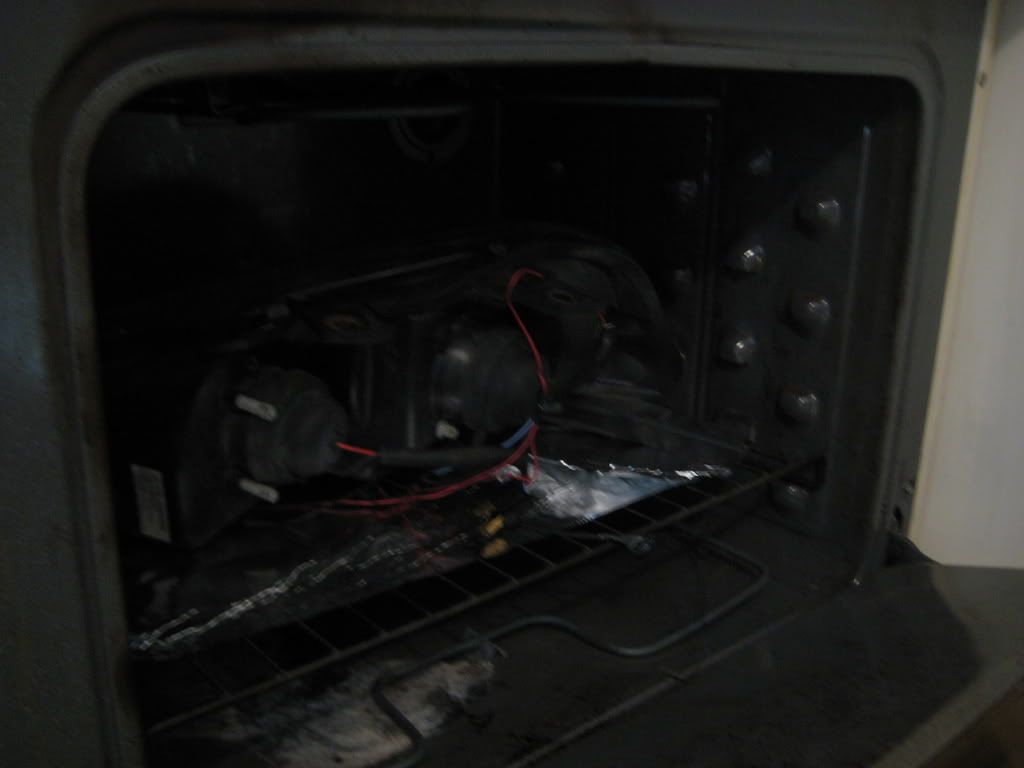
2) I took my stock headlights apart (by putting them in the oven at 375 degrees for 4min each). I had to cut the stock housing to fit the projectors. I used a jigsaw to cut the housing and a drill press to drill a 3.25" hold in the reflector.
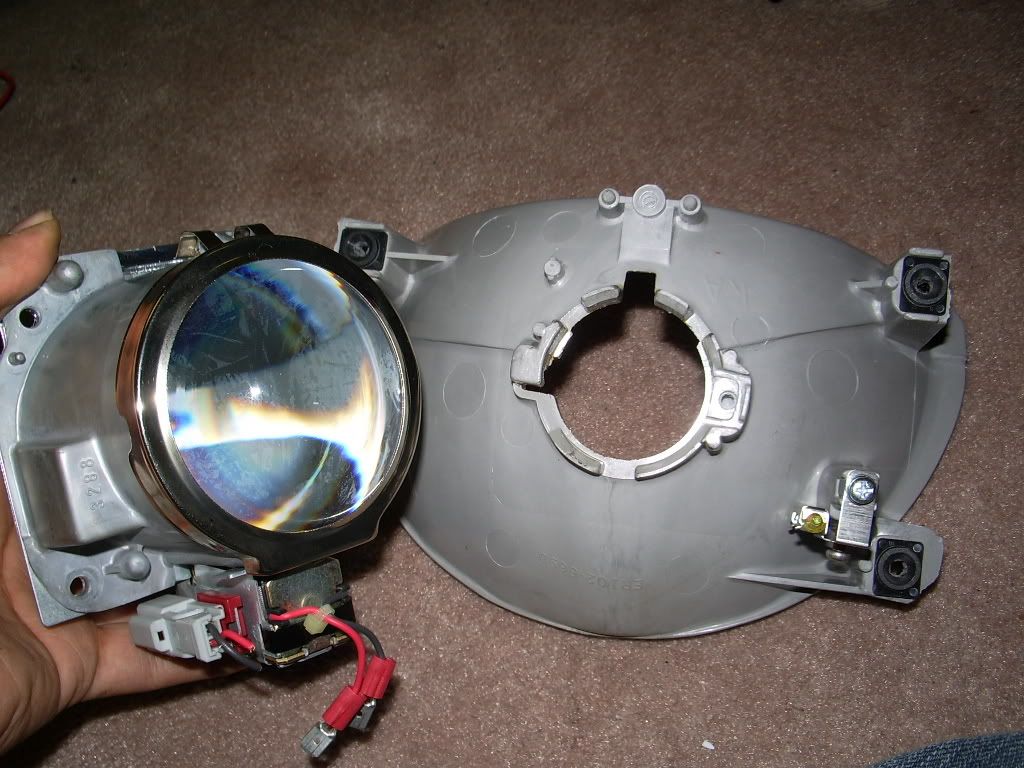
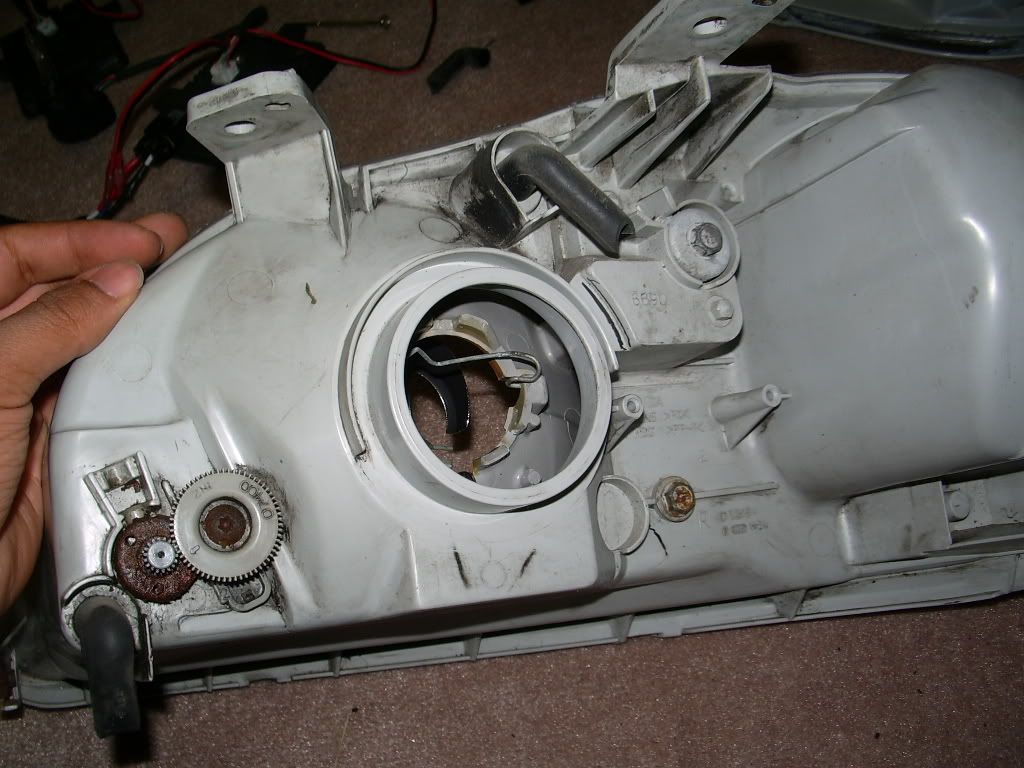
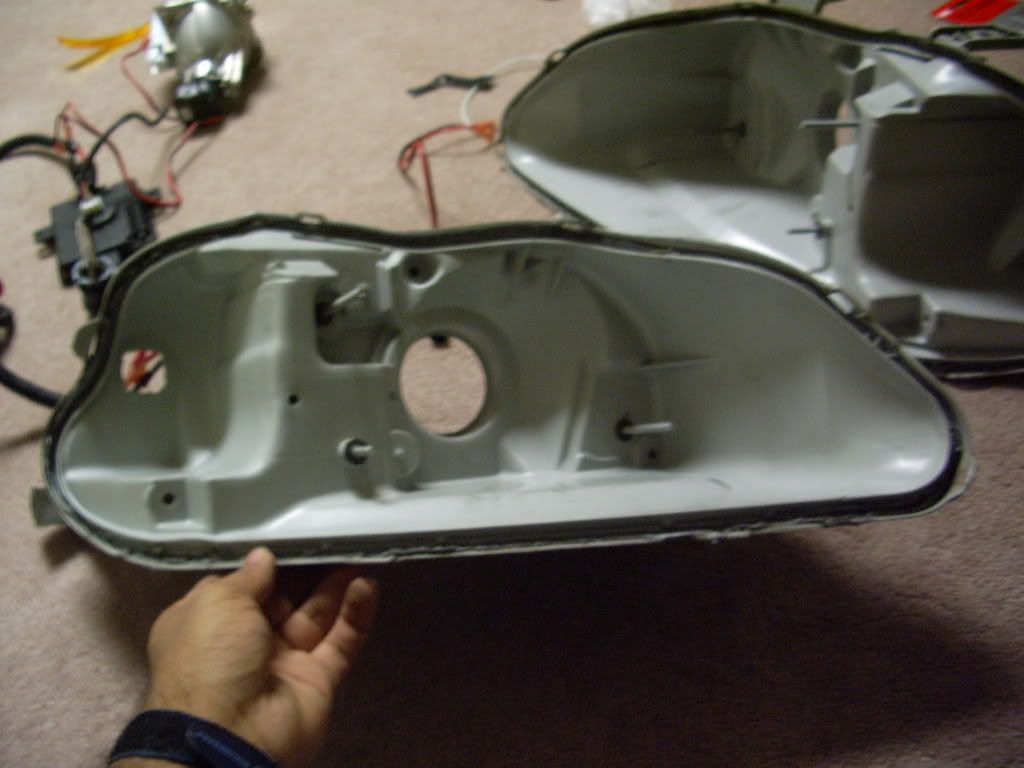
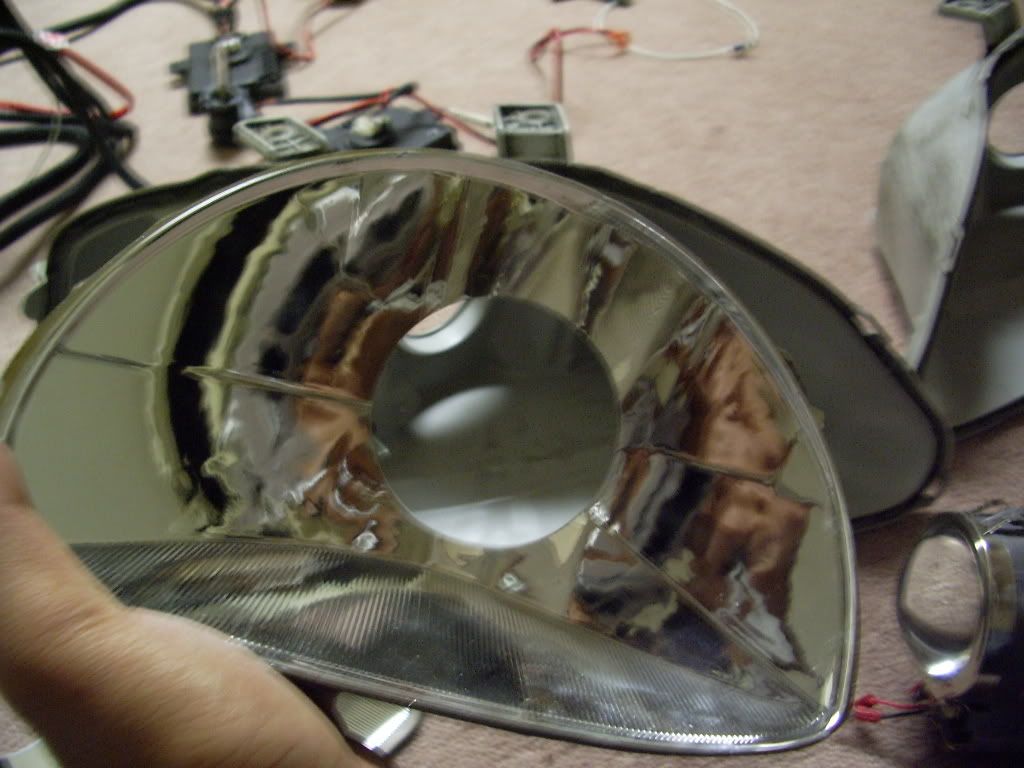
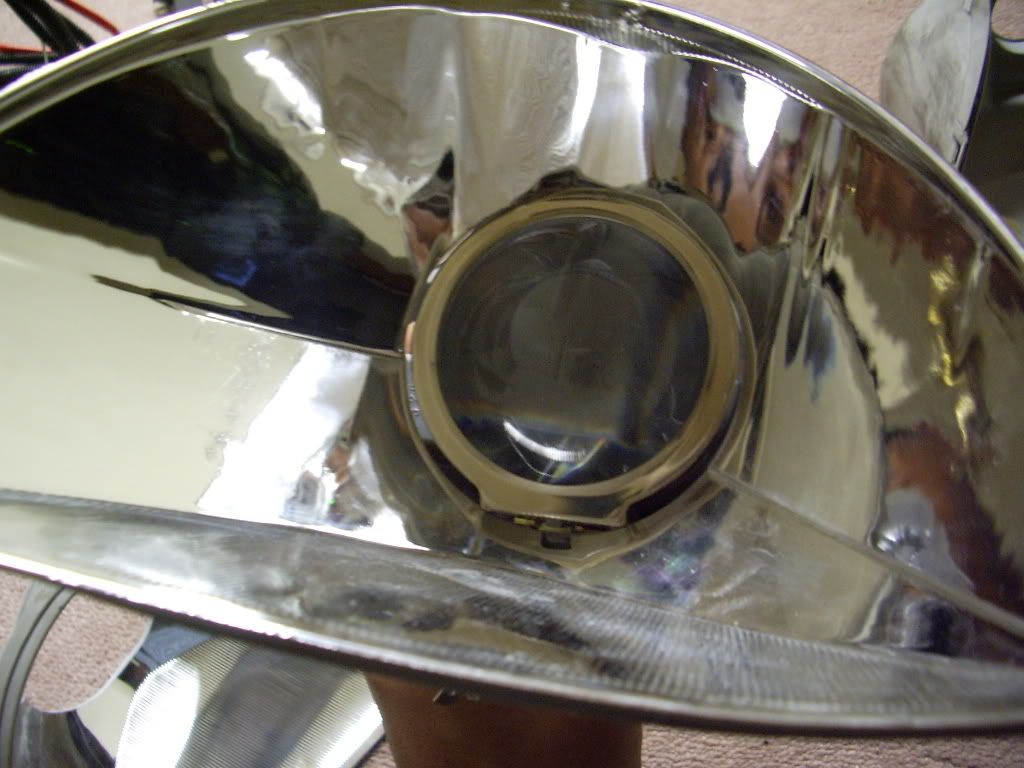
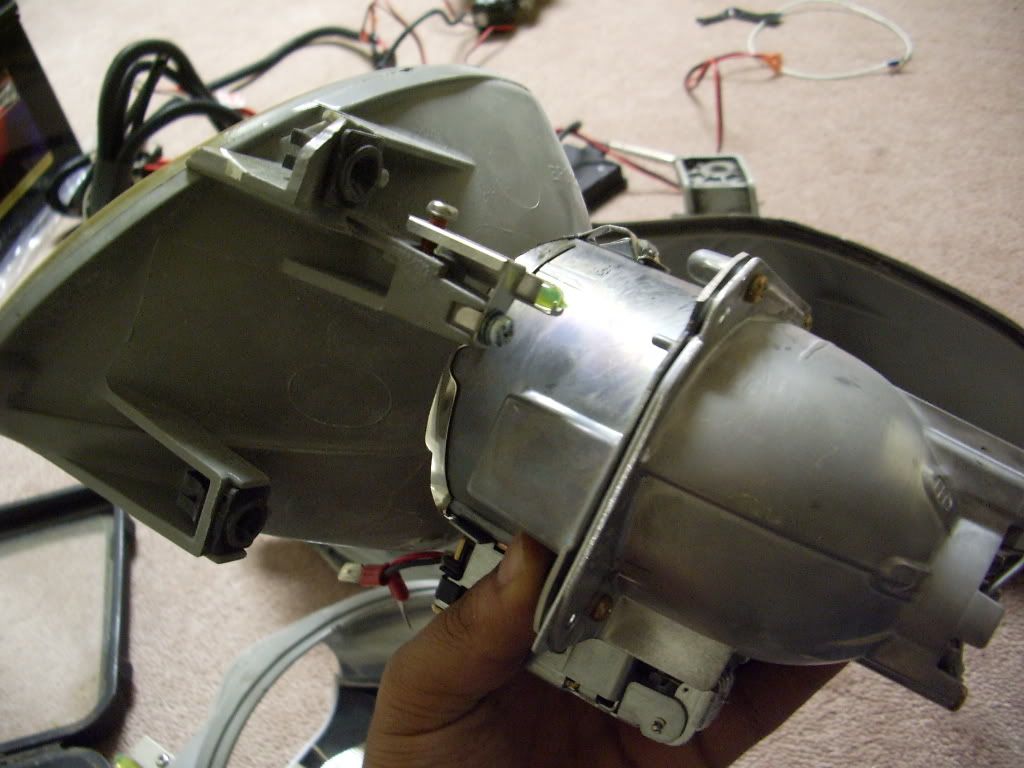
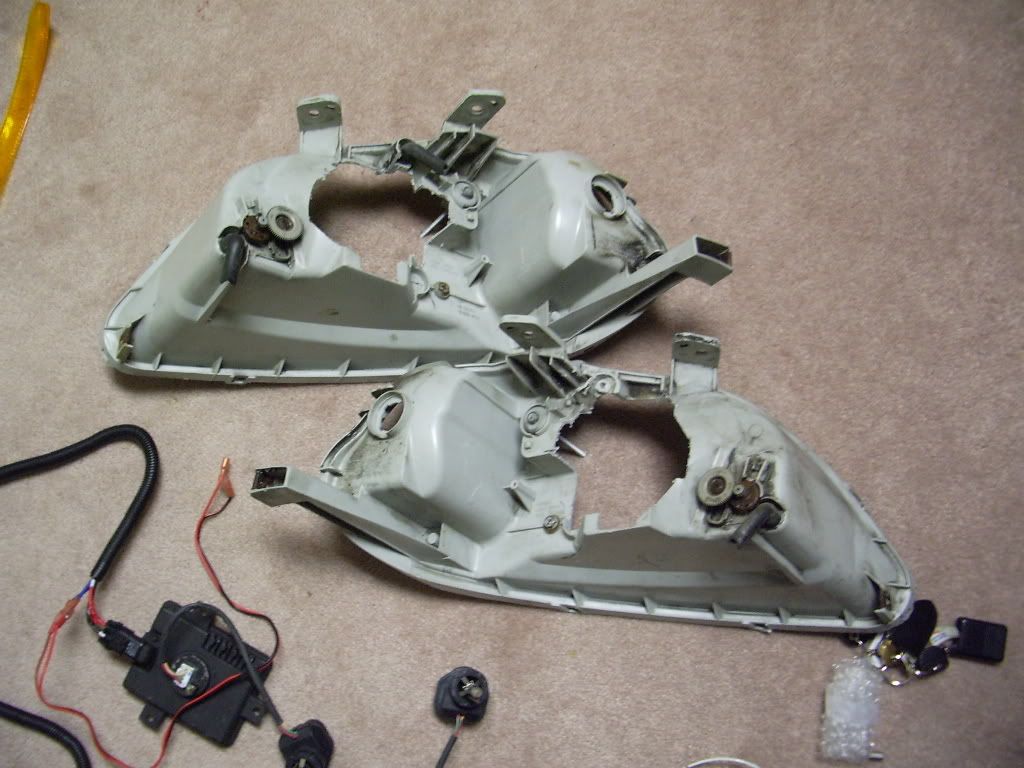
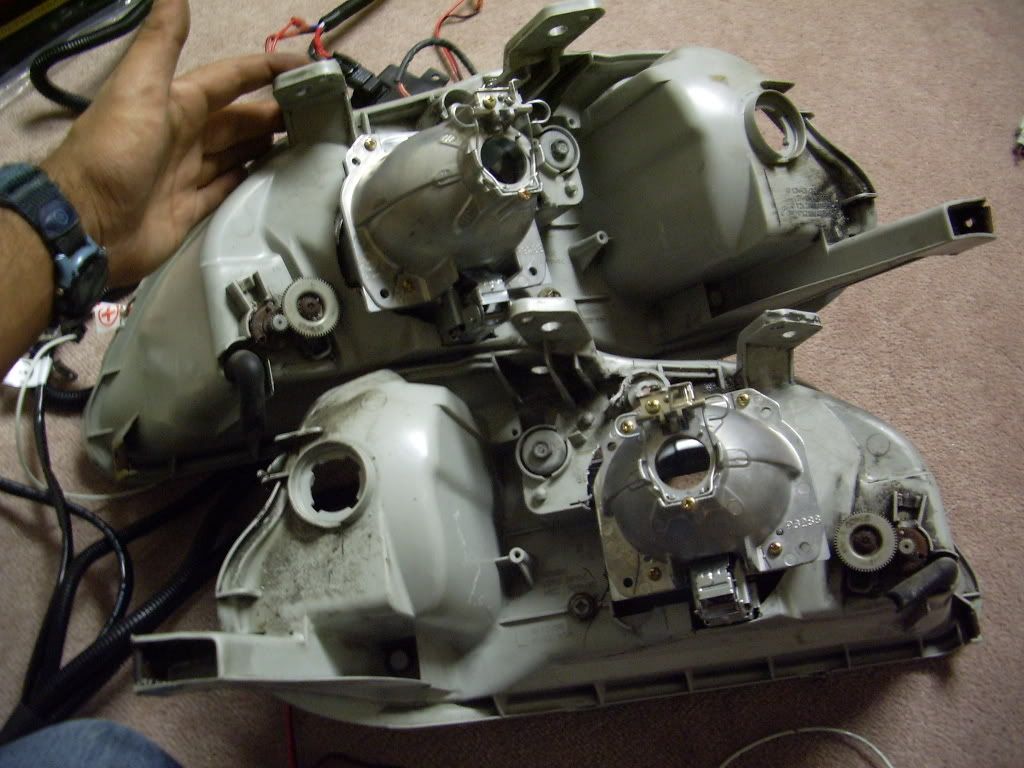
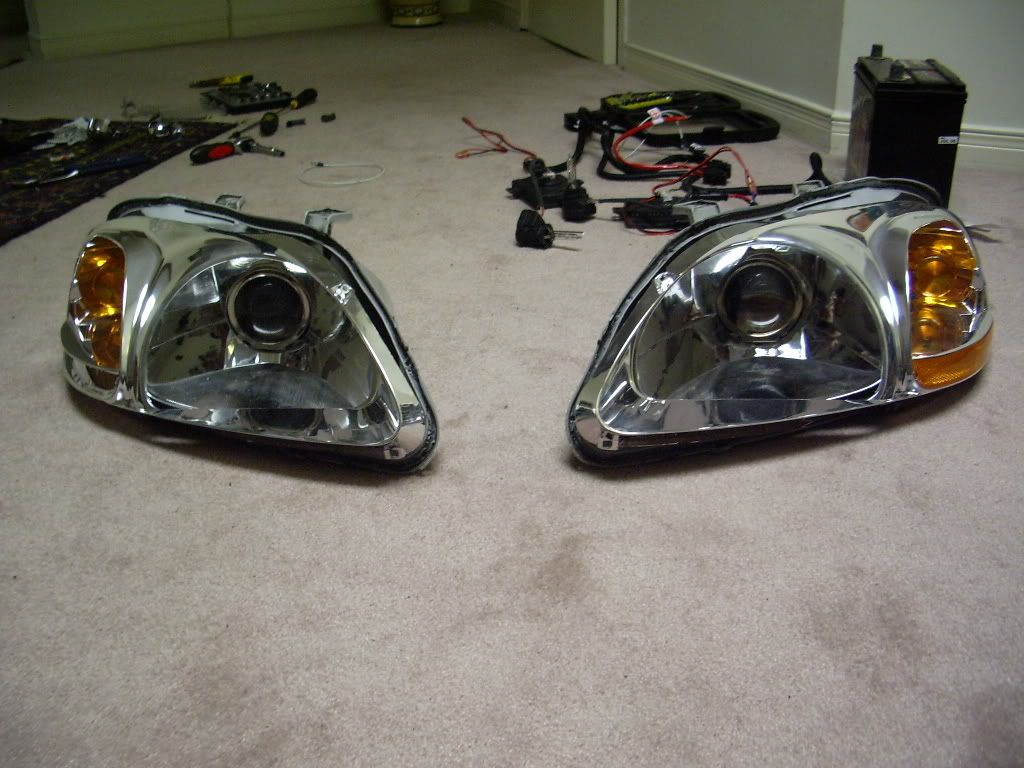
3) Then I tested the projectors in my basement
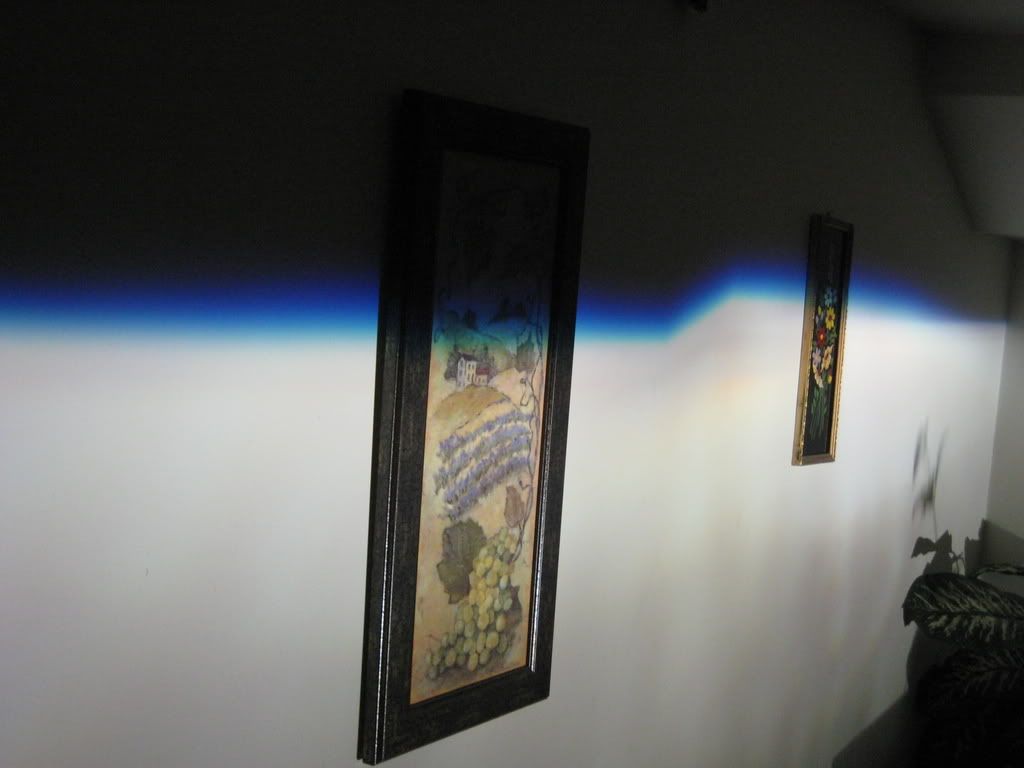
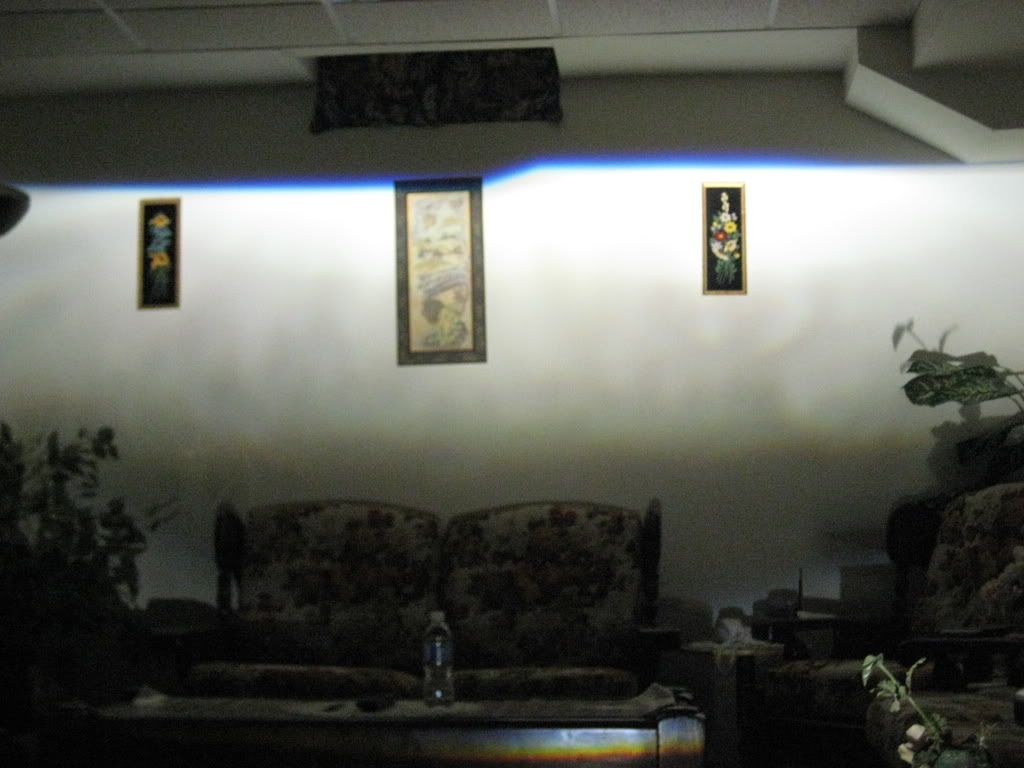
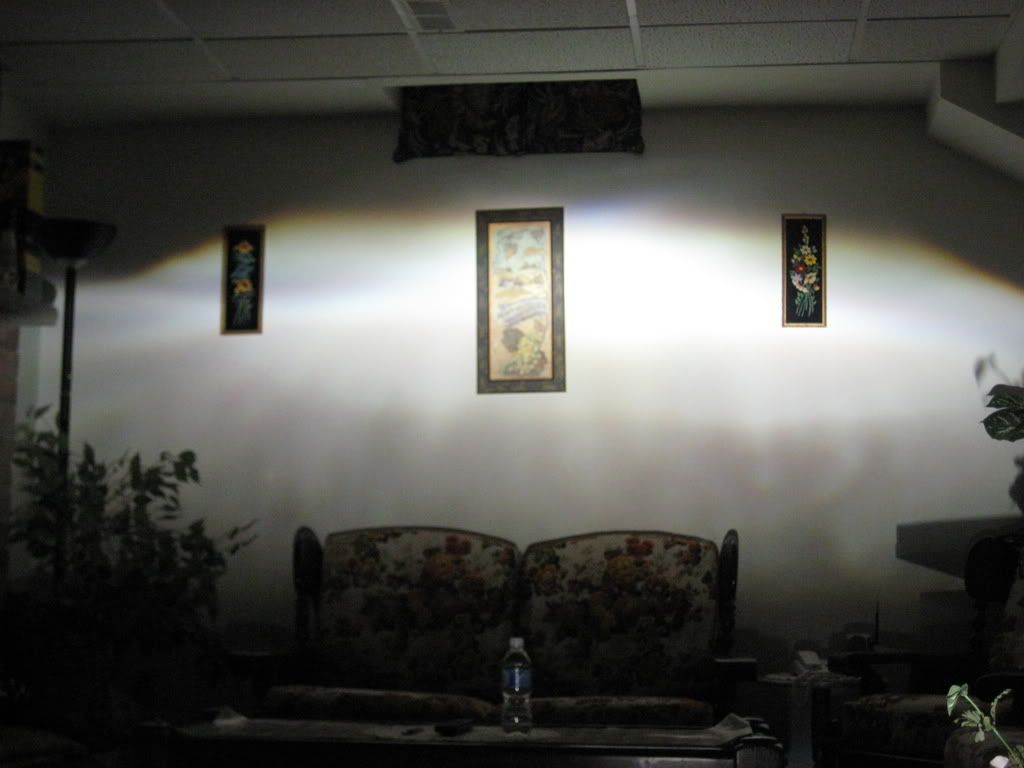
4) As you can see in this pic, the projectors stuck out too much and wouldn't fit into the car.
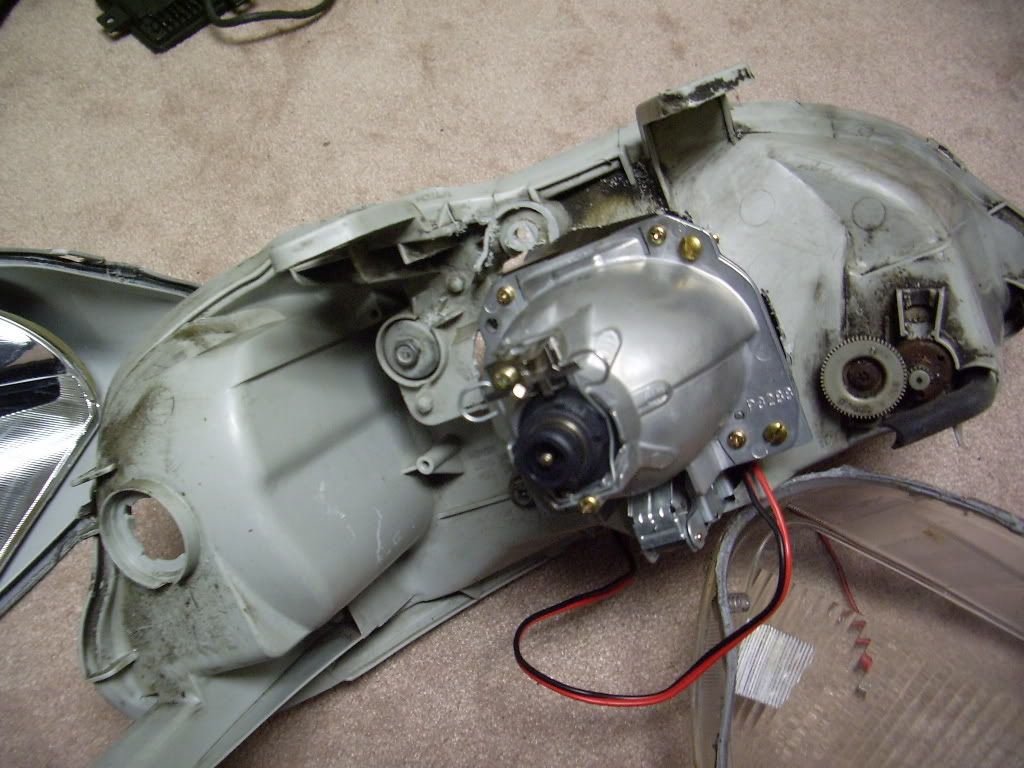
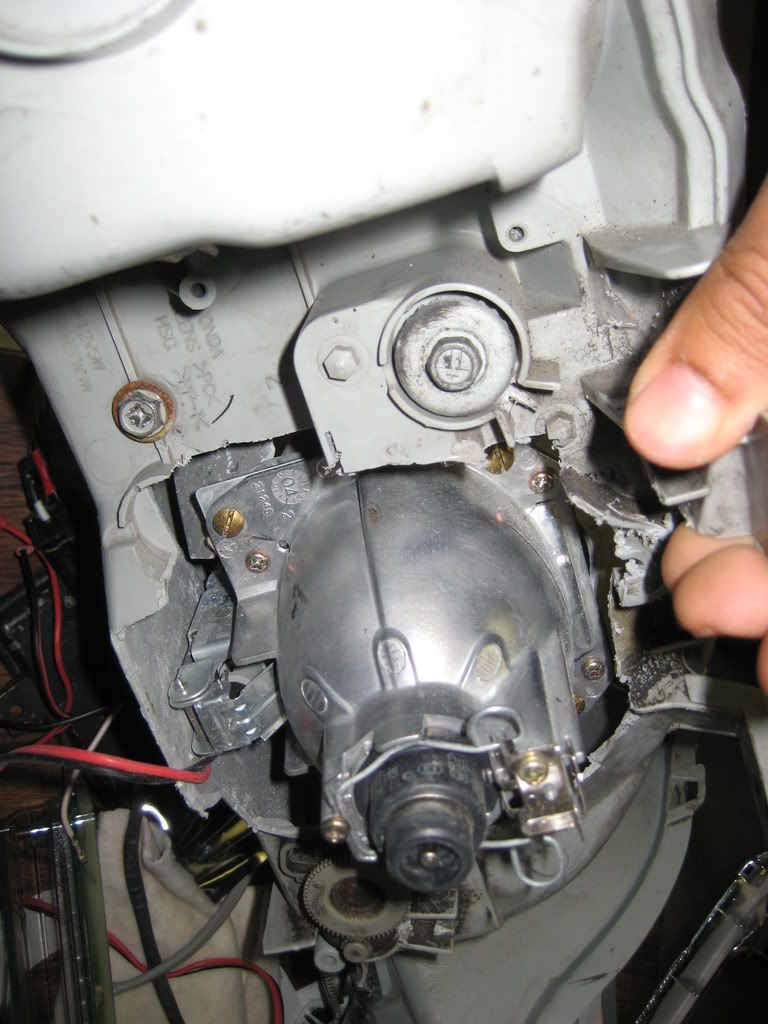
5) To fix this, I had to cut into the reflector more which kinda sucked because I didn't want to make a shroud. No, biggie though. Eventually I got it to fit, then I mounted the reflector back to the headlight housing.
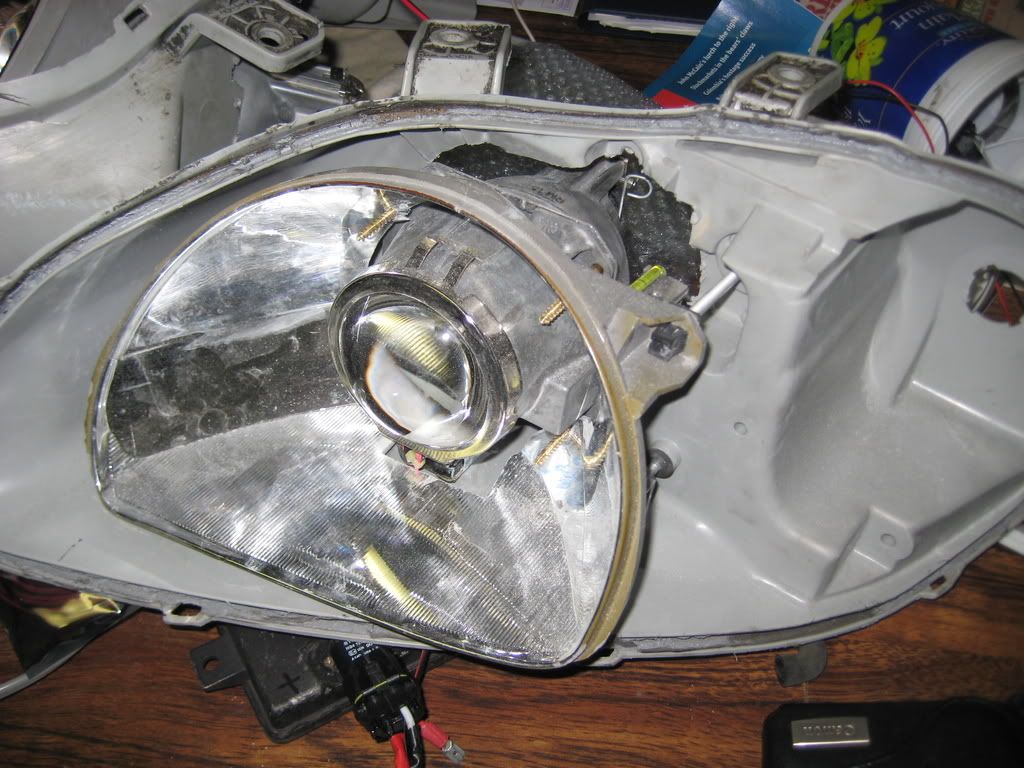
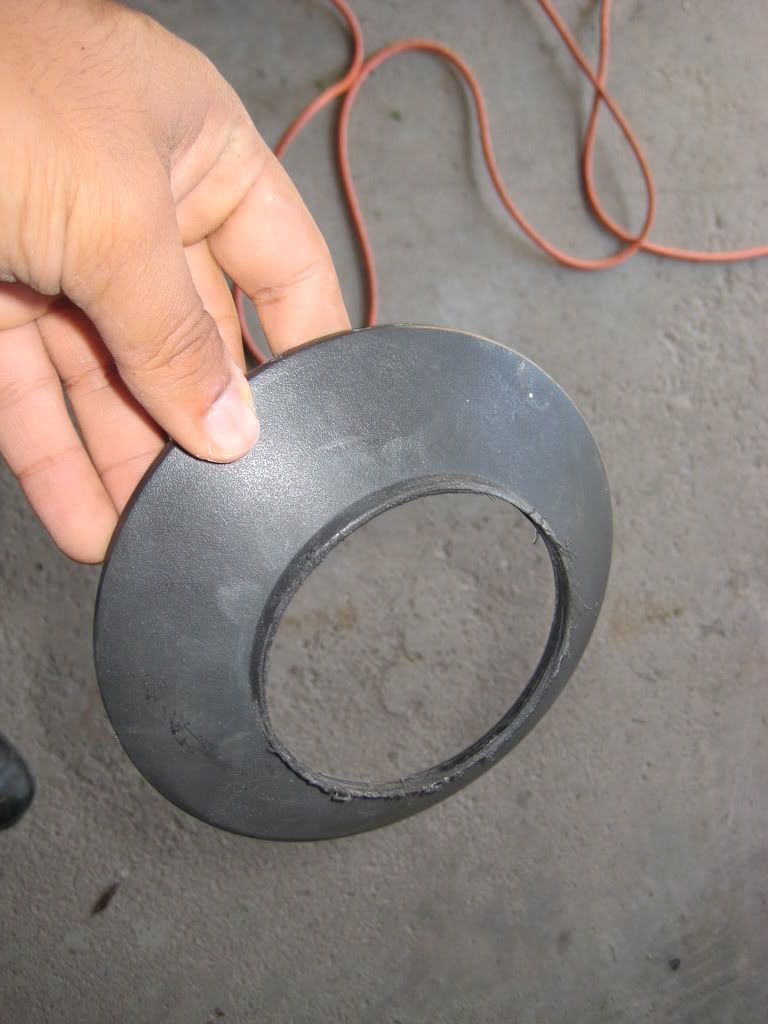
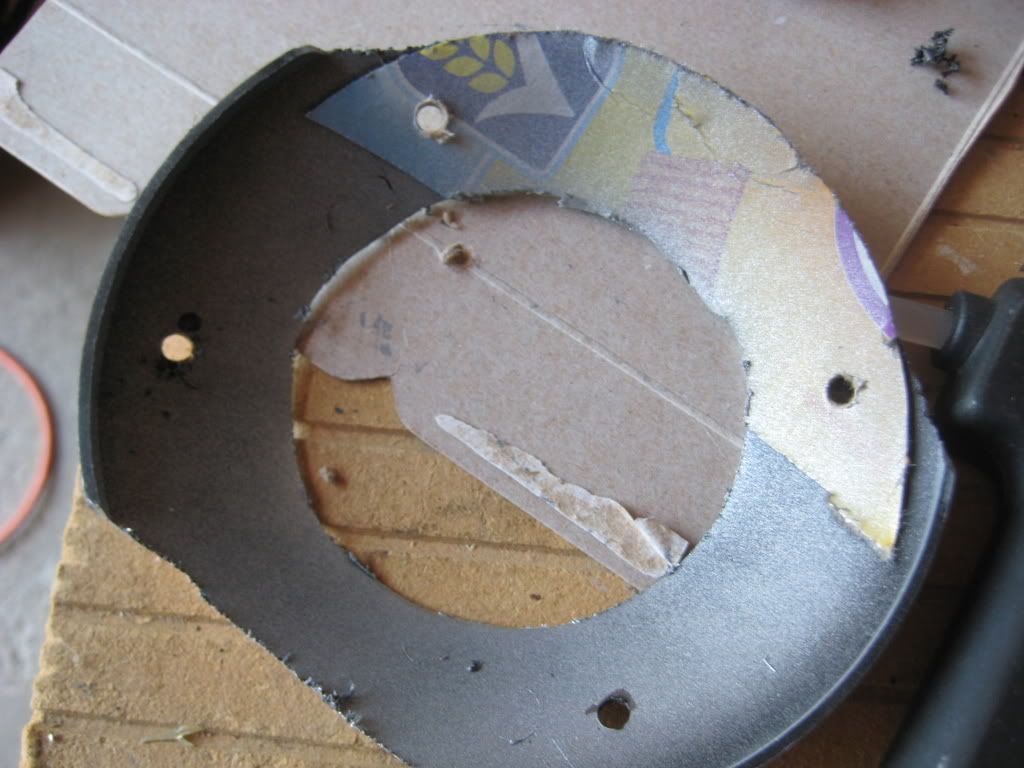
6) Now to cover the projector, I had to make a shroud. I used a top piece from those lawn lamps that you can put infront of your house.
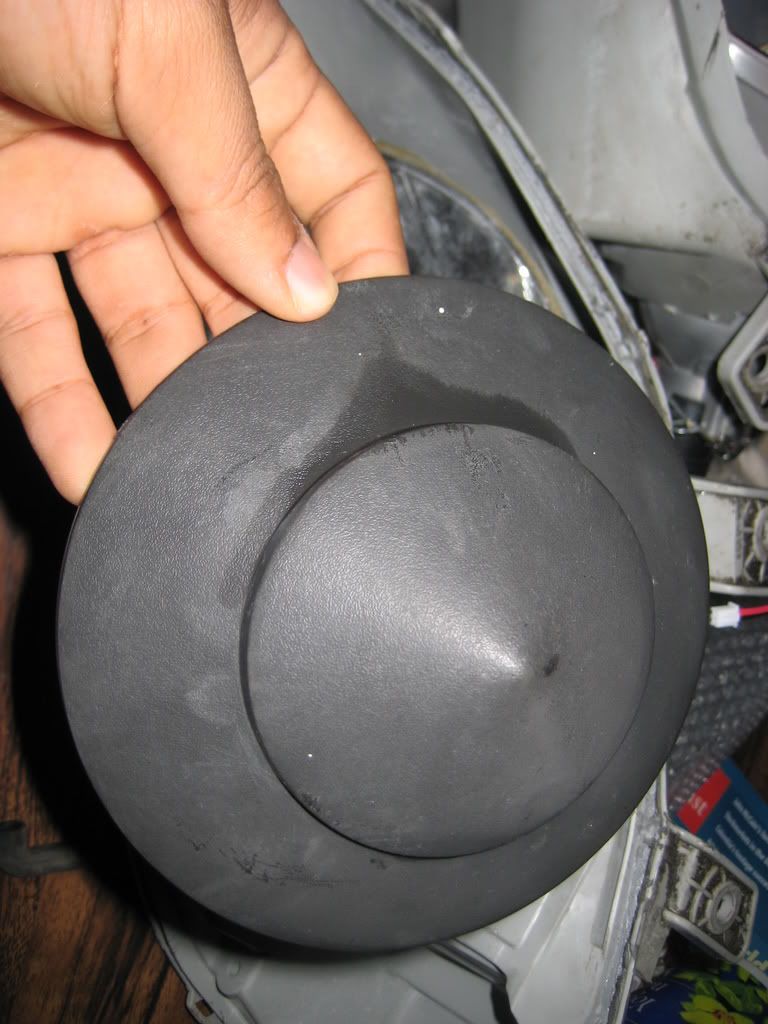
7) I used a drill press to drill a hole into it
I decided to do a HID retrofit because besides the cool look I also do a lot of backroad driving and I hate my shitty aftermarket headlights. I had bought them because I wanted projectors (stock output blows). The output on those headlights were OK, but the housing was way too flashy. Anyways, hope you guys find this helpful.
What you'll need:
- D2S bulbs
- D2S projectors (I used a pair from a TL)
- Wiring harness
- ZKW lens or replica clear lens (optional)
- Shrouds (or you can make your own)
- Ballasts (I used a pair from a TL)
- LED rings (optional)
- Flat head and philips screwdrivers and 10mm socket wrench
- Primer and paint (optional)
- Adhesive/glue
- About 7 hours
1) I had to start off with some splicing so my TL projectors can plug into the ballasts without any trouble.
2) I took my stock headlights apart (by putting them in the oven at 375 degrees for 4min each). I had to cut the stock housing to fit the projectors. I used a jigsaw to cut the housing and a drill press to drill a 3.25" hold in the reflector.
3) Then I tested the projectors in my basement
4) As you can see in this pic, the projectors stuck out too much and wouldn't fit into the car.
5) To fix this, I had to cut into the reflector more which kinda sucked because I didn't want to make a shroud. No, biggie though. Eventually I got it to fit, then I mounted the reflector back to the headlight housing.
6) Now to cover the projector, I had to make a shroud. I used a top piece from those lawn lamps that you can put infront of your house.
7) I used a drill press to drill a hole into it
Thread Starter
Black magic
Joined: Jan 2007
Posts: 68
Likes: 0
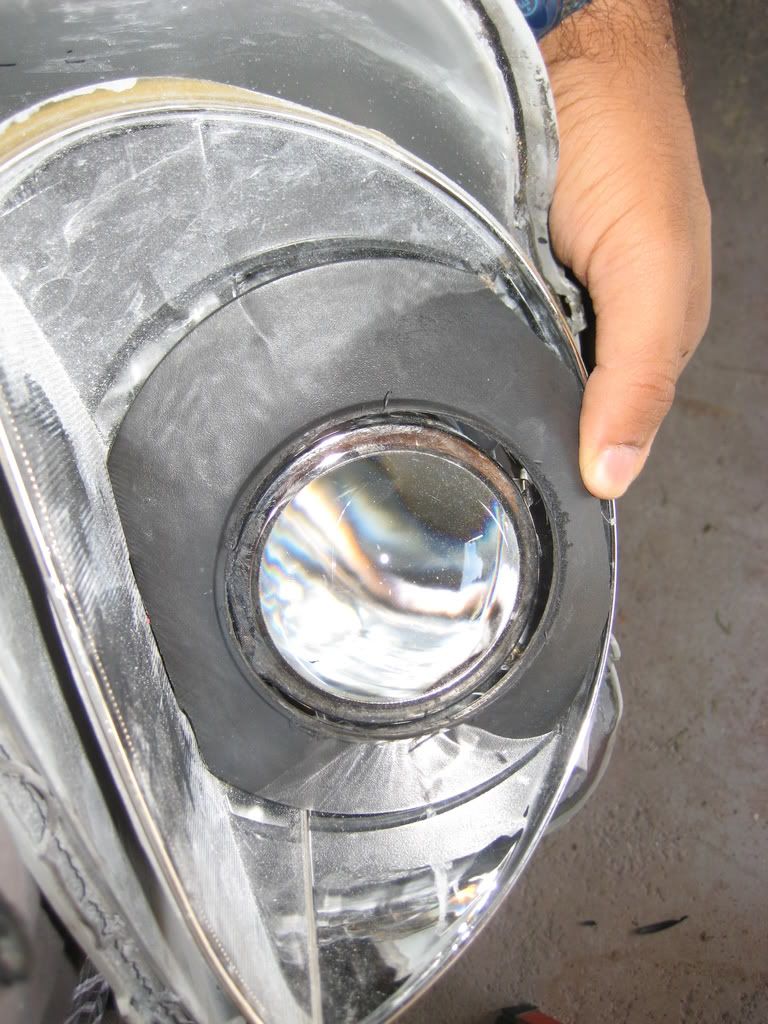
8) After some more cutting, it fit nicely into the reflector
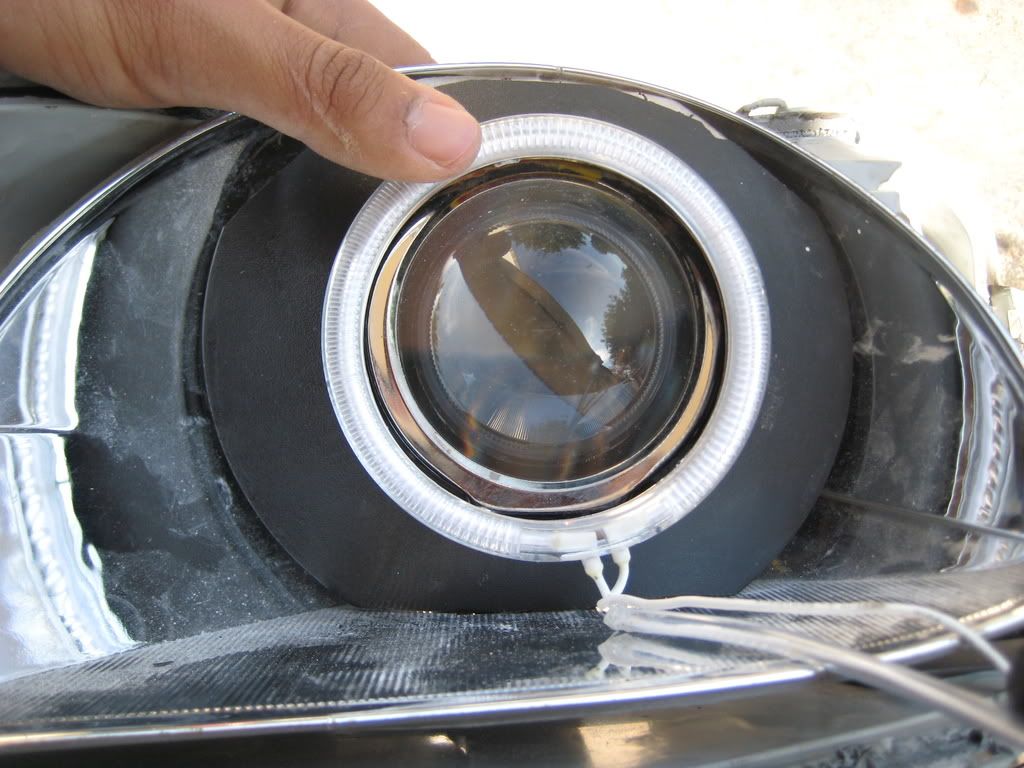
9) Here's what it'll look like with the LED ring around it
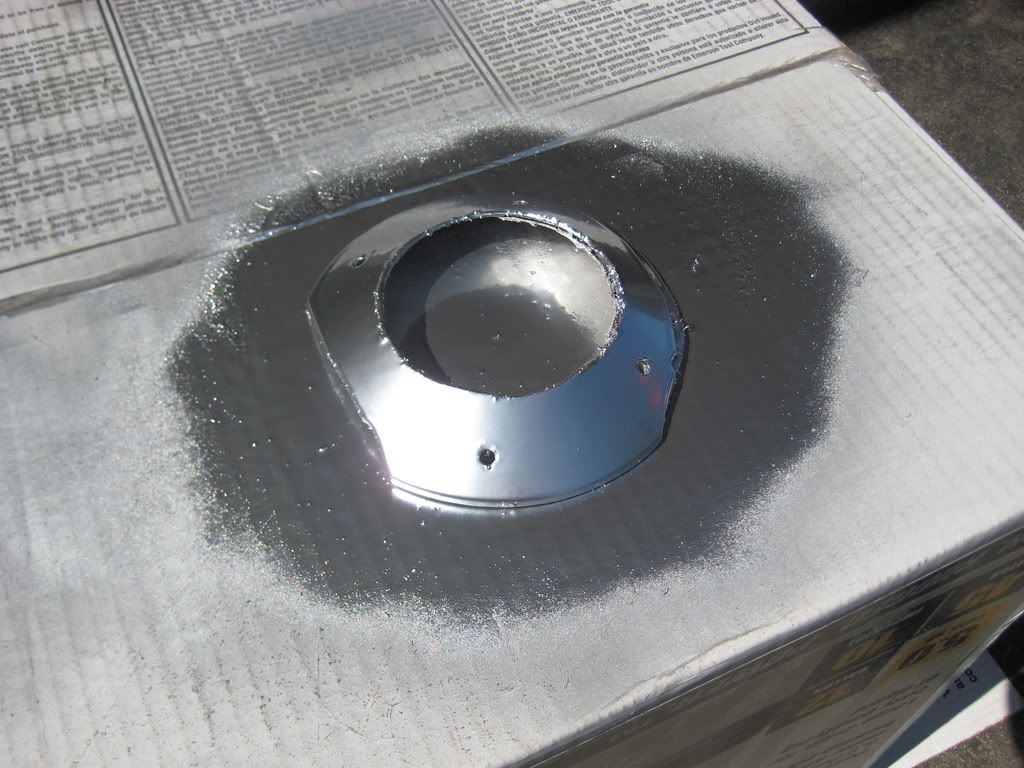
10) I primed the shroud and painted it with chrome spray paint to match with the reflector
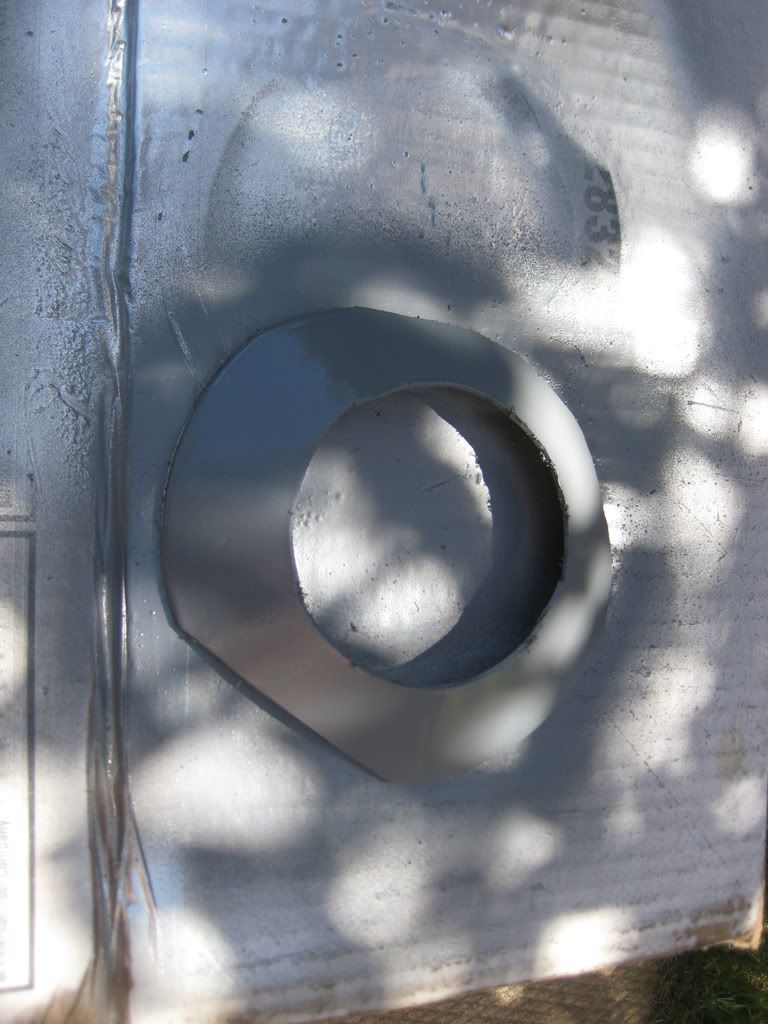
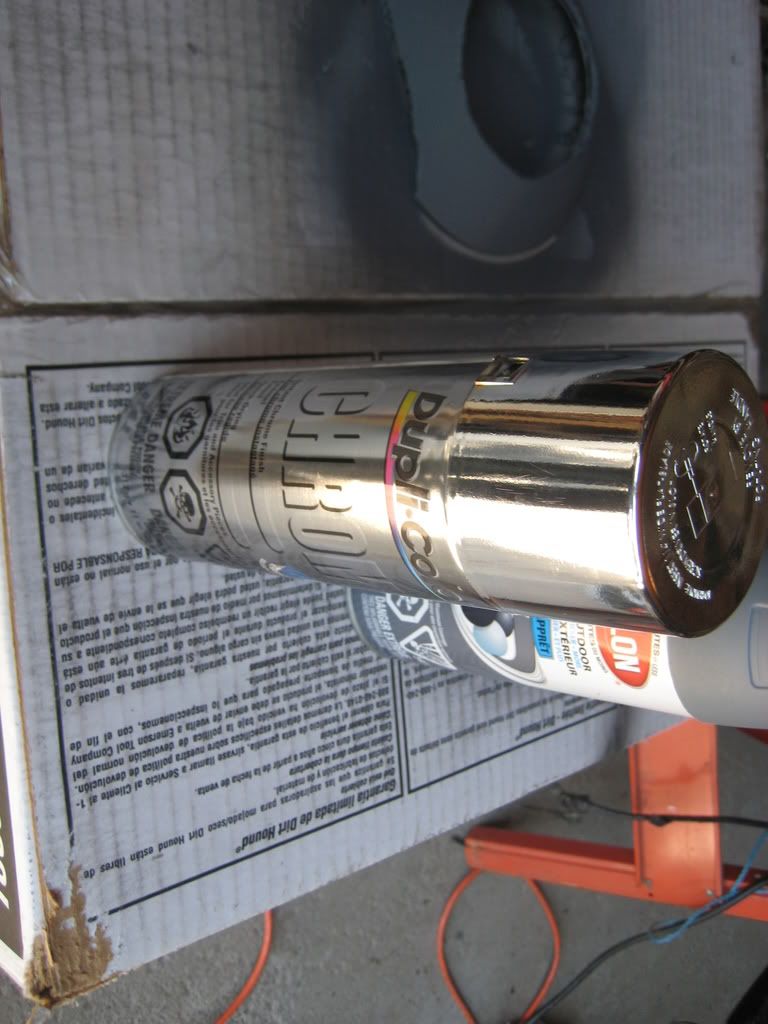
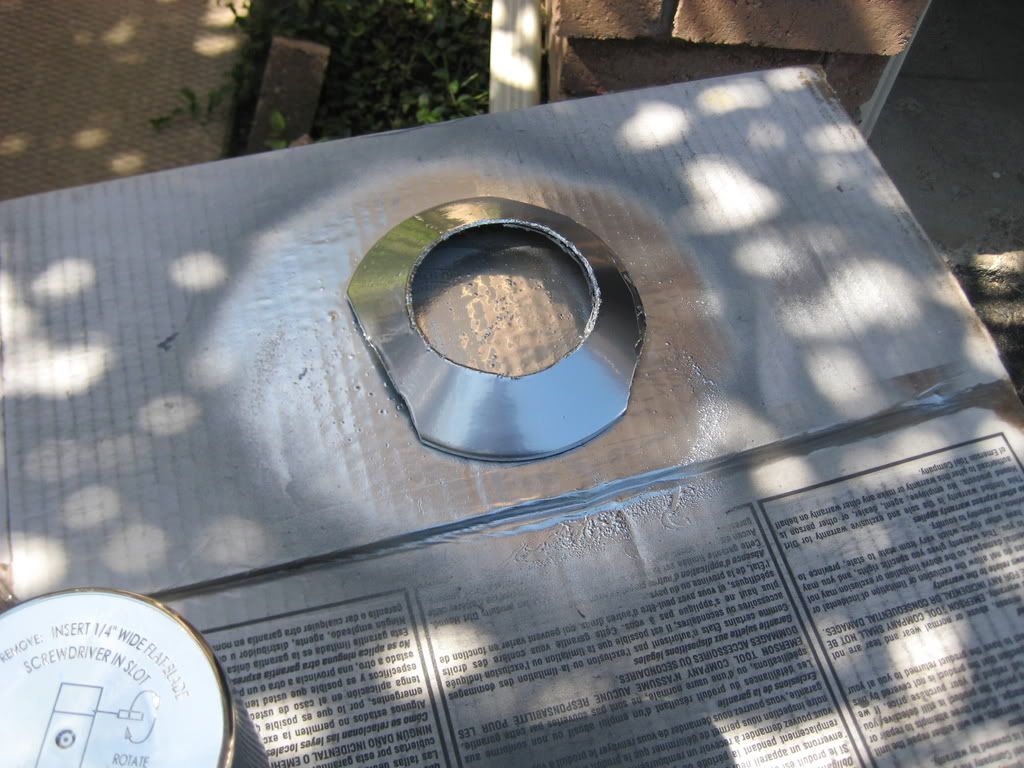
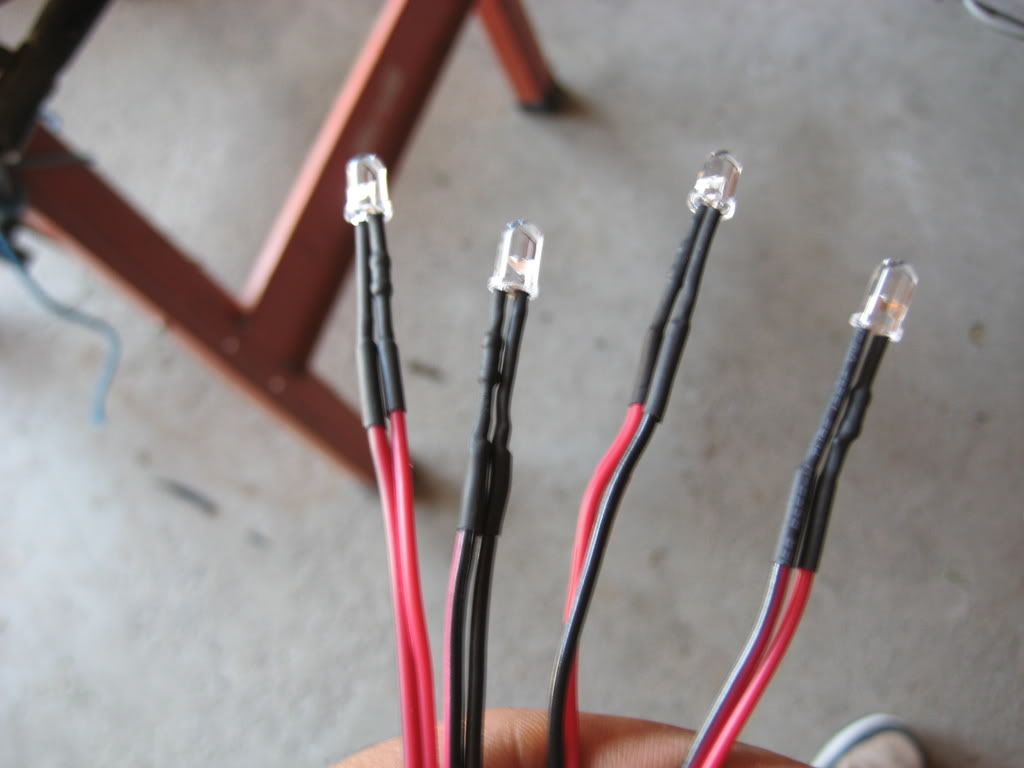
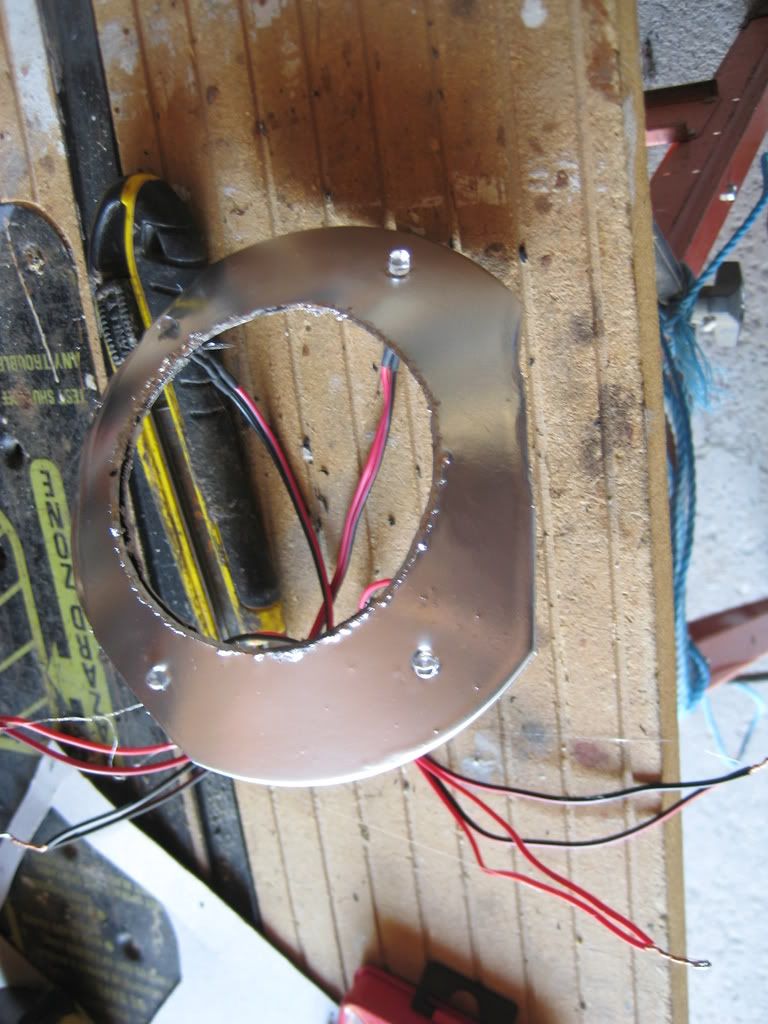
11) For fun, I also decided to mount these red LED's into the shroud. I quickly drilled some holes into the shorud and mounted them. I ended up applying another layer of paint after I drilled the holes.
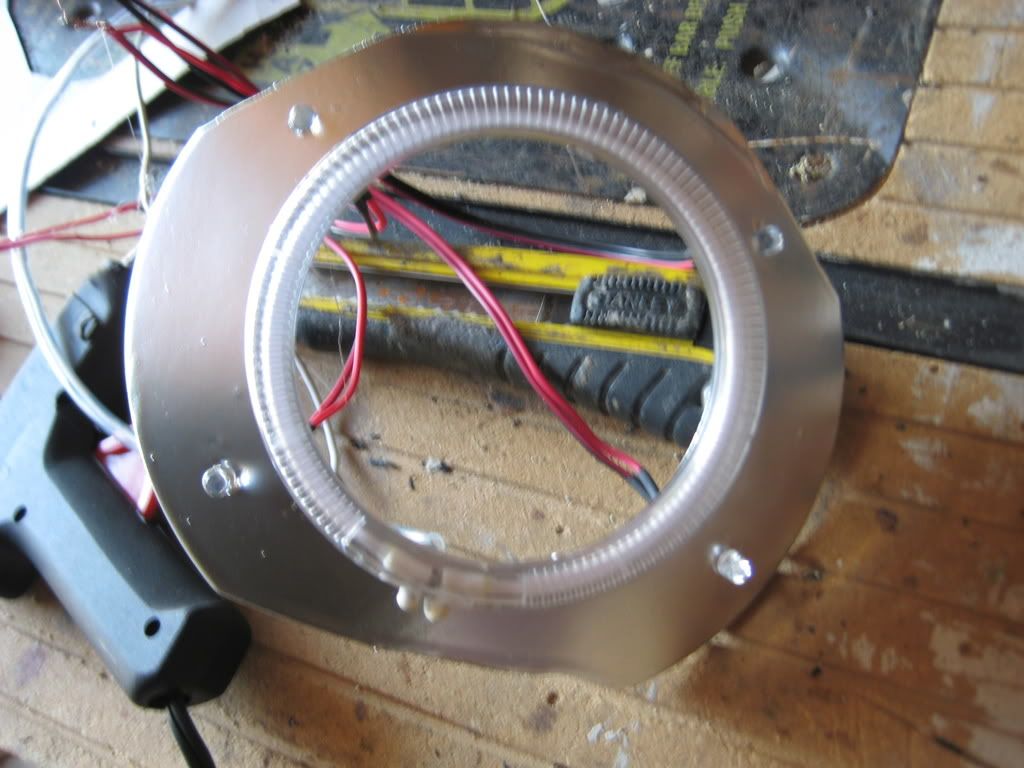
12) Next I mounted the LED ring to the shroud
13) Then I mounted the shourd to the headlight reflector
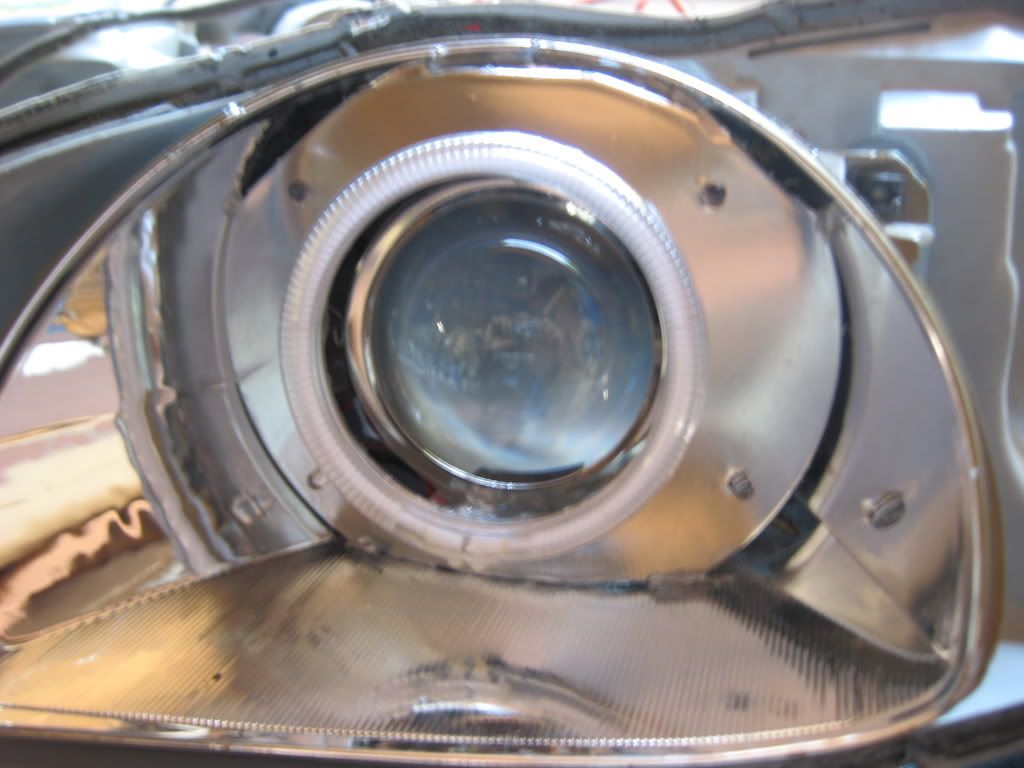
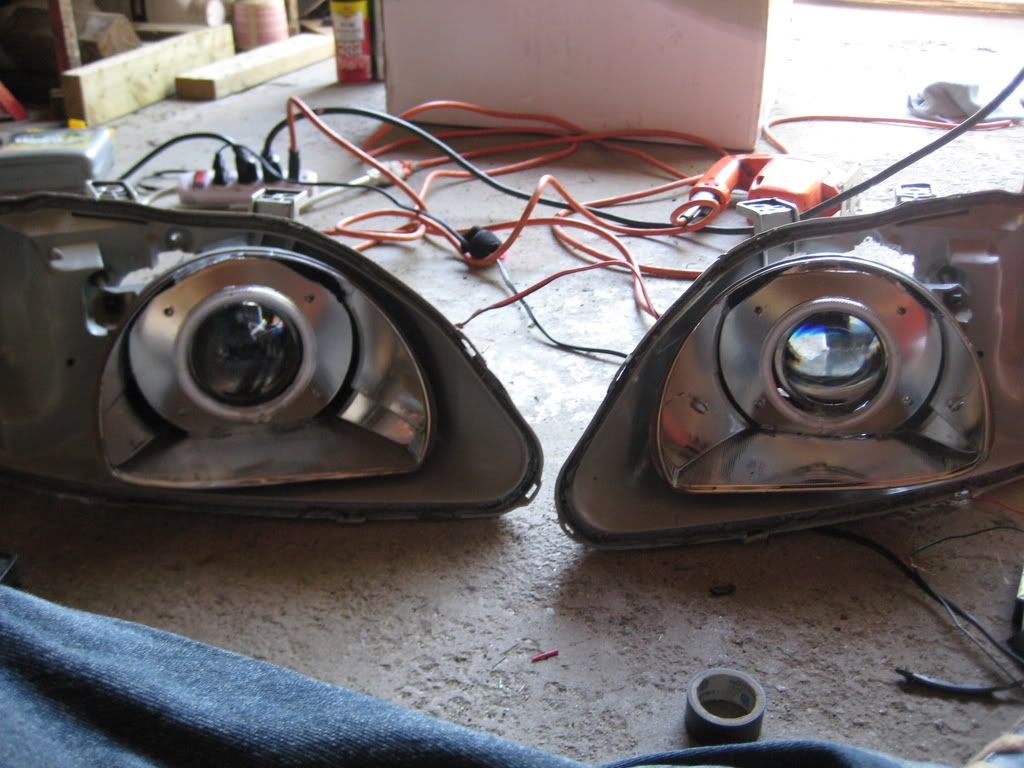
14) Next you have to disassemble your front bumper. There is a screw in each wheel well, 7 plastic screws around the grill and 2 bolts under the bumper.
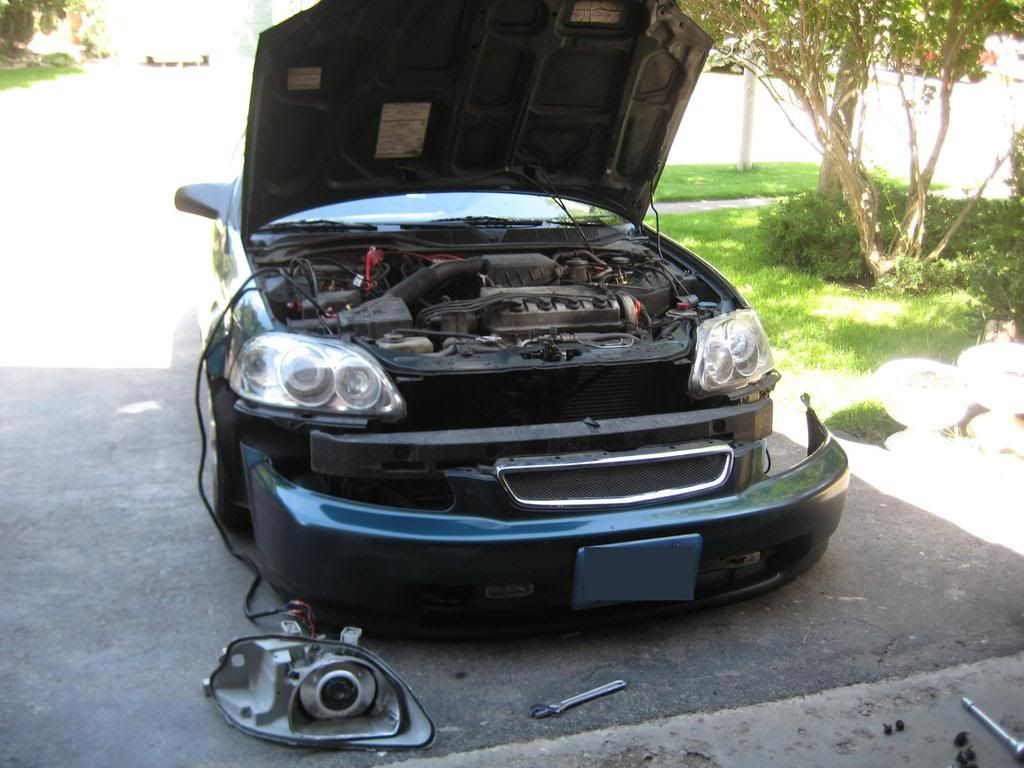
15) Remove the headlights. Each headlight has 4 bolts holding it.
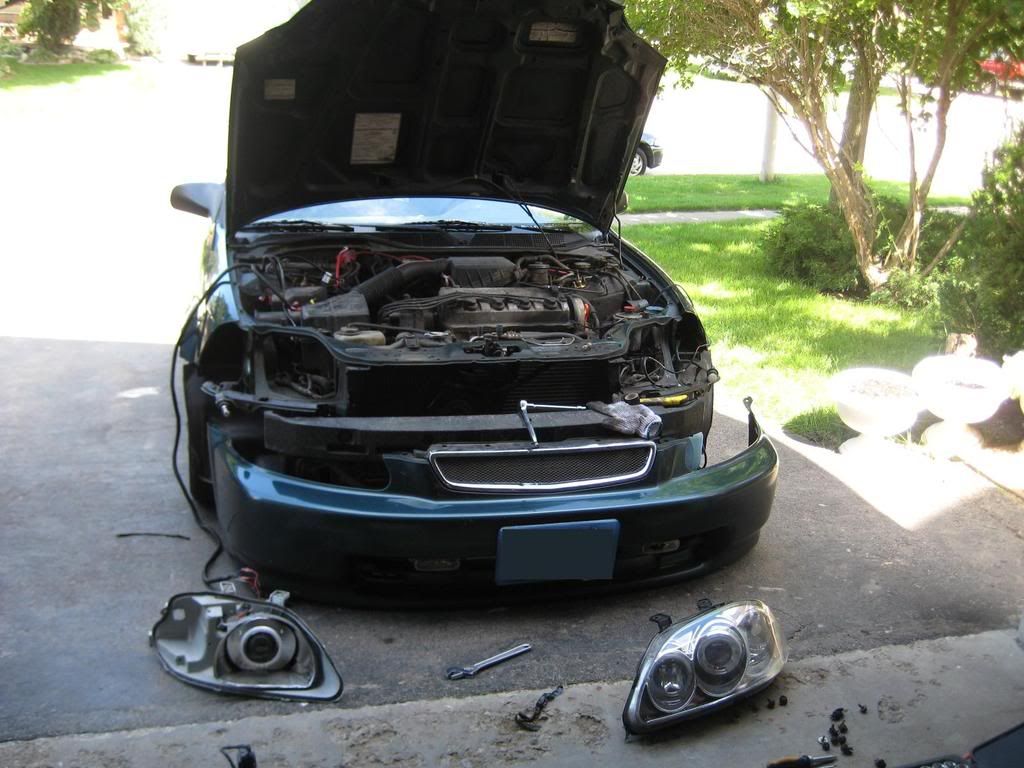
16) I mounted the HID's to make sure they fit okay (and they did)
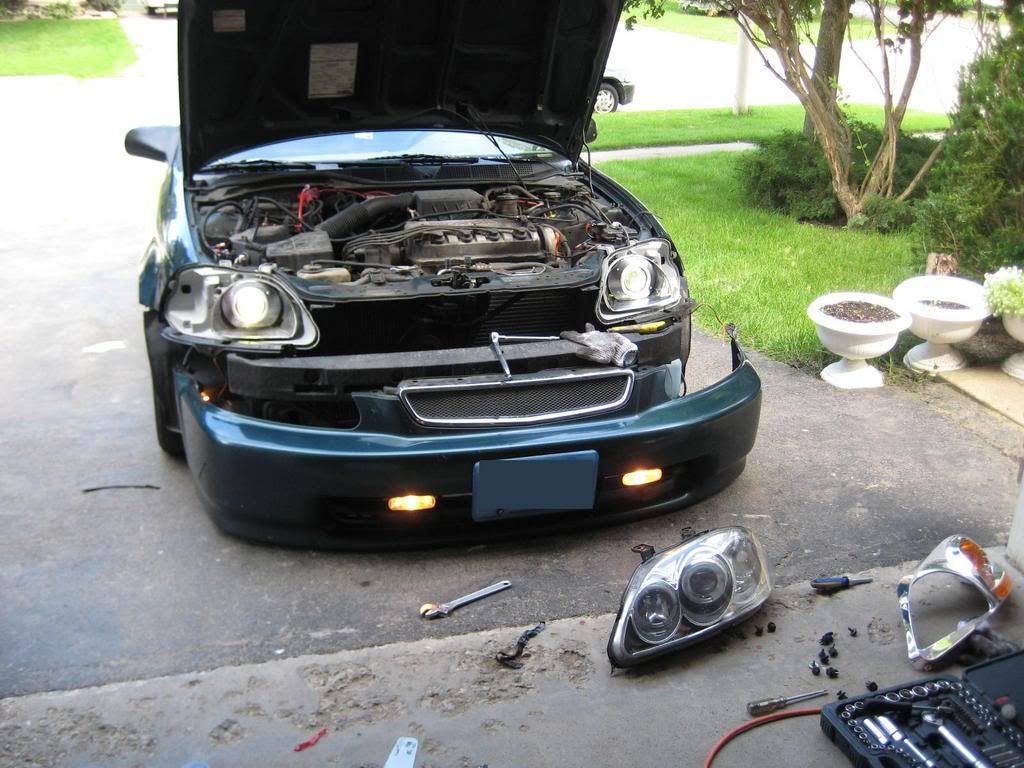
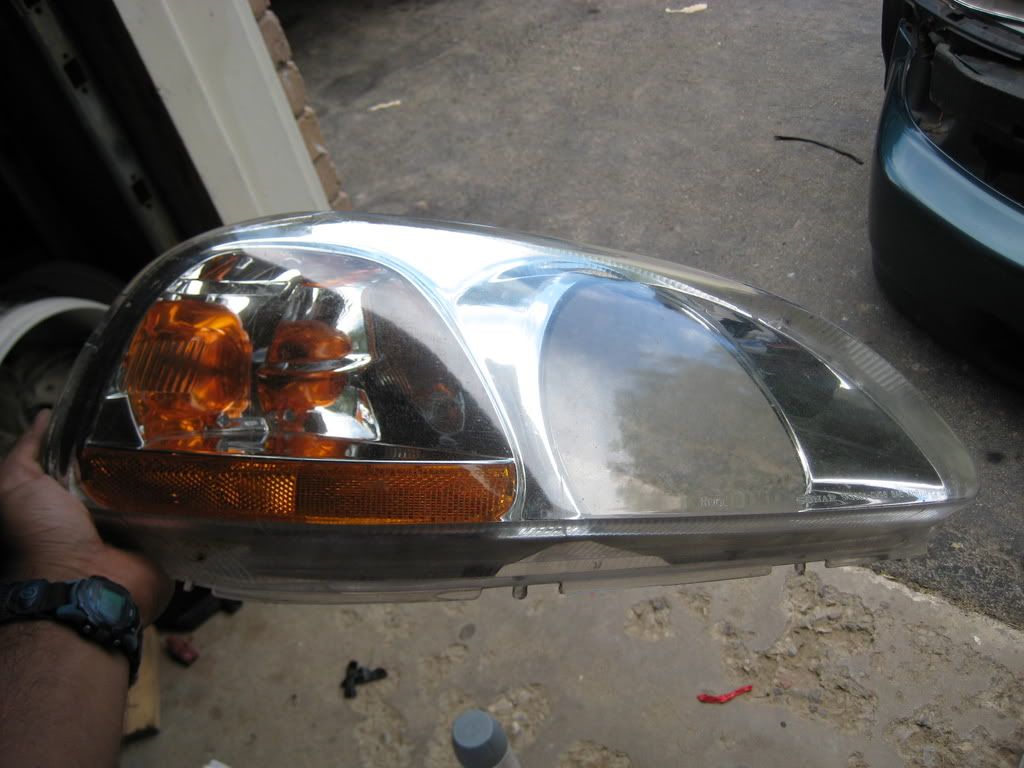
17) Then I took my aftermarket headlights apart by putting them in the oven for 375 degrees for 4 min. My reason for doing so was because I wanted to use their cover since it was cleaner and more clear than my stock ones. So I just swapped them from the aftermarket headlights to my stock headlights.
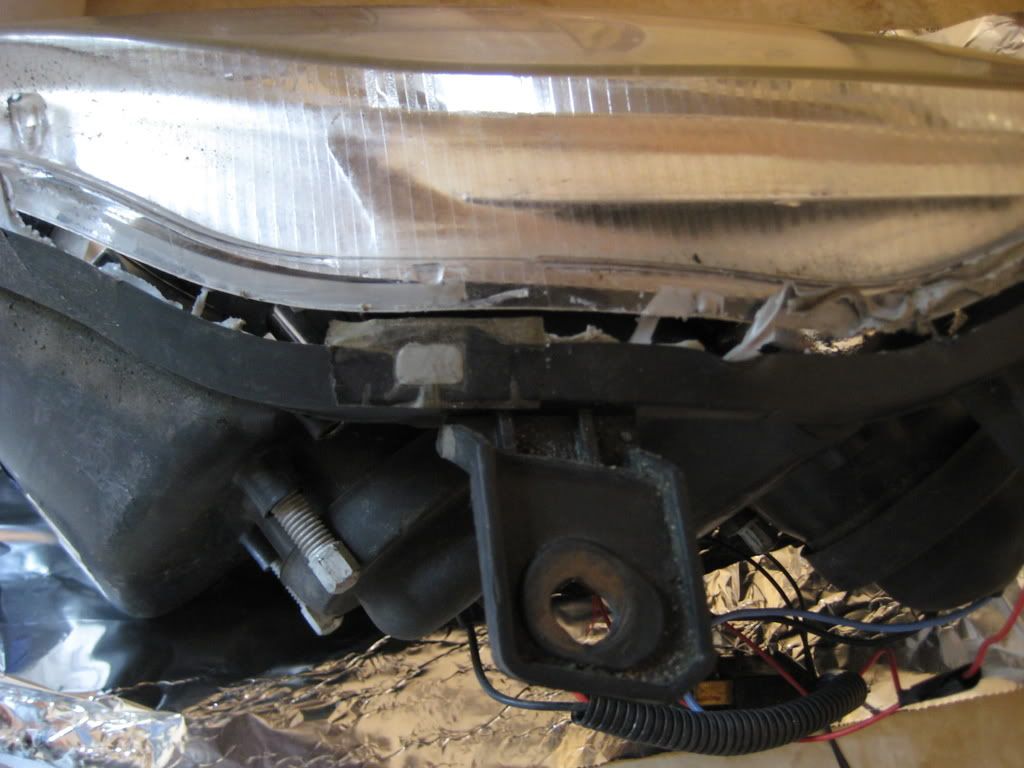
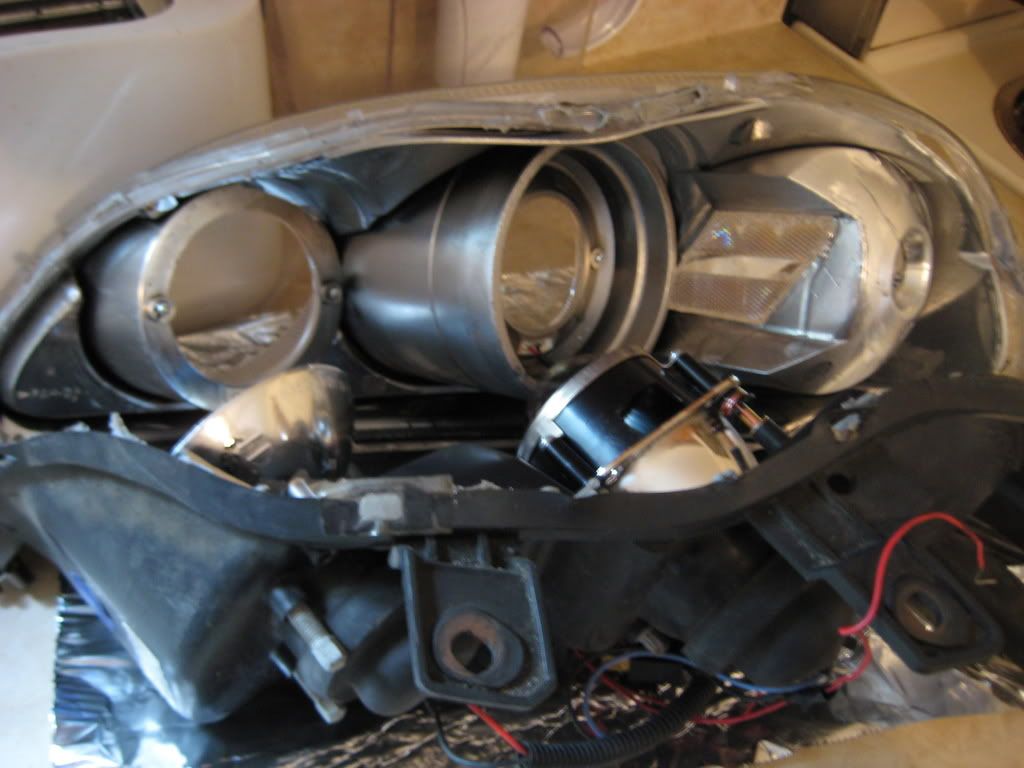
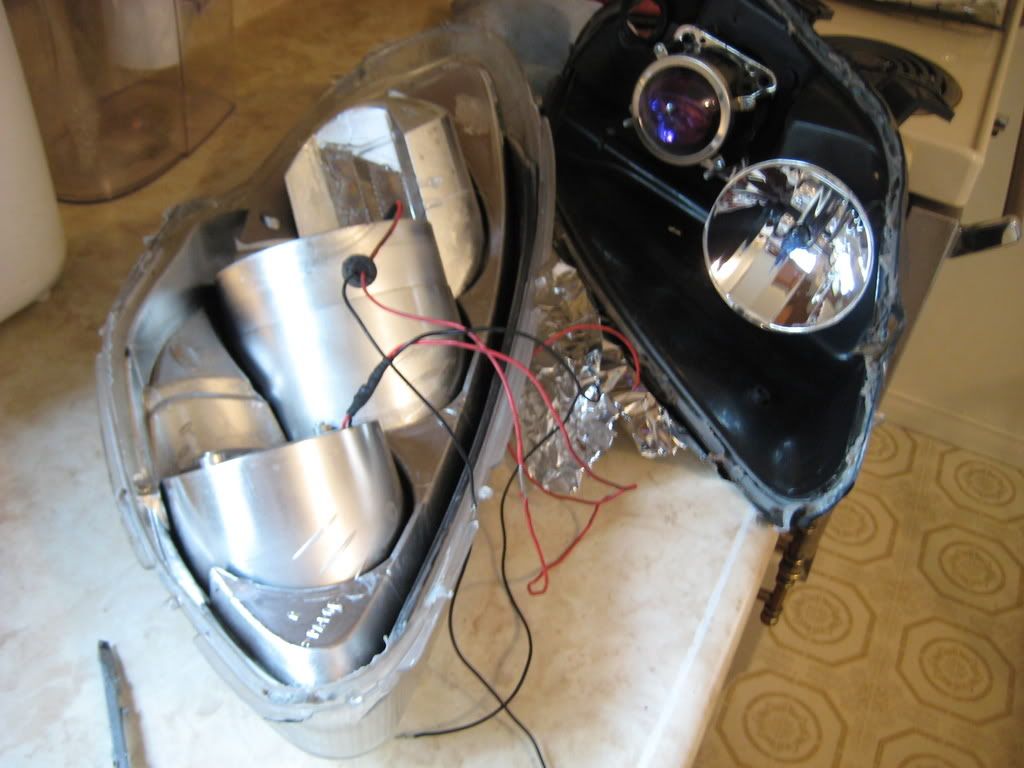
18) Here you can see the difference between both covers.
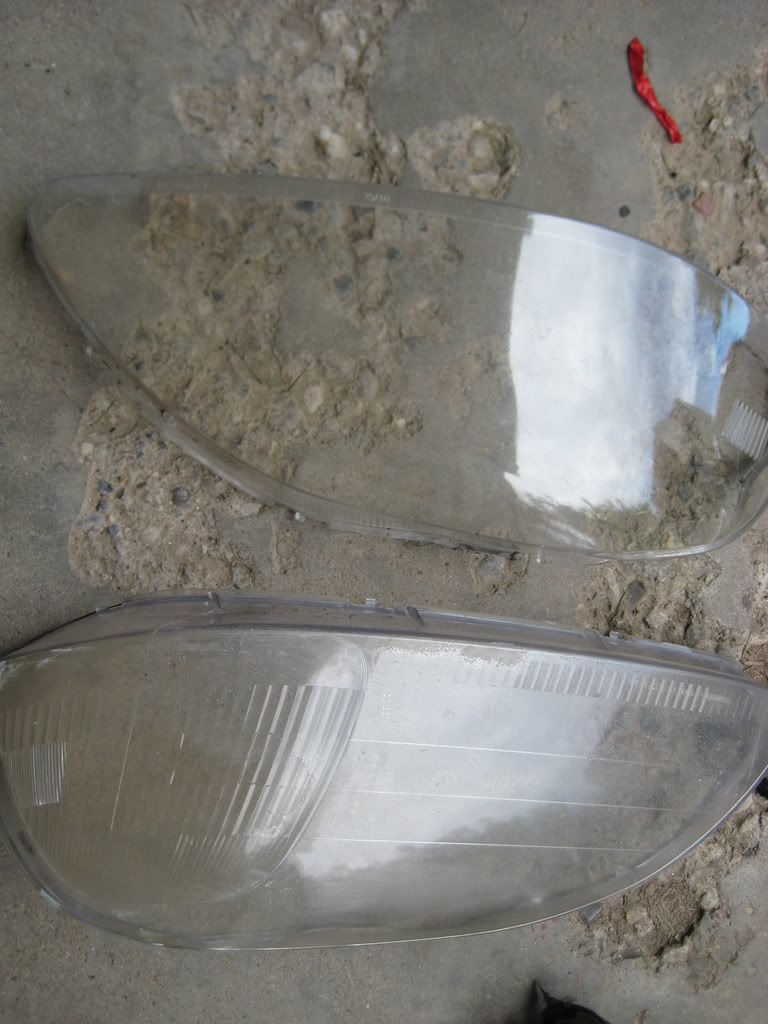
19) Mounting it is easy, there's only 1 secrew required for the aftermarket cover
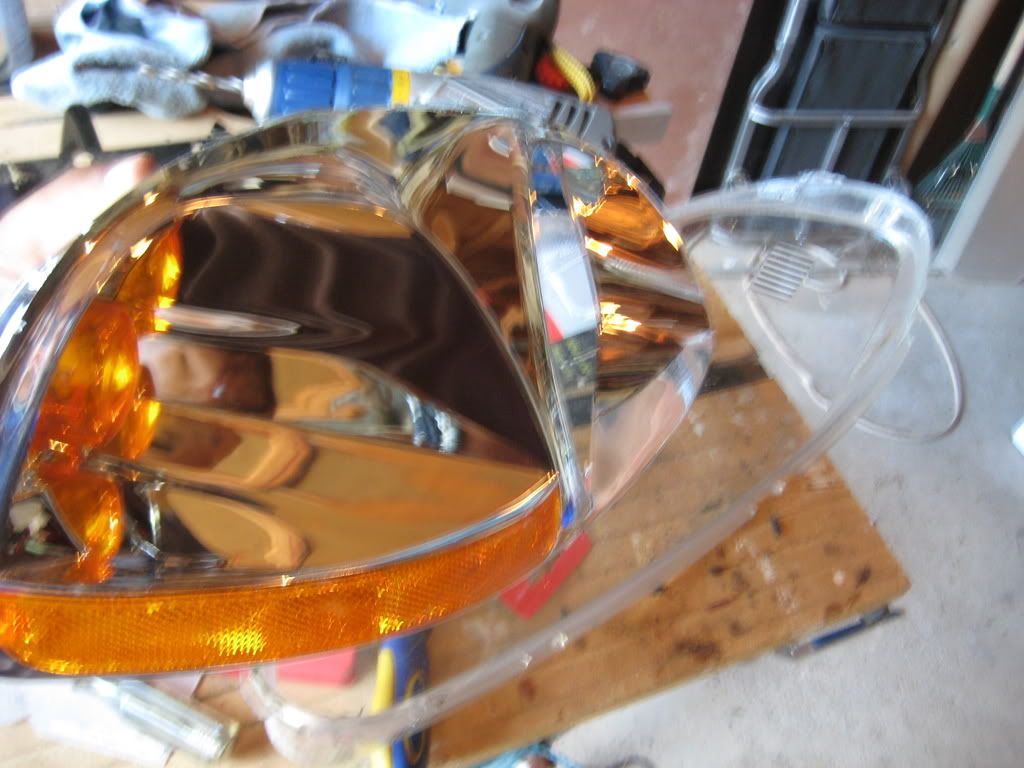
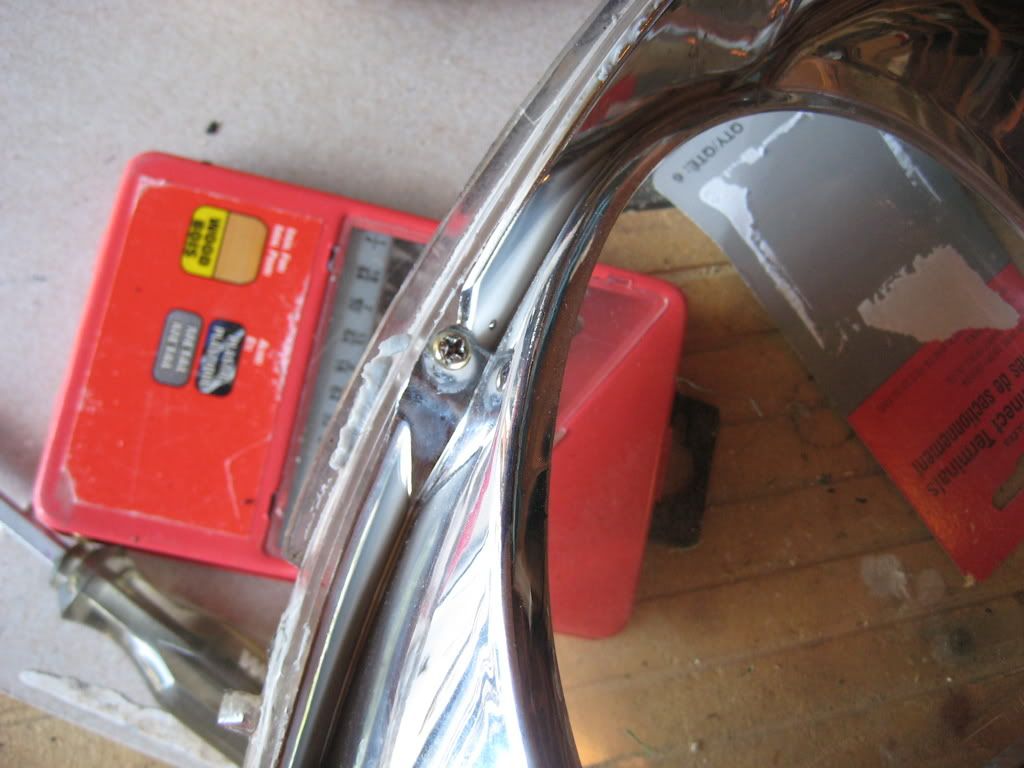
20) Then I mounted it on to the headlights. Use any strong adhesive/glue to do this.
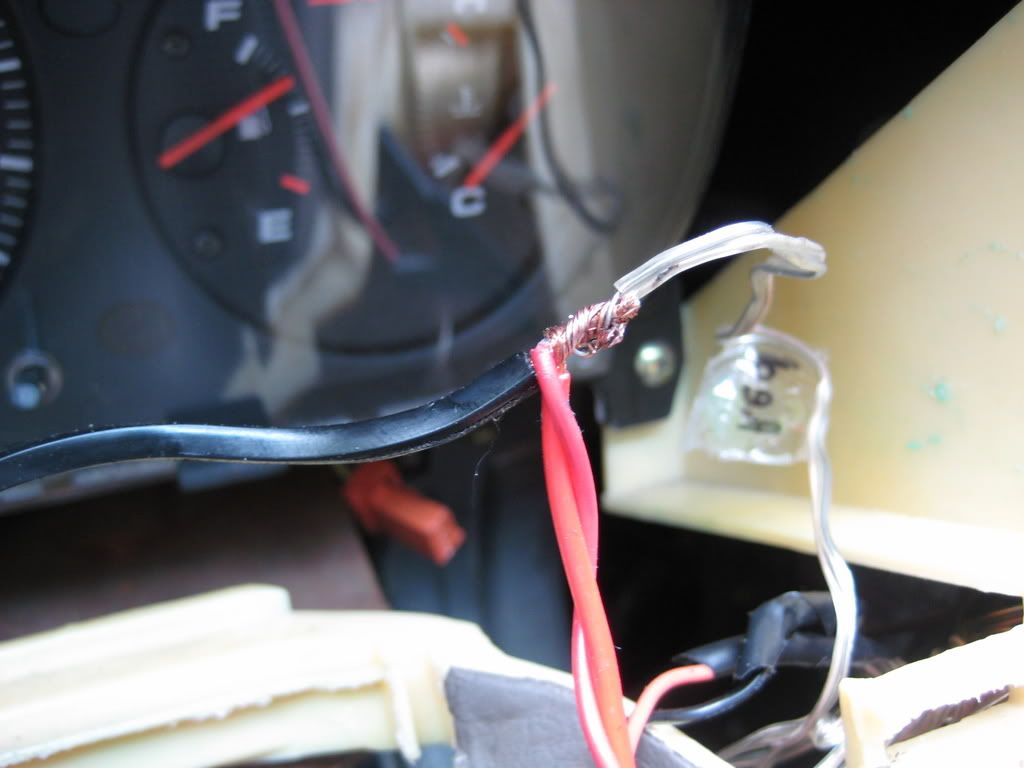
21) After I mounted the retrofitted headlights I had to do all the wiring which took a bit of time. I wired the red LEDs and the LED rings to the ignition wire that way they light up as soon as I start the car instead of the day time running lights (which are required in Canada)
9) Here's what it'll look like with the LED ring around it
10) I primed the shroud and painted it with chrome spray paint to match with the reflector
11) For fun, I also decided to mount these red LED's into the shroud. I quickly drilled some holes into the shorud and mounted them. I ended up applying another layer of paint after I drilled the holes.
12) Next I mounted the LED ring to the shroud
13) Then I mounted the shourd to the headlight reflector
14) Next you have to disassemble your front bumper. There is a screw in each wheel well, 7 plastic screws around the grill and 2 bolts under the bumper.
15) Remove the headlights. Each headlight has 4 bolts holding it.
16) I mounted the HID's to make sure they fit okay (and they did)
17) Then I took my aftermarket headlights apart by putting them in the oven for 375 degrees for 4 min. My reason for doing so was because I wanted to use their cover since it was cleaner and more clear than my stock ones. So I just swapped them from the aftermarket headlights to my stock headlights.
18) Here you can see the difference between both covers.
19) Mounting it is easy, there's only 1 secrew required for the aftermarket cover
20) Then I mounted it on to the headlights. Use any strong adhesive/glue to do this.
21) After I mounted the retrofitted headlights I had to do all the wiring which took a bit of time. I wired the red LEDs and the LED rings to the ignition wire that way they light up as soon as I start the car instead of the day time running lights (which are required in Canada)
Last edited by chocolate_bear; Sep 13, 2008 at 08:58 PM.
Thread Starter
Black magic
Joined: Jan 2007
Posts: 68
Likes: 0
22) Put the bumper back on and then you're all done! This DIY might make this project seem easy, but its quite time consuming. It took me a little over 6 hours.
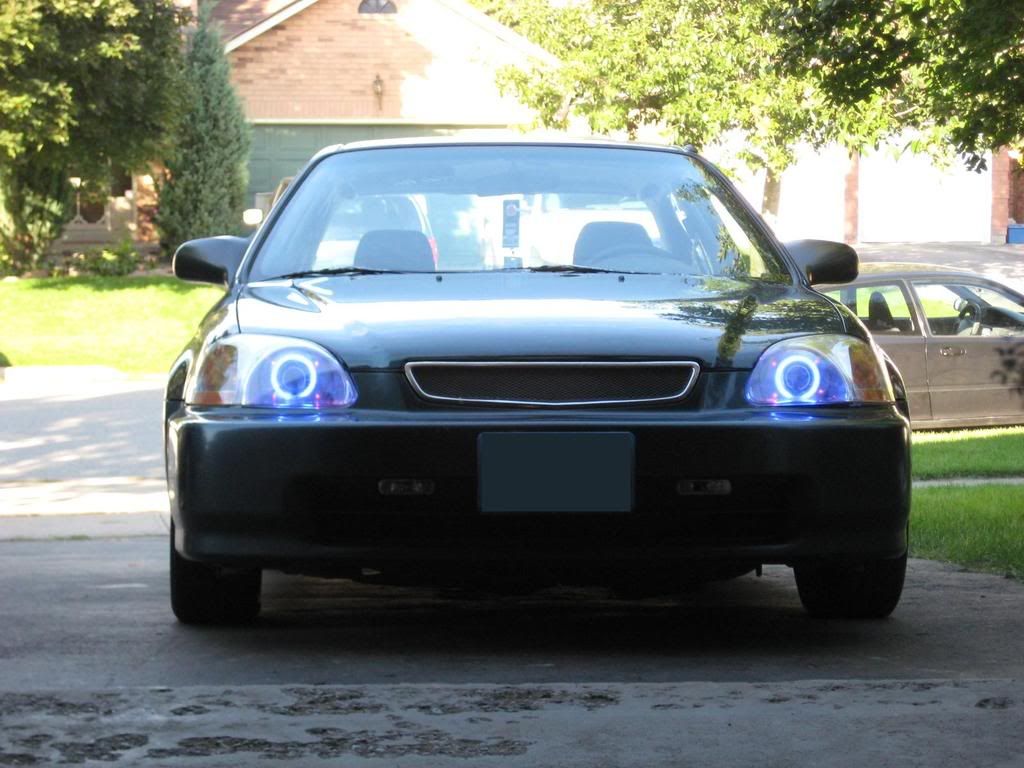
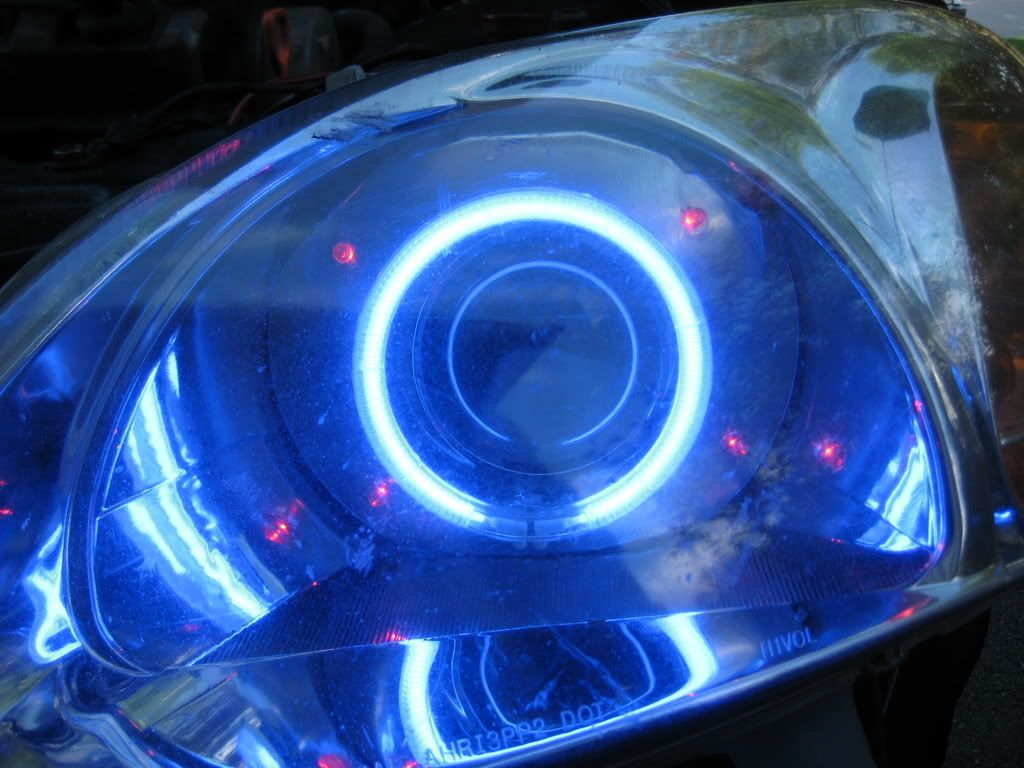
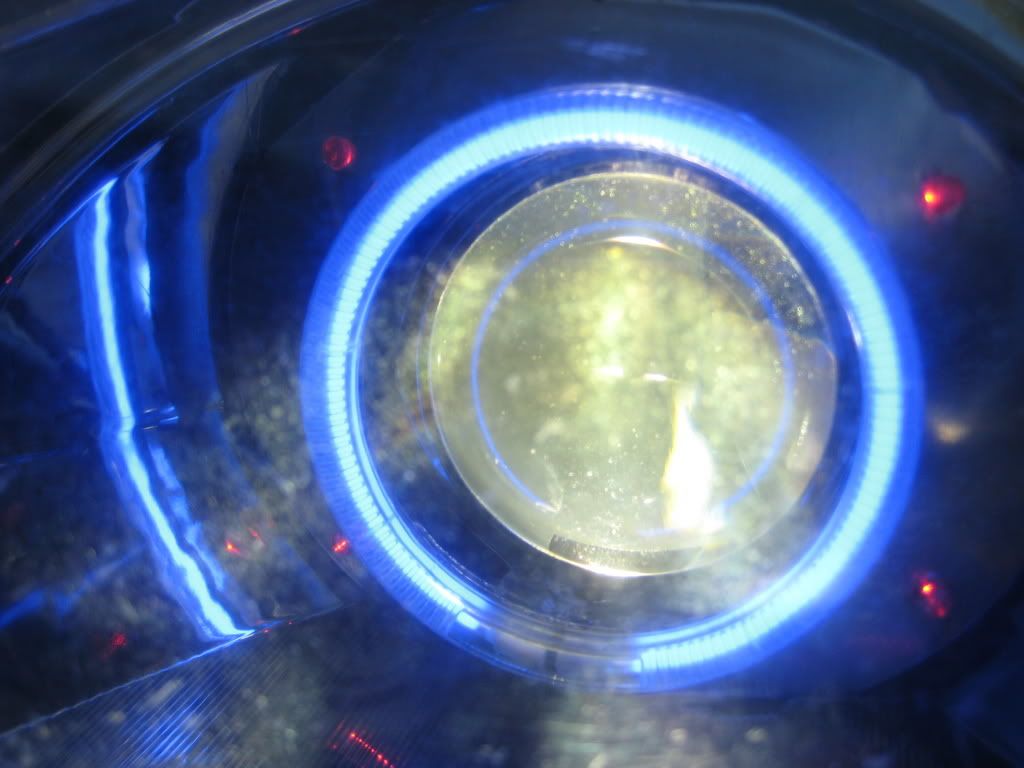
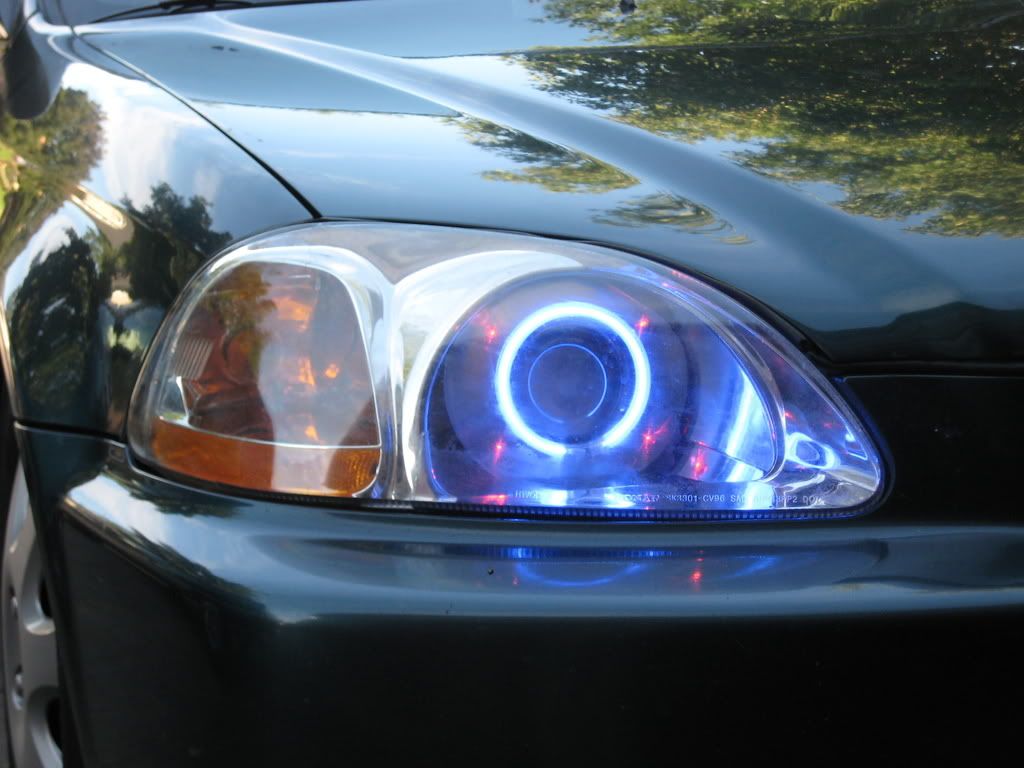
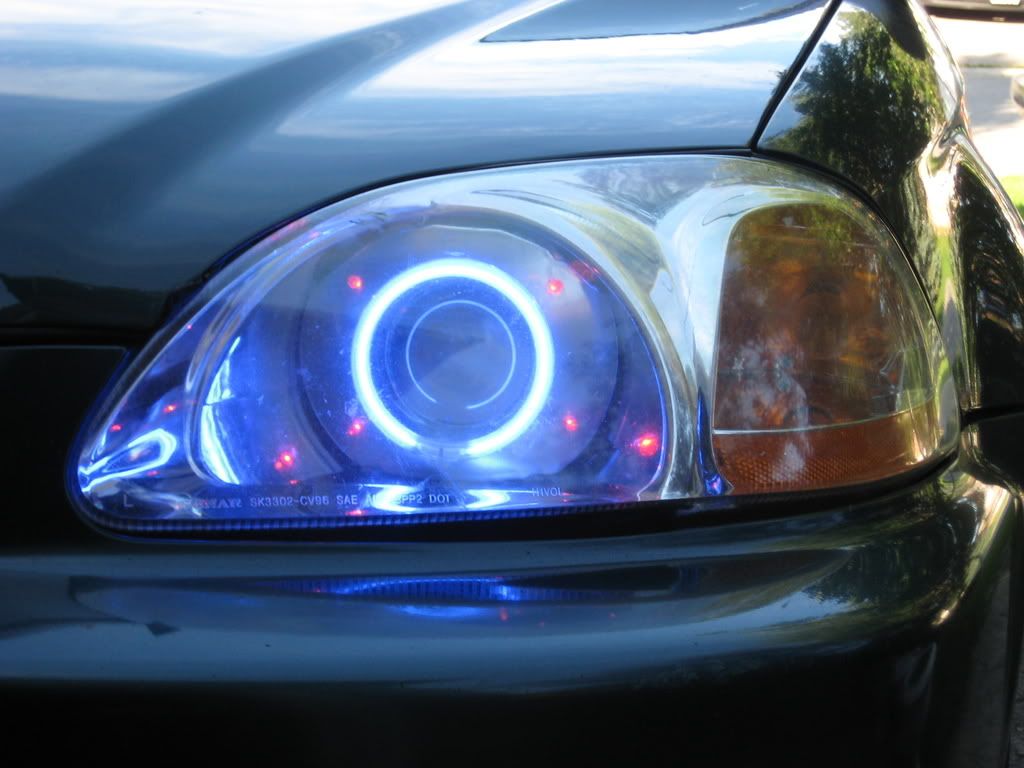
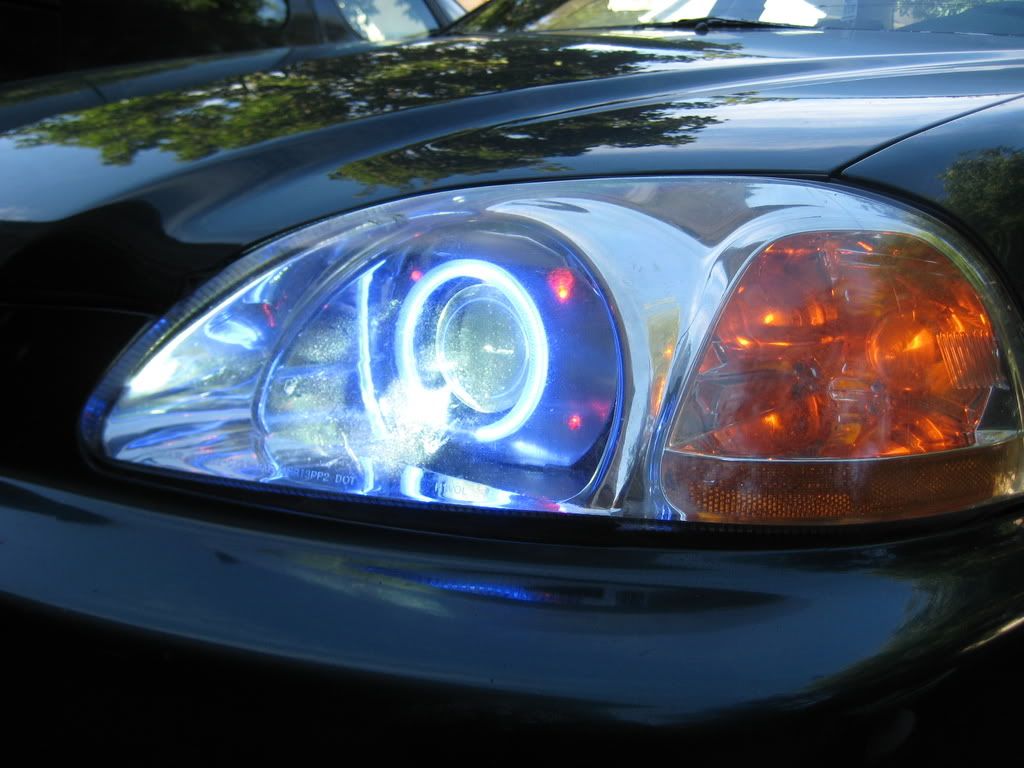
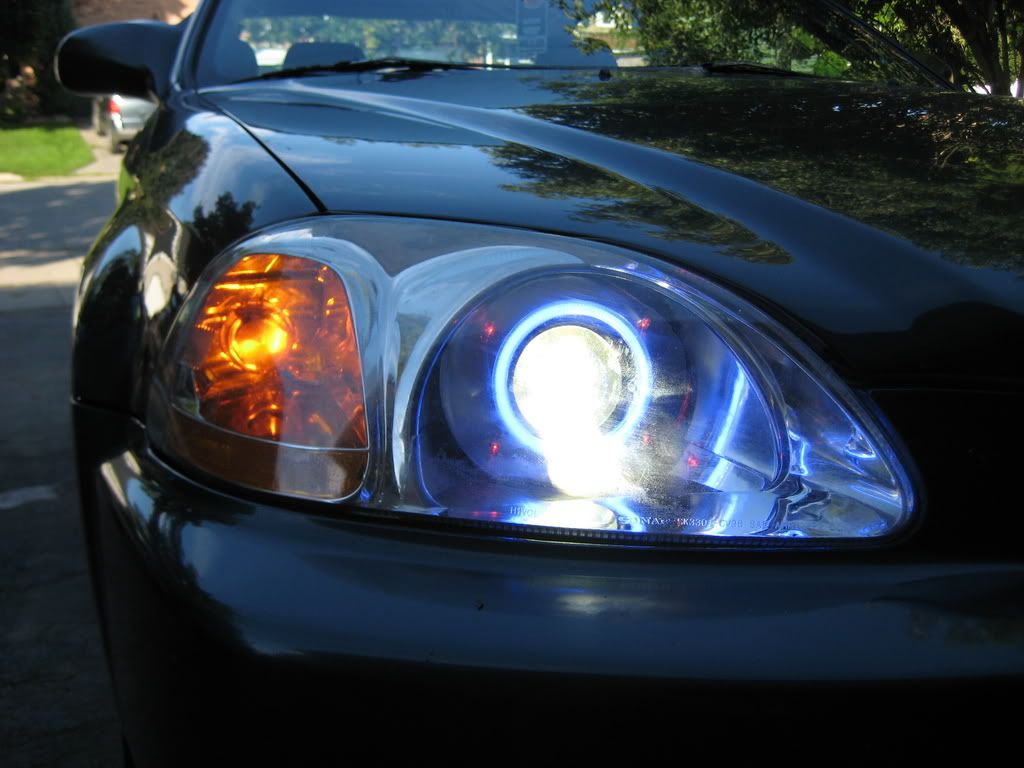
Hope you guys enjoyed this! I really like the way it turned out because the stock headlights are so much nice than the POS ones I had on.
Before:
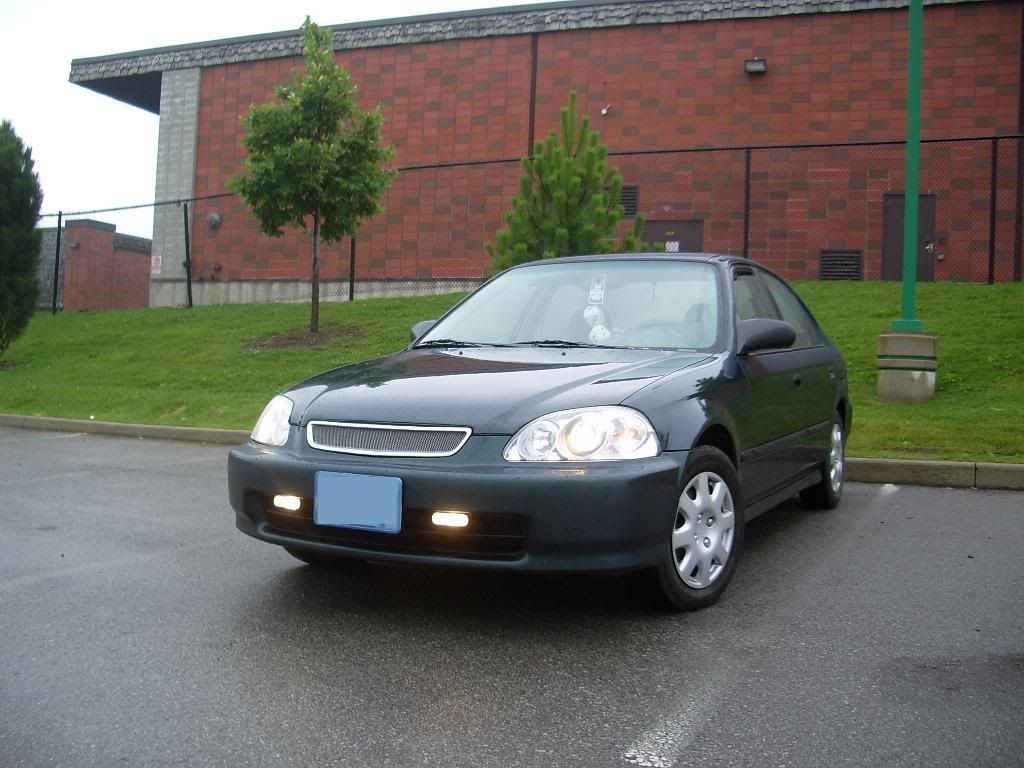
After:
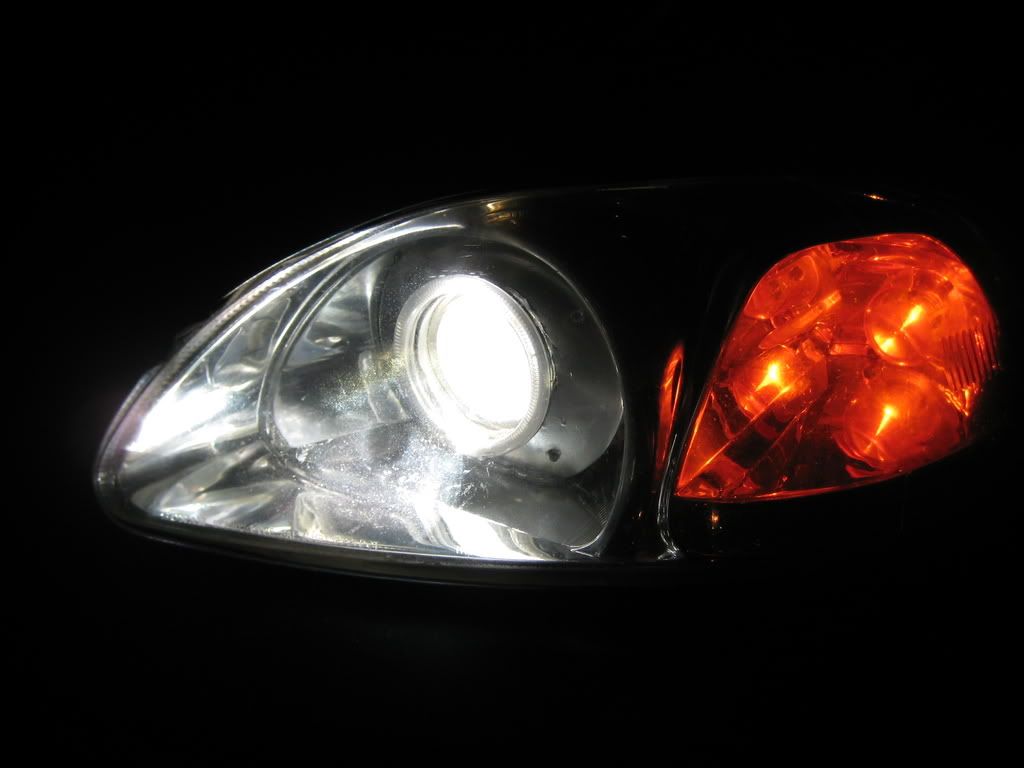
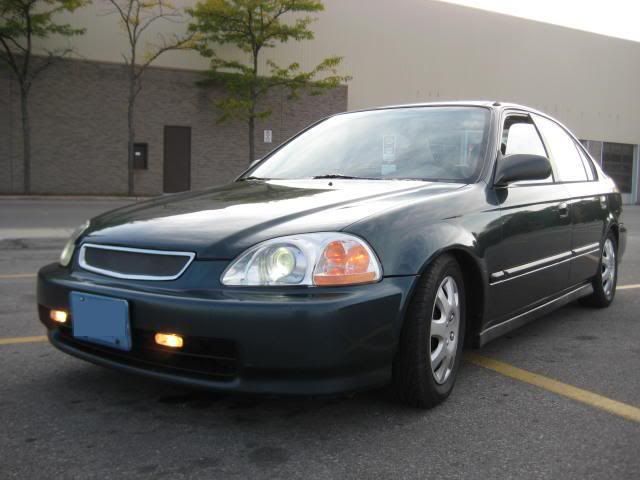
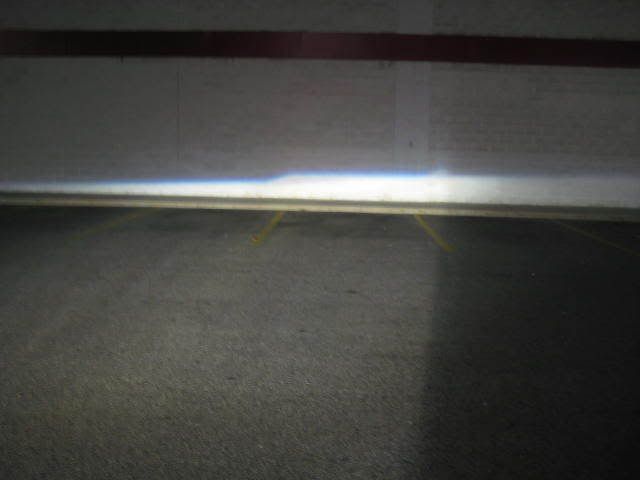
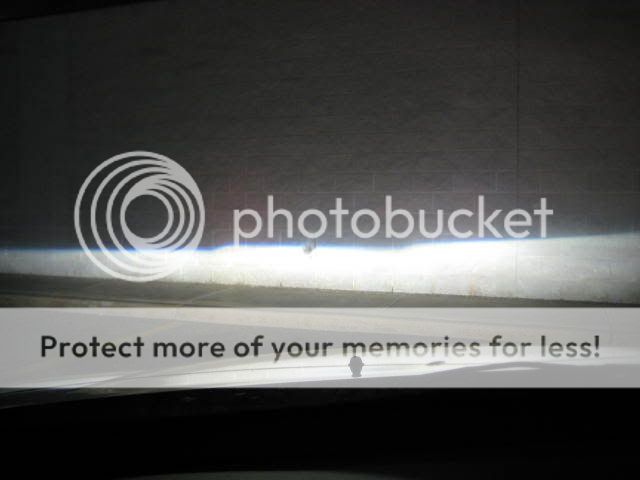
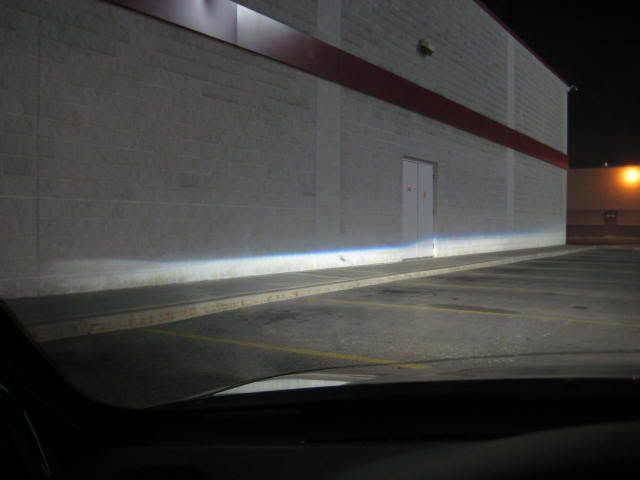
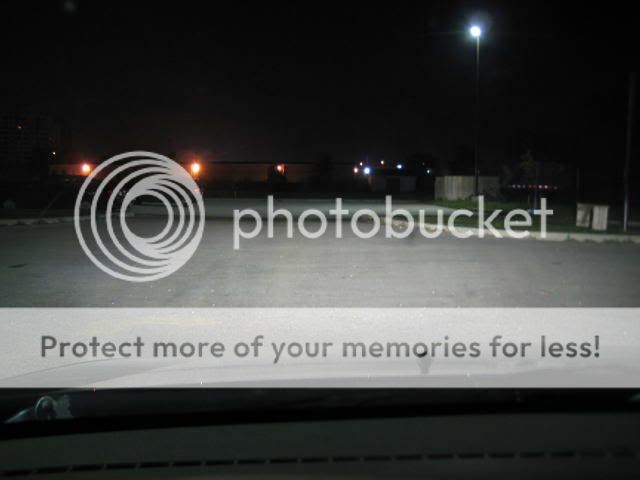
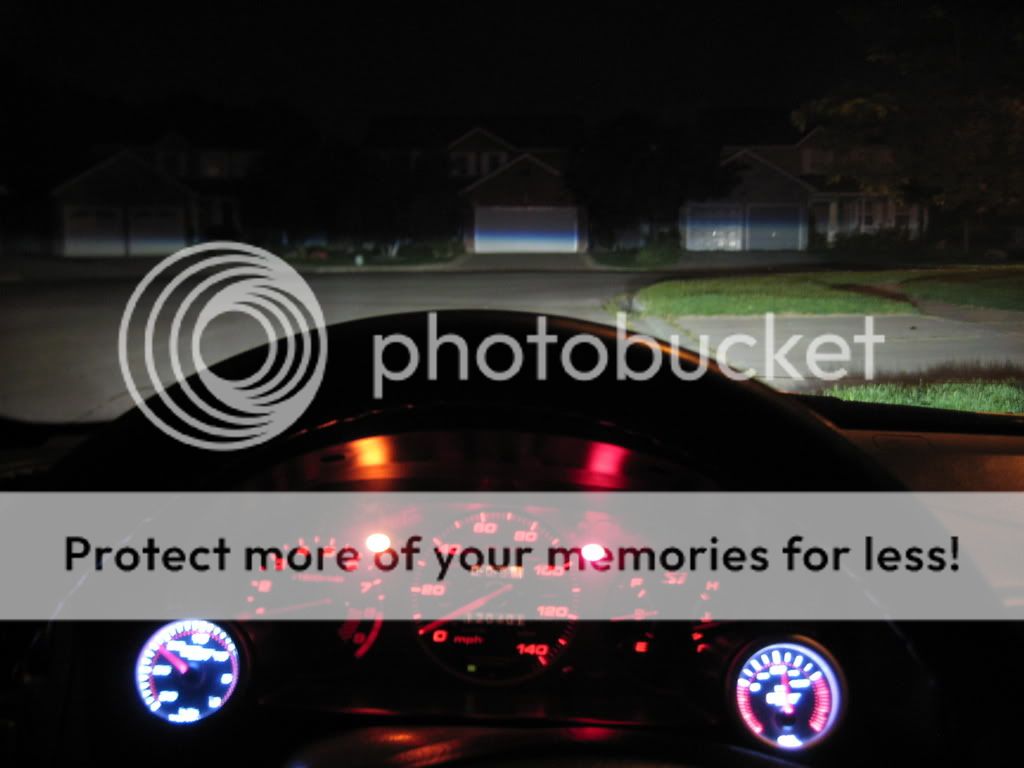
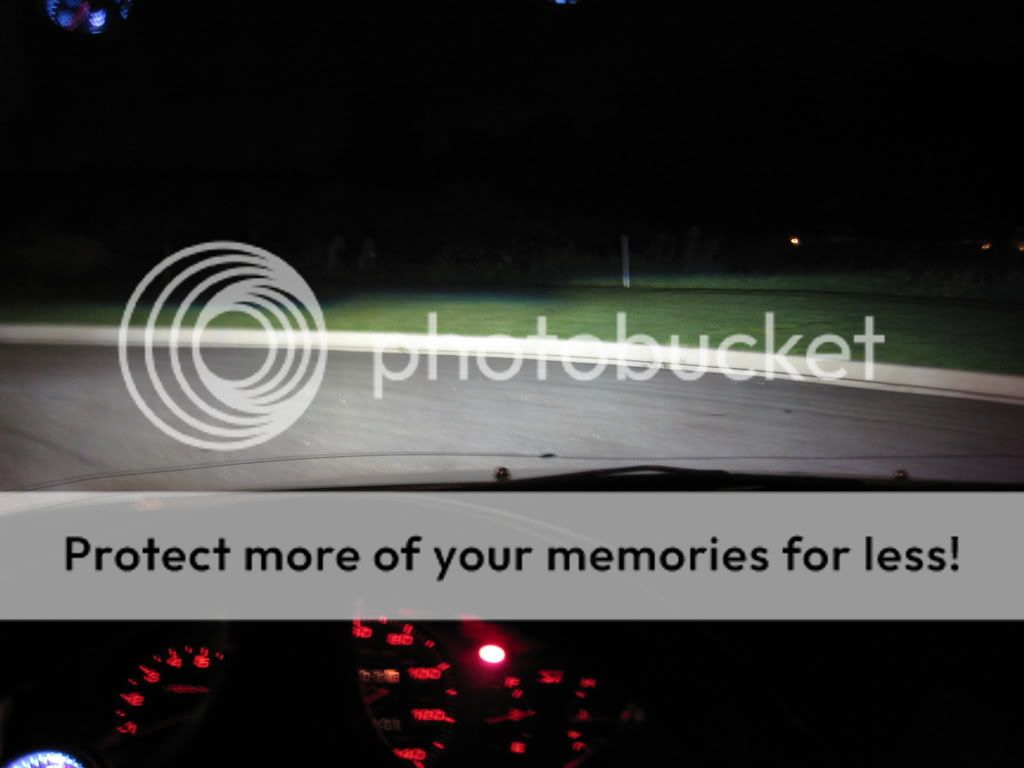
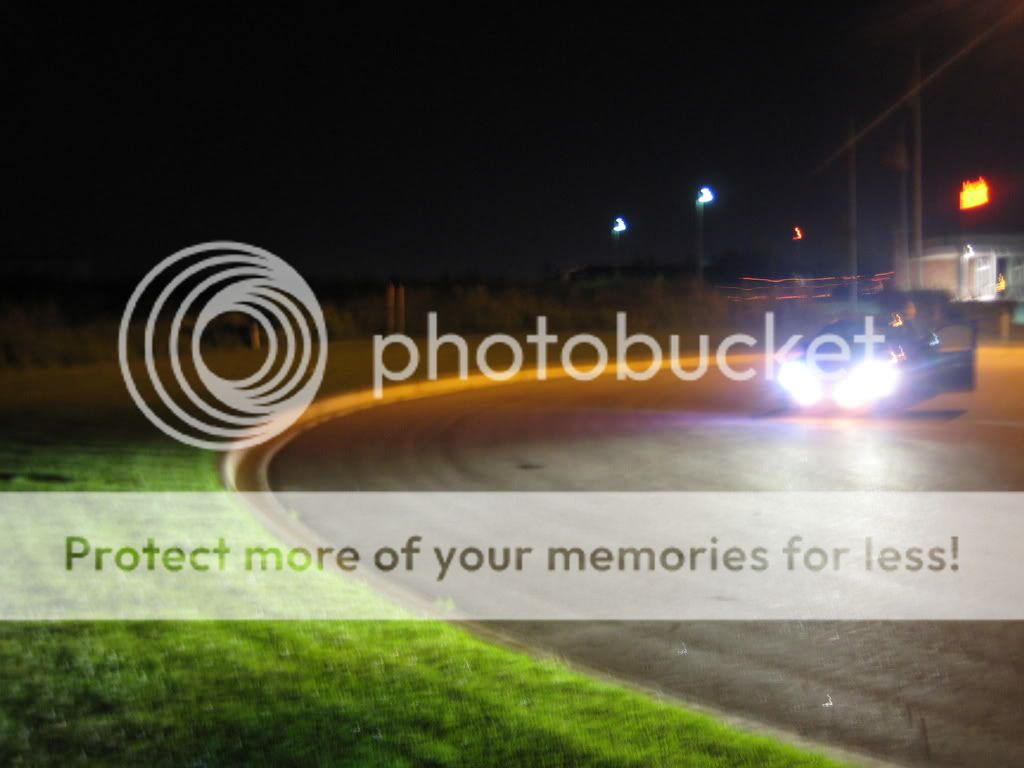
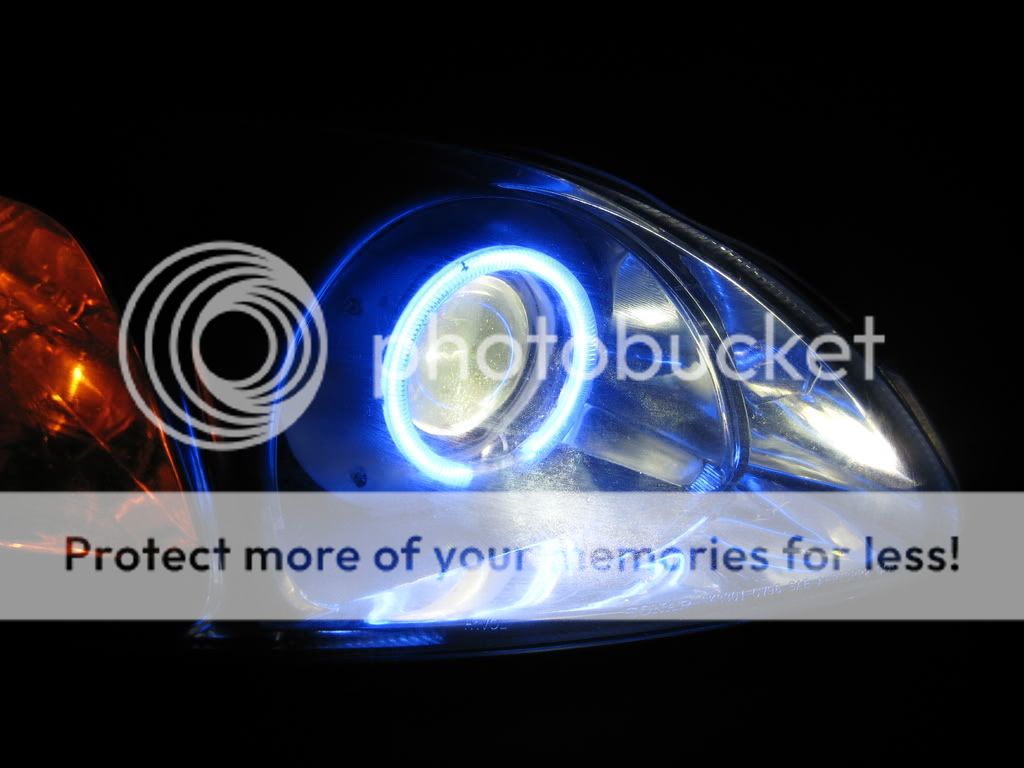
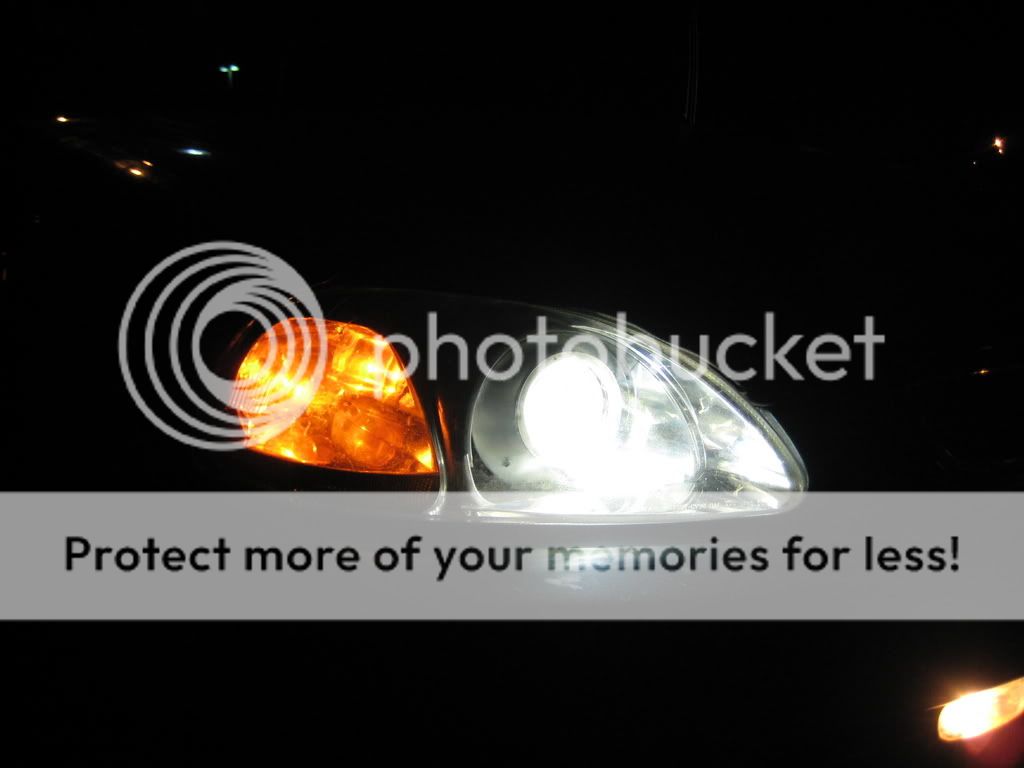
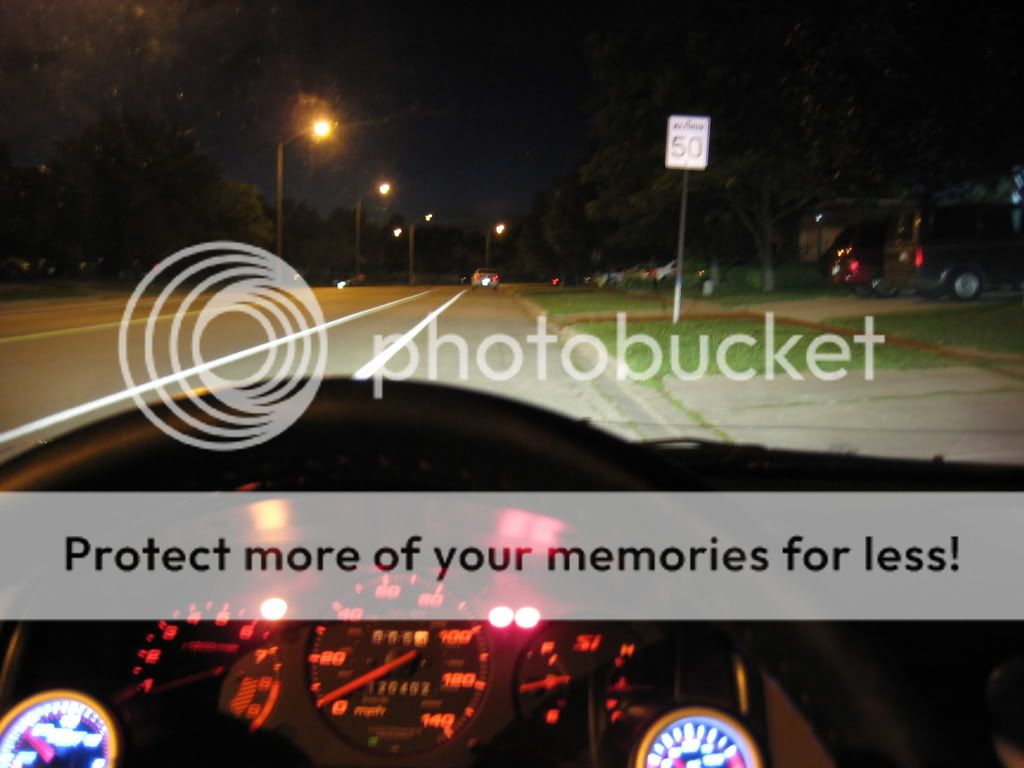
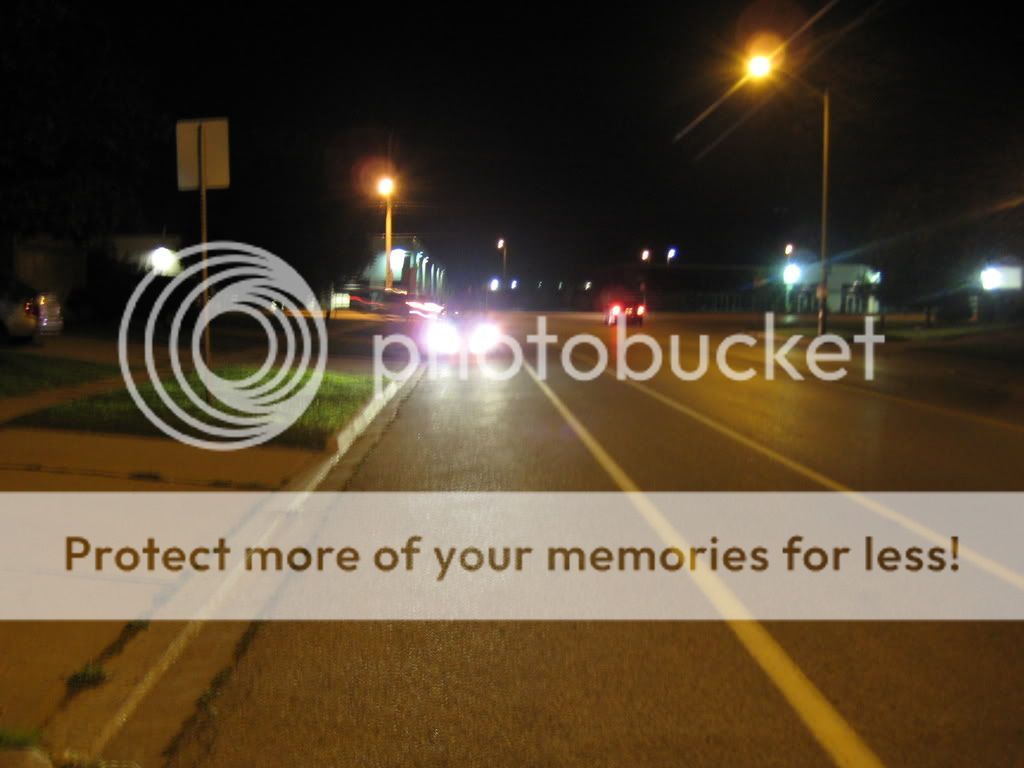
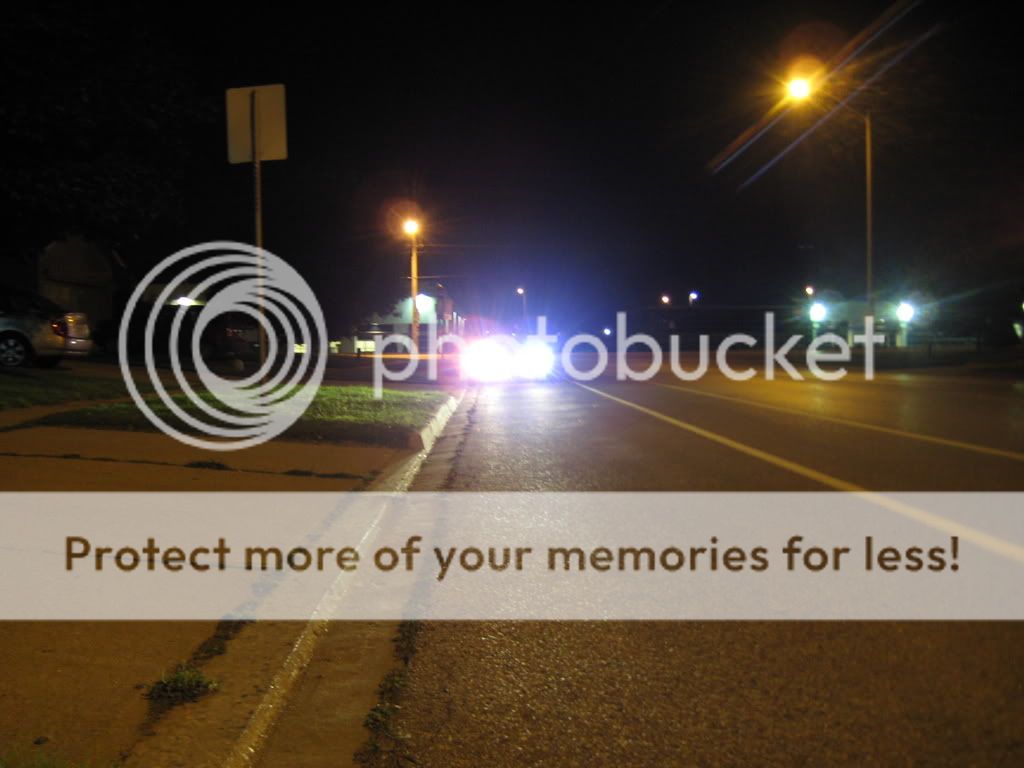
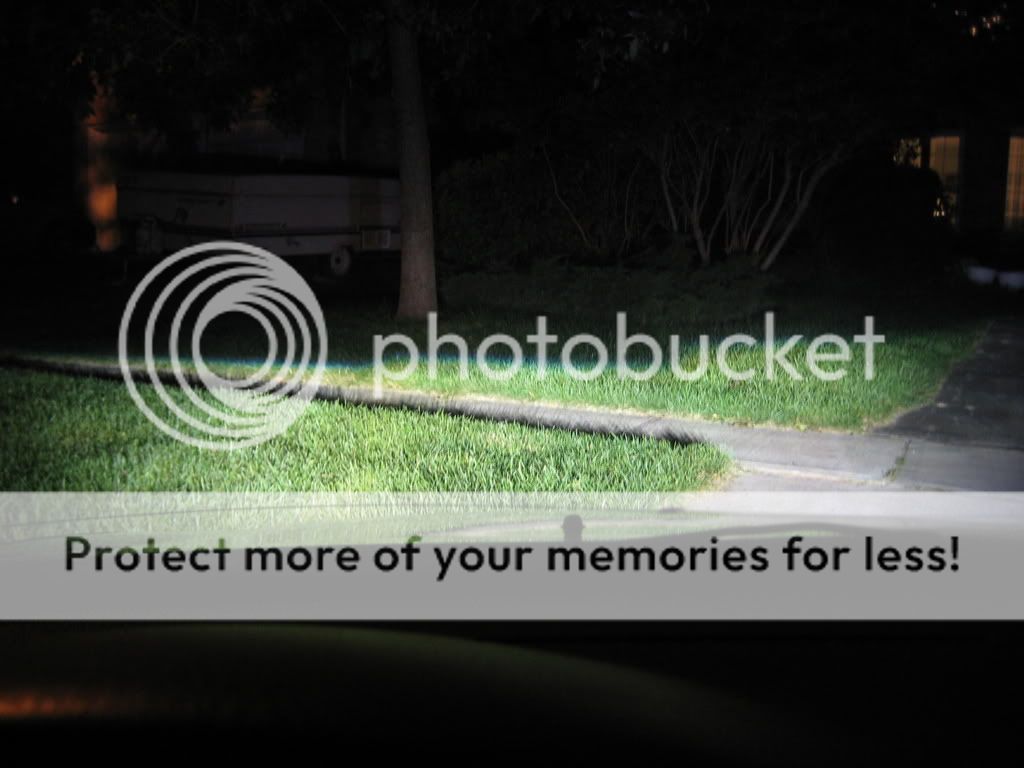
Here are some more pics of the finished product:

Hope you guys enjoyed this! I really like the way it turned out because the stock headlights are so much nice than the POS ones I had on.
Before:
After:
Here are some more pics of the finished product: