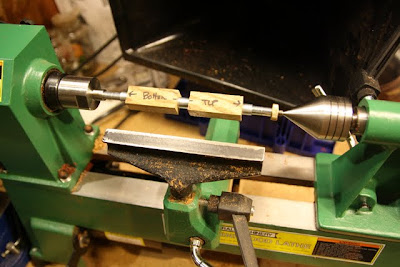
This is the wood on the mandrel, lined up so the grains will match when you're done. Remember, all the markings will be gone once you cut down the wood, so you have know how it's gonna line up when you're done.
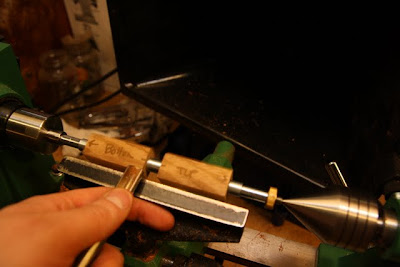
This tool is a rougher, because it's made to just rough cut. It's not really a fine precision tool, but it works for me on pens. If you turn something more intricate, you'd need different tools.
Here the wood is nearly round.
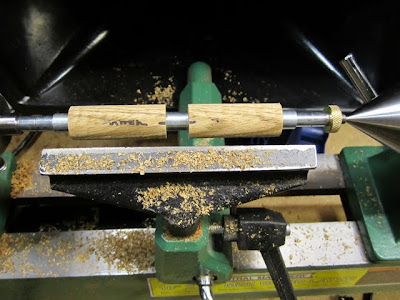
You basically just get rid of all the wood until you're close to the bushings. But this is where the shaping starts. You can do any shape you want. I like just a slight ovalness, but some people do some extremes.
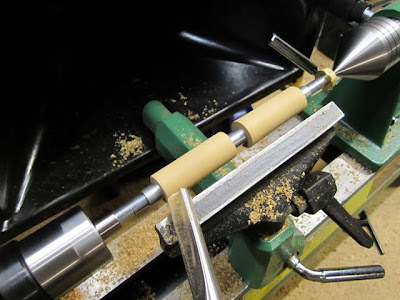
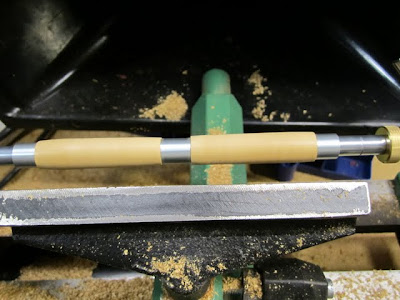
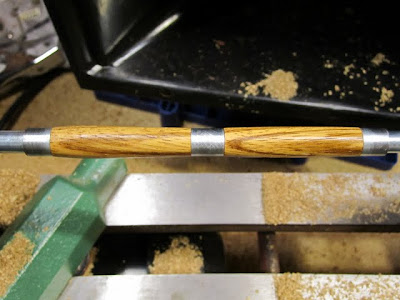
Nearly down to the bushings. This is the final shaping. You don't have to get it exactly to the size of the bushings, but you do want it close. Depending on the finish, you might actually go smaller than them if you're gonna build up a lot of finish. I just go a little bigger and then sand them down.
I usually start sanding with 150 grit, and go up to 600. You can see how rough it started out. This wood was easy to tear.
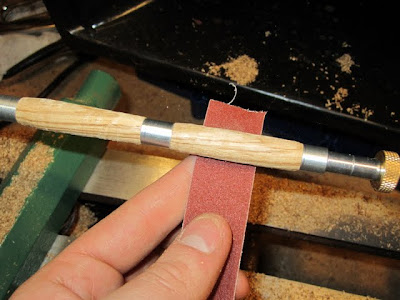
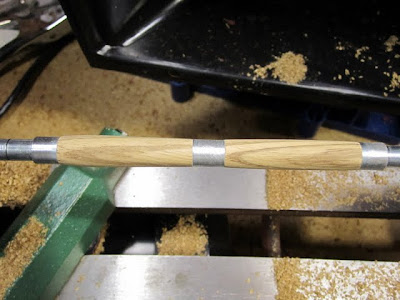
I think for this one I only went up to 400. It depends on the finish. Big difference in how smooth it is.
This is a new finish I'm trying. I start with Boiled Linseed Oil.
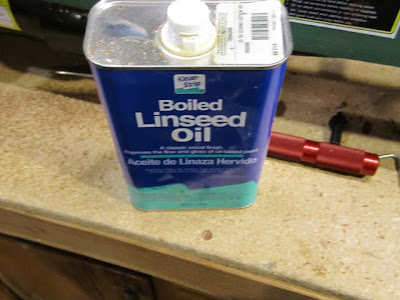
Really makes the grain pop. I didn't get a picture, but after that I do CA glue. I did about 6 coats of CA with BLO in between. I don't think it was enough coats. Some people do up to 20 coats.
One the CA finish is done, I wet sand with micro mesh pads, starting at 4,000 grit and go up to 12,000. I'm tring to get rid of all scratches.
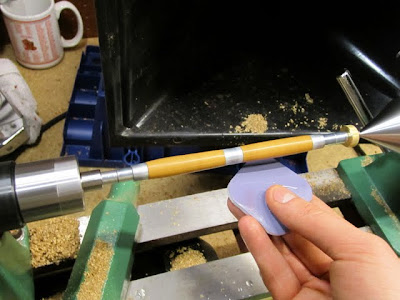
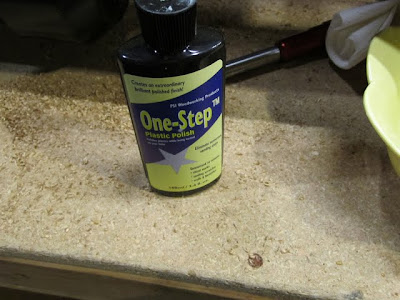
Then I use a plastic polish to get a good shine and buff out any other imperfections. Next on my list is a buffing system which is supposedly 100 times better.
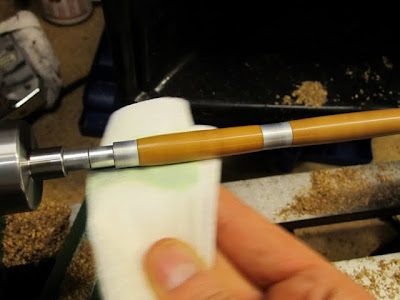
I rub it all over with the lathe stopped
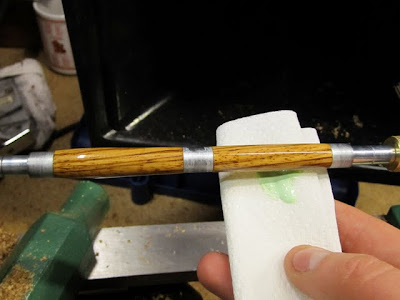
And then buff it out with a paper towel with the lathe on. You need a little pressure, and a little heat.
Then you take all the kit components and figure out how they all go together. Yes, you can do it wrong, and it's a pain to take apart.

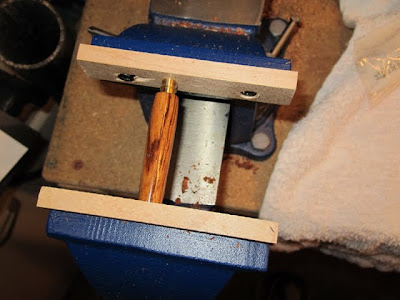
They have fancy contraptions you can buy to assemble them, but I already had a vice. I just put some hardwood faces on it (I think these are maple), and press the parts into place. It's worked so far. You just have to make sure everything goes in straight because you can crack the wood and then you have to start over.
Here's the finished pen.
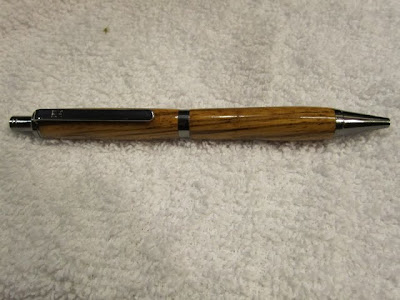
You can see how the grain lined up.
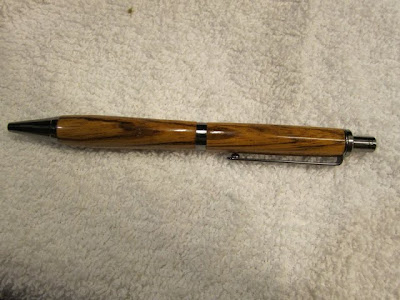
I'm still learning, but it's definitely a fun hobby. This pen took about 45 minutes, but I was stopping to take pictures. A pen like this could take only 20 minutes if I'm feeling it. This pen is also one of my favorites that I've done. I think I've been getting better with every pen I do.