- Jack up the tranny until it's in line with the engine and then pick up the tranny and push the tranny shaft back into the motor. This can be a very tiring ordeal as the splines need to line up correctly. You may need to twist the tranny from side to side to line them up. When everything is aligned correctly, the tranny will slide close to the engine and you will be able to put a couple of the 17mm bolts back in to hold the tranny onto the motor so you can step away.
- Get back under the car and put the flywheel cover back on enough so that it will stay until you can put all of the bolts back in correctly.
- Put all of the upper tranny to enigne bolts back in and tighten them up.
- Jack up the engine/tranny so that you can put the upper tranny mount back on. Tighten the bolts/nuts.
- At this point, I hate to pull a 'repeat steps 2 through 3942832', but that's really all you have to do. Just put all of the bolts back in their place and do it in the order you removed them. I would leave the intake off for now though.
- When reinstalling the axles into the hub, put a bit of that grease onto the splines of the axles so that they do not rust inside of the hubs.
- When you have the lower balljoints back in place, torque them to 47 ft/lbs.
- Also, torque the axle nuts to 134 ft/lbs and bend the outer lip of the nut down where the cutout is on the axle to keep the nut from working its way off the axle. You may need that helper to hold the brakes for you while you torque the nut back down.
- Torque the wheel lug nuts down to 80 ft/lbs
- Once you have everything reinstalled, refill the transmission.
- Start by putting the oil pan under the outer end of the tranny and removing the check bolt on the end of the tranny. It's a flat bolt with a square hole in it that you use a 3/8" ratchet to remove. Take this bolt out.
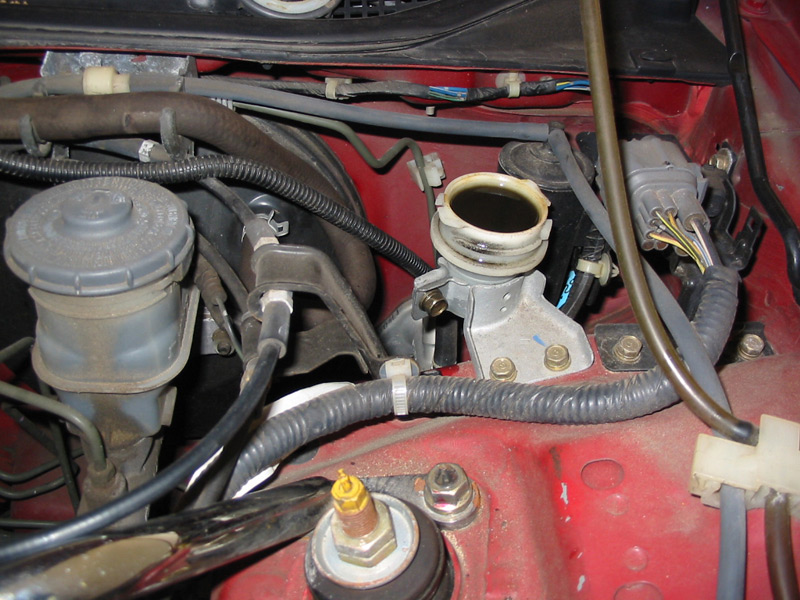
- Also remove the 10mm bolt that holds your speed sensor in place and pull the speed sensor out of the top of the tranny. It will look like this when it's out:

- Use a long funnel and put it in this hole. Pour just over 2 quarts of MTF into the funnel until you see it start to run out of that check hole where you removed that flat bolt.
- Reinstall the flat bolt and the speed sensor. Reconnect the wiring plug to the speed sensor.
- When all is said and done, you can go ahead and bleed the clutch if you choose to. We did not open the line up at all, but this car had not had it done before so we thought it would be a good idea.
- Start by removing the small rubber cover from the bleeder valve on the slave cylinder. I use a little 'easy bleeder' bottle and a tube to make it simple.

- Remove the clutch master cylinder reservoir cap and fill it up with clutch/brake fluid.
- Have your helper pump the clutch and hold it while you loosen the 8mm bleeder valve. Repeat this process until you are sure that there is no air bubbles coming out.
- Keep an eye on that reservoir because if it runs out of fluid you have to start all over and there will be a whole lot of air in the system.
- When you're sure that the air is all gone, tighten up the bleeder valve, remove your easy bleeder canister, put the rubber bleeder valve cap back on, fill the reservoir back up, and reinstall the cap of the reservoir.
That should do it. You now have a brand new clutch and flywheel installed on your car and possibly more if you went with new axles.
If you have any questions or need some pointers let me know. This is a pretty involved job so take your time and be meticulous. Extra parts is a bad thing. :nono:
Hope this helps someone!
