Hazy headlight repair DIY sort of...
 11-04-2008, 10:19 AM
#1
Thread Starter
Join Date: Oct 2000
Location: Location Location
Posts: 44,908
Likes: 0
Received 0 Likes
on
0 Posts
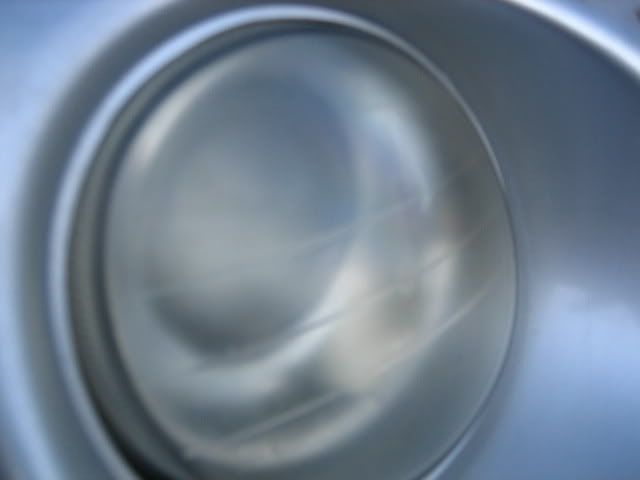
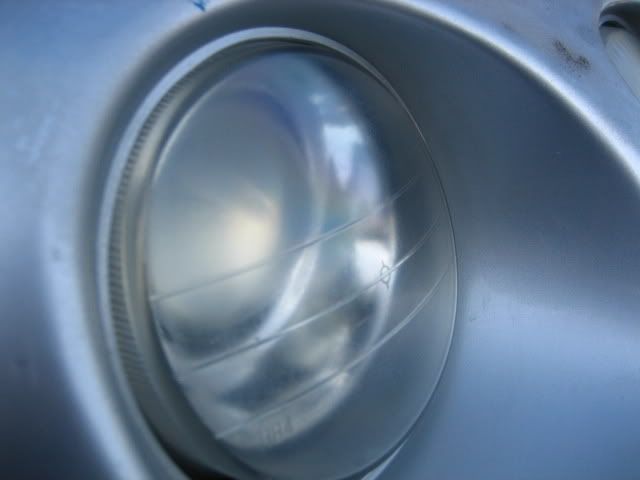
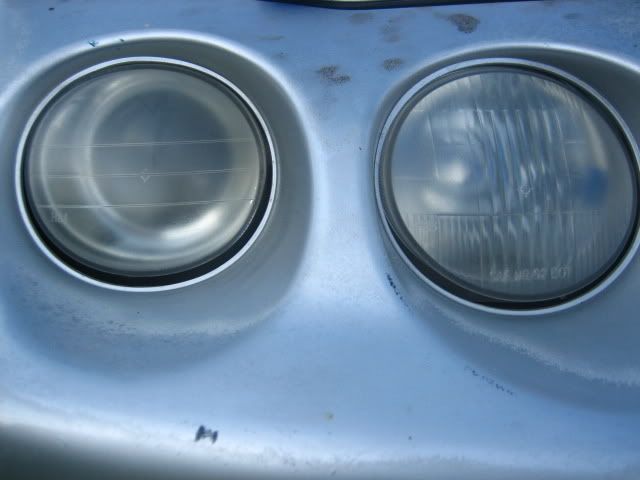
First three photos show the before. The last three show the after. This was done on b00gers car.


Tools needed:
1500 or finer sand paper (small sheet is all you need)
plastic polish (should be plastic specific)
cordless drill or a corded drill
blue painters tape for delicate surfaces
cloth buffing wheel (I bought a set from Sears for $15 that came with 3 different sizes)
First rip a small piece of the sand paper. About 1" x 1" is all you need. Wet the sand paper in water or your wash bucket. Using your fingers and light pressure wet sand the "haze" off of the headlight lens. This can take a little while but well worth it.
Don't worry about the foggy (light scratches) look you leave after wet sanding. The idea is to remove the hazy build up as and minimum amount of actual plastic.
Next using the painters tape, tape up the area around the headlight. Extend about 2" beyond the head light lens.
Take the 2" buffing wheel and attach it to the drill. Next take the plastic polish and apply it to the buffing surface of the wheel as well as a light coat on the head light lens. Take the drill and start buffing the head light lens. Start from the top and move horizontally across and down then back up. Stop the wheel and apply more polish if needed, then start from the left side then move up then down across to the right side. Repeat this pattern until you see the light scratches disappear.
With every cycle wipe off the lens with a cloth and inspect the lens. Once polished to your satisfaction move on to the next lens.
Once done with the polishing, if you have a plastic protectant that guards against UV apply it to the lens. (I just used 303).
__________________
'00 Dakar Bus CRS Edition
LCD Squad #0001
'00 Dakar Bus CRS Edition
LCD Squad #0001
Originally Posted by WiLL
...I really wanna get out and shoot people.
Last edited by DakarM; 11-04-2008 at 10:22 AM.
 11-05-2008, 11:09 AM
#4
Thread Starter
Join Date: Oct 2000
Location: Location Location
Posts: 44,908
Likes: 0
Received 0 Likes
on
0 Posts
should achieve the same results just might take longer with compound and wax.
__________________
'00 Dakar Bus CRS Edition
LCD Squad #0001
'00 Dakar Bus CRS Edition
LCD Squad #0001
Originally Posted by WiLL
...I really wanna get out and shoot people.
11-08-2008, 10:01 AM
#5
www.ufc.com
Join Date: Sep 2004
Location: Irvine CA
Posts: 2,920
Likes: 0
Received 0 Likes
on
0 Posts
11-17-2008, 05:54 PM
#6
Junior Member

Join Date: Oct 2008
Location: Oxnard, CA
Posts: 14
Likes: 0
Received 0 Likes
on
0 Posts
That looks cool But I didn't use sand paper or any kind of drill or anything else, when I did mine, all I used was a product I don't know if I can say the name of it(if I can plz. let me know so I can post it)
before pic.
After pic

before pic.
After pic
 11-18-2008, 05:02 AM
#8
Your Powder Coater
Join Date: Mar 2004
Location: Girard, Ohio
Posts: 4,463
Likes: 0
Received 0 Likes
on
0 Posts
try a buffer next time, works way better than a drill.
i usually remove the front bumper when i do the teg ones.
My steps.
Wetsand 1500 grit
3m cut compound (with buffer)
3m rub compound (with buffer)
3m swirl mark remover (with buffer)
coat of wax for shits & giggles (by hand)
Those didn't come out bad tho. Good work!
i usually remove the front bumper when i do the teg ones.
My steps.
Wetsand 1500 grit
3m cut compound (with buffer)
3m rub compound (with buffer)
3m swirl mark remover (with buffer)
coat of wax for shits & giggles (by hand)
Those didn't come out bad tho. Good work!
11-25-2008, 12:17 PM
#9
Junior Member
Join Date: Oct 2008
Location: Oxnard, CA
Posts: 14
Likes: 0
Received 0 Likes
on
0 Posts