DIY: LED Climate Control and Brake Light
 08-21-2008, 06:04 AM
#1
Black magic
Thread Starter
Join Date: Jan 2007
Posts: 68
Likes: 0
Received 0 Likes
on
0 Posts
Hello everyone,
I wanted to do these two mods for a while and since I recently finished my exams I've finally had the time. I couldn't find any DIY's so I decided to quickly make one.
What you'll need:
- flat head screw driver
- philips screw driver
- electrical wire
- led strips (I bought mine here: http://www.lck-led.com/p102/New-12%2...duct_info.html)
- about an hour of your time
- some patience
Climate Controls
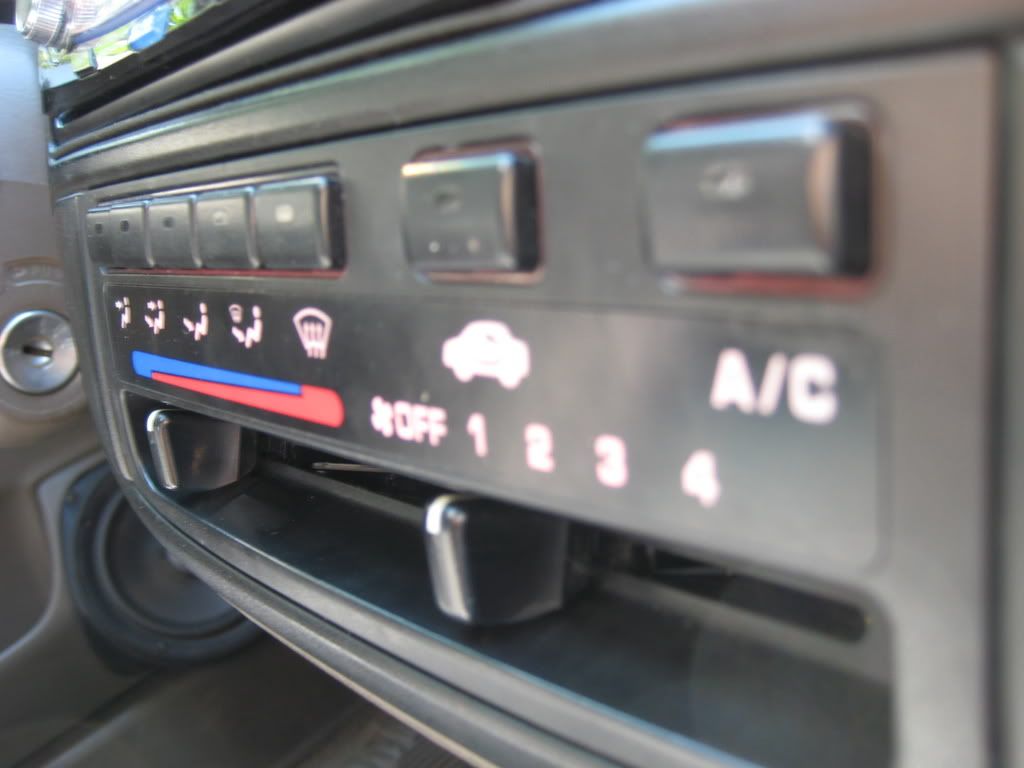
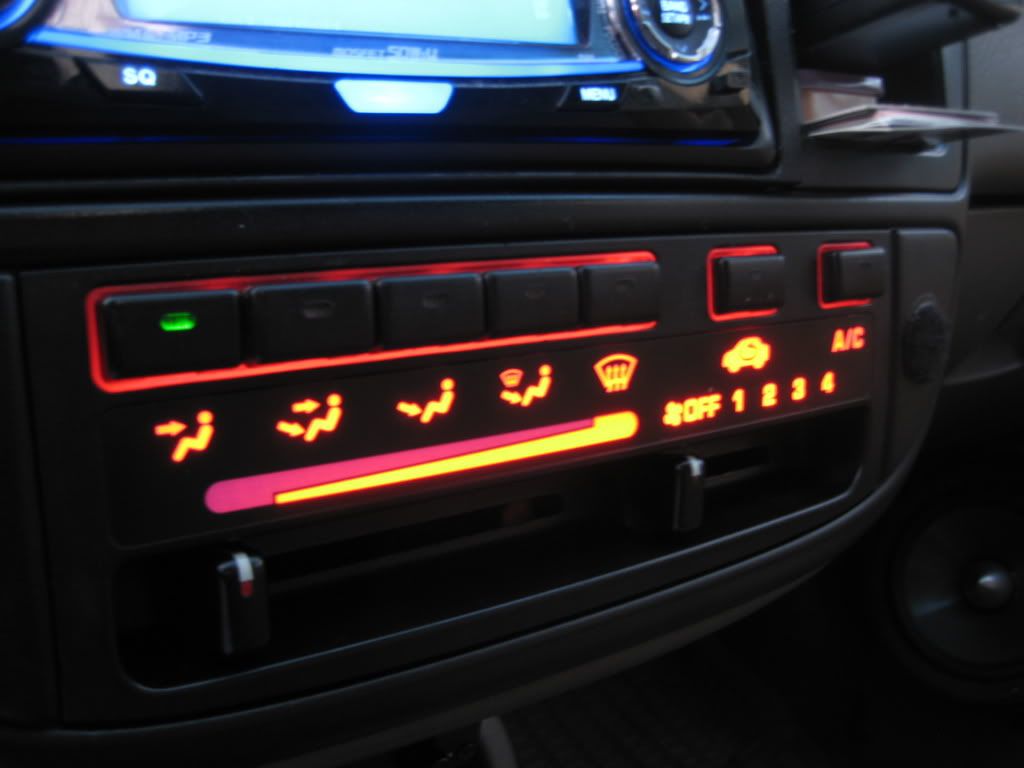
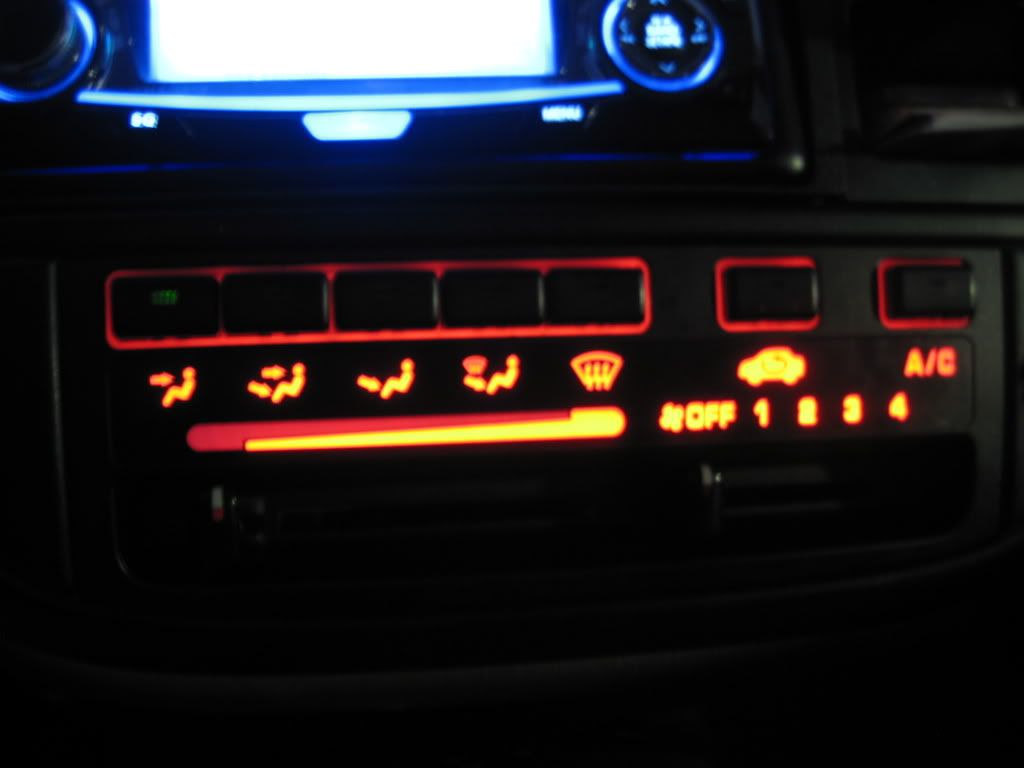
I did this mod because the stock light doesn't match well with my Si cluster which lights up red. I couldn't live with this =)
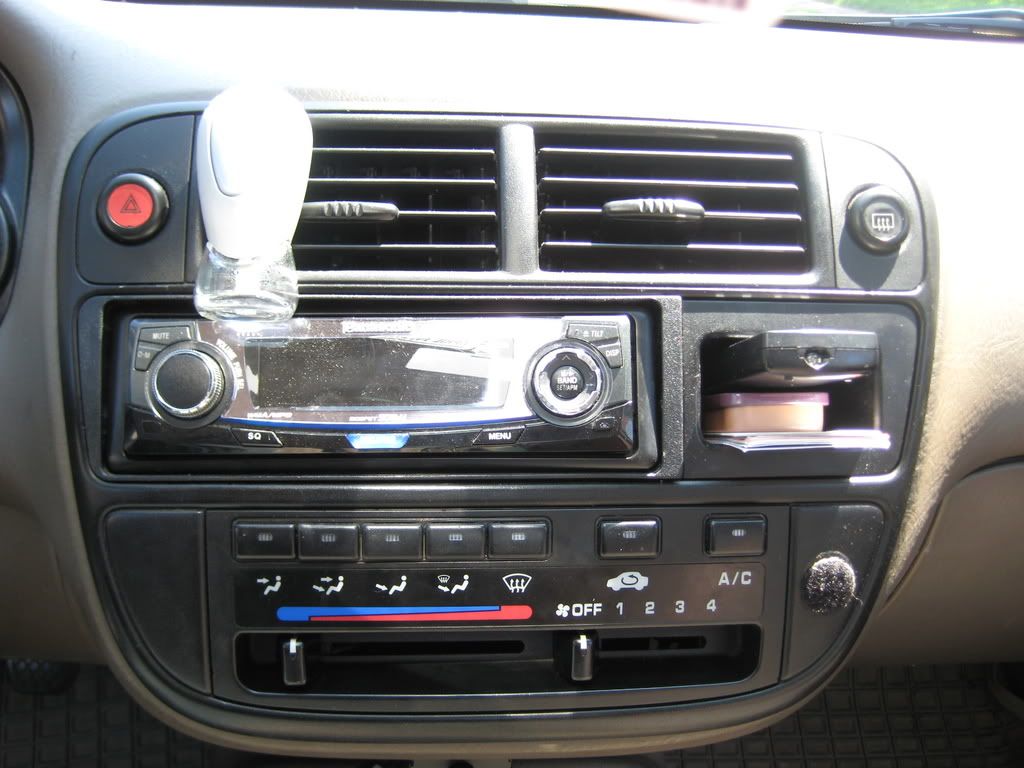
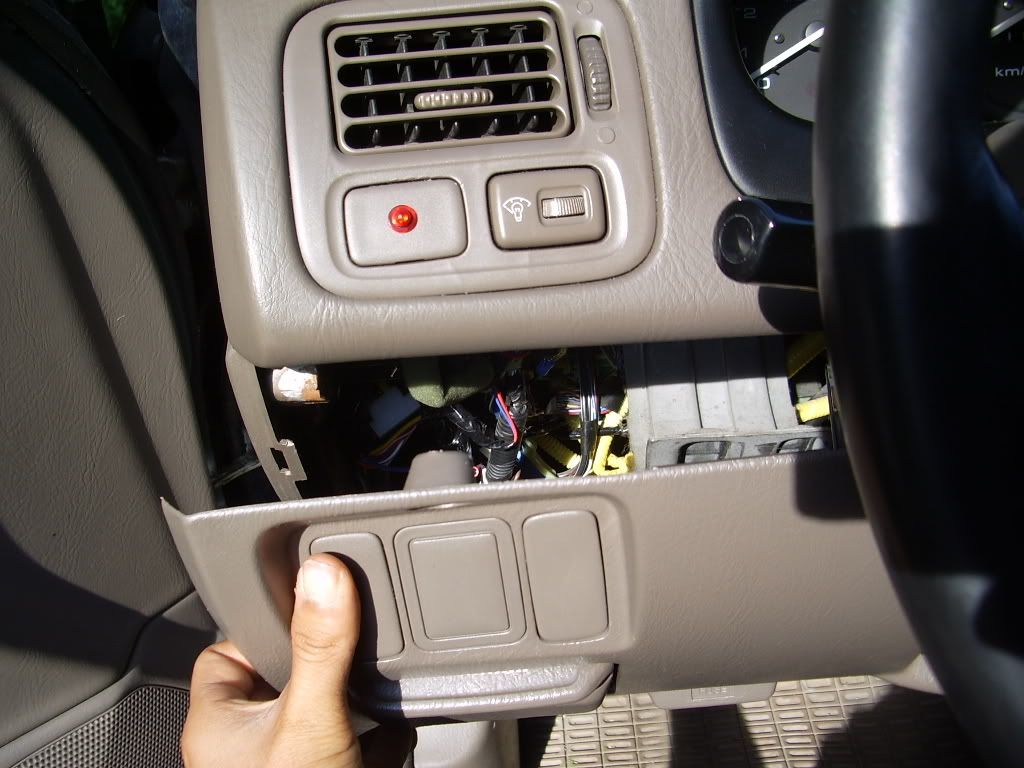
1) Pop out the hazard signal and the rear defrost switches. Use a flat head screwdriver to pry them out and be careful not to wreck your dash.
2) When they are out, remove unplug the harness. You can see that there is a golden philps screw behind each switch. Take them out.
3) Remove the two golden screws under your centre panel.
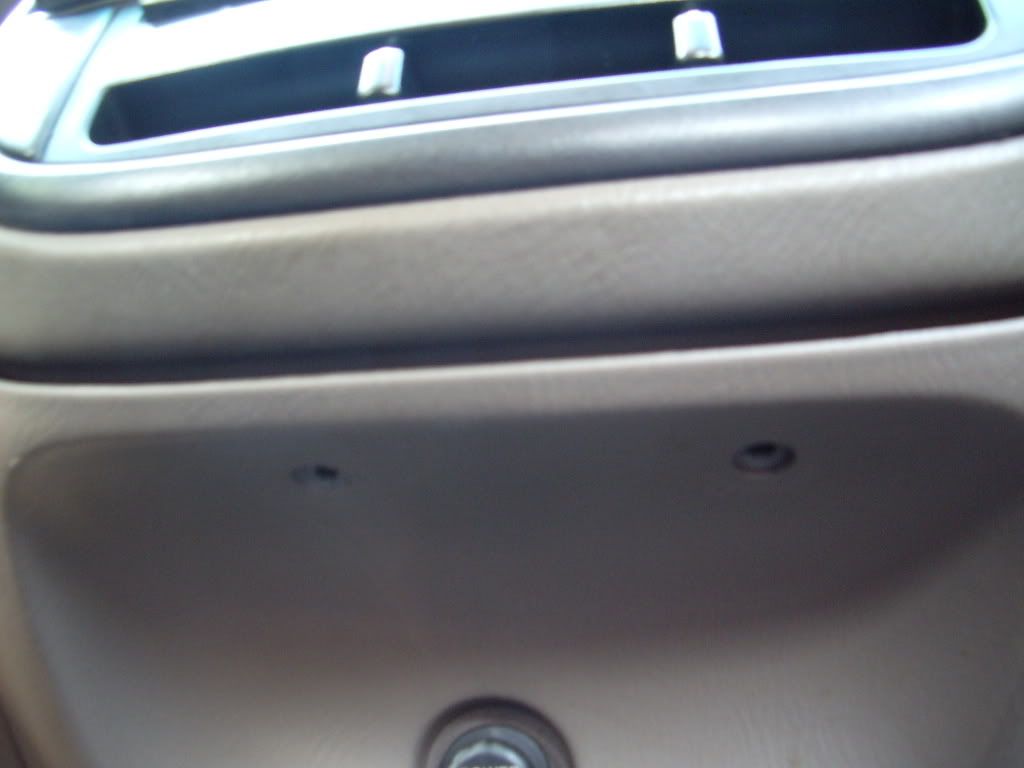
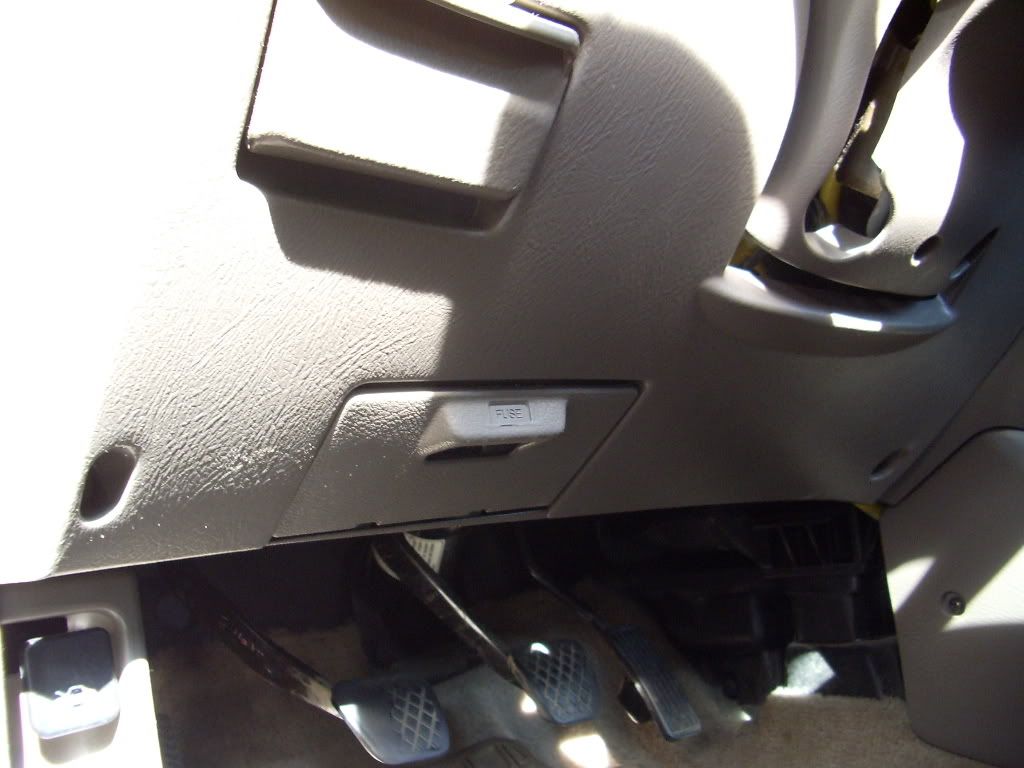
4) Remove this screw in the glove box
5) Push the glove box in to bypass the rubber stopper
6) Remove the black screw at the bottom
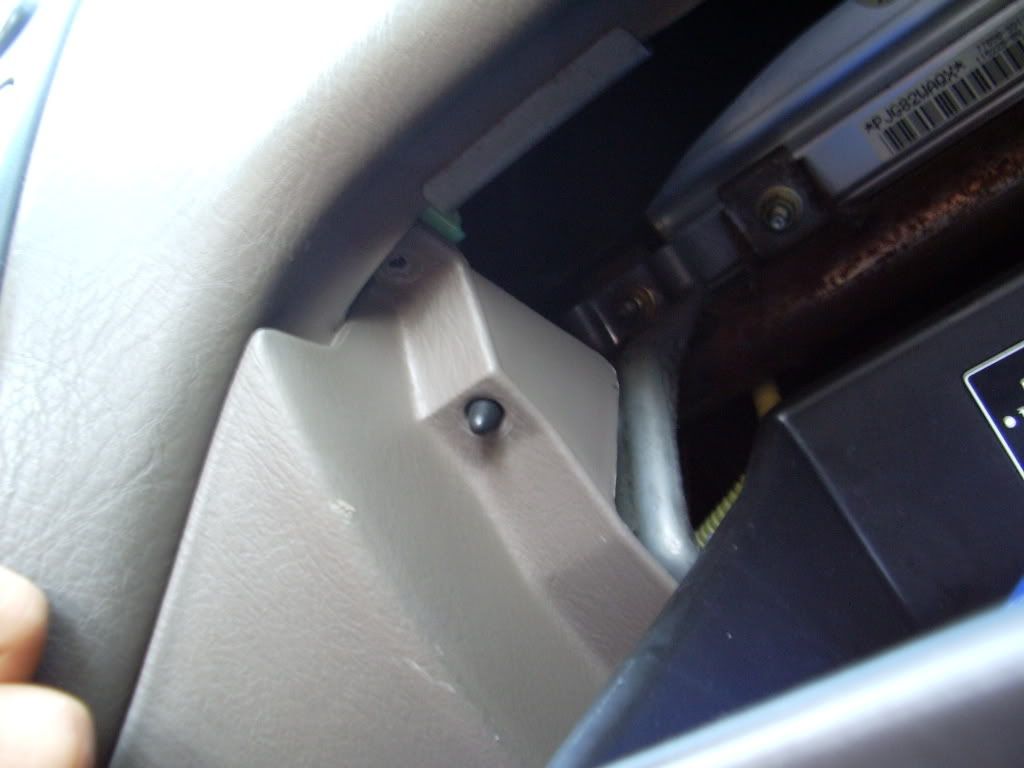
7) Move to the other side of the dash and remove the panel under the steering wheel. There are three golden philips screws you need to remove
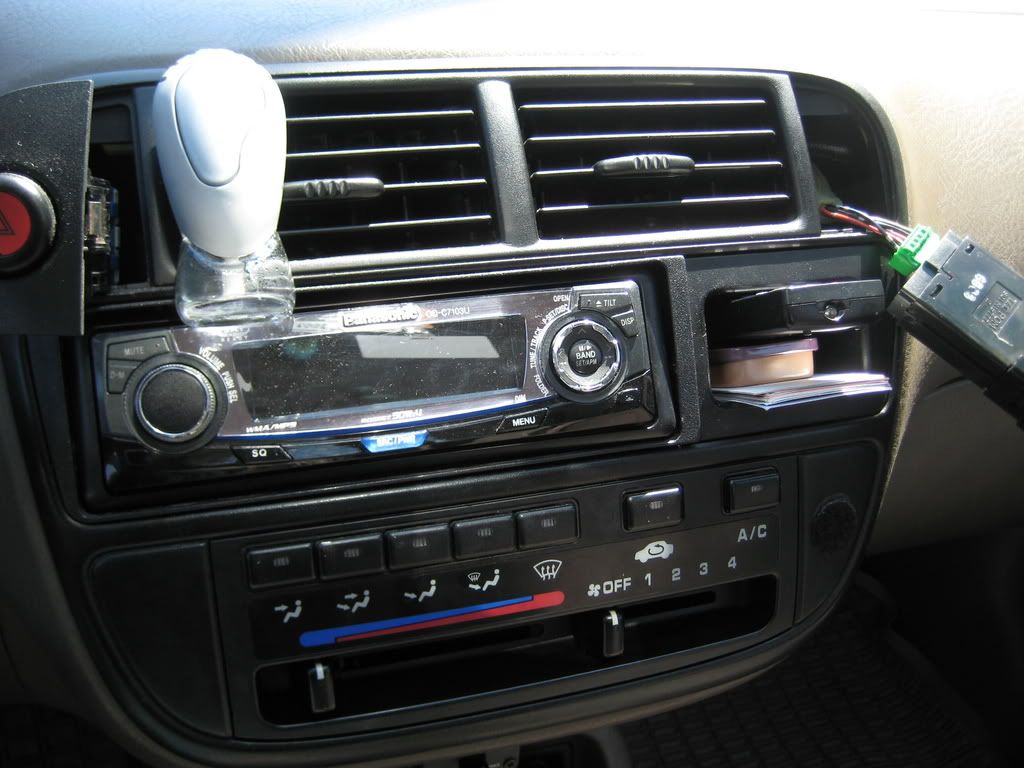
8) There are two additional screws on each side of the centre panel. remove them and the panel should become loose. Also unplug the cigarette lighter.
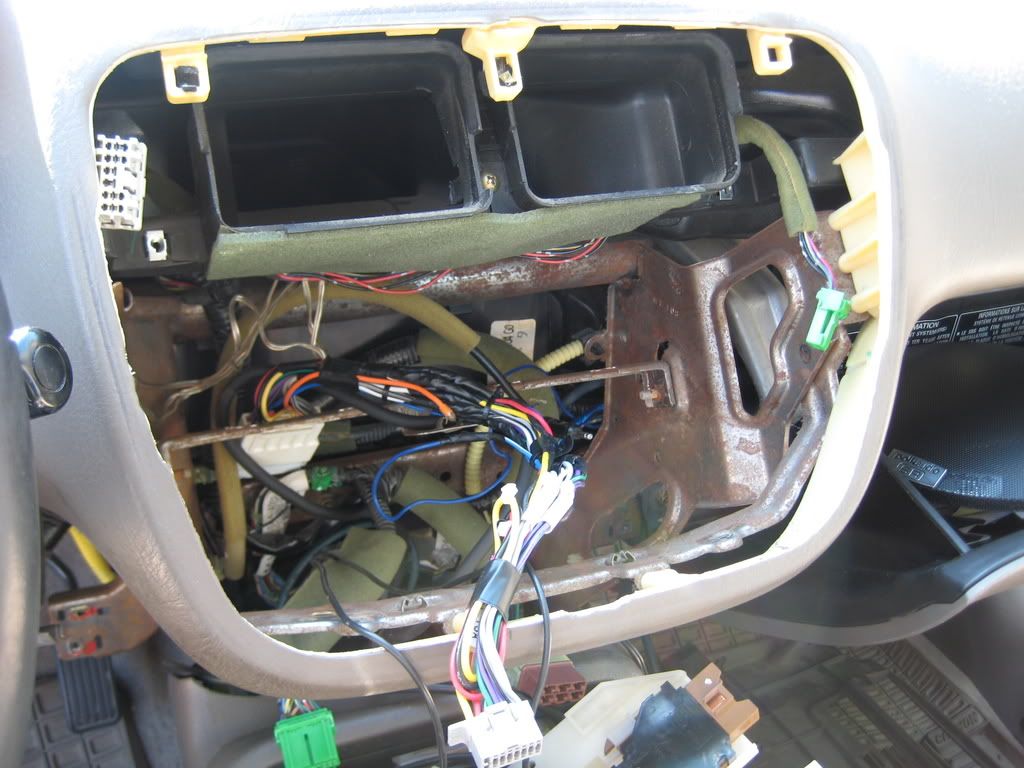
9) Remove all of the plugs for your radio/head unit and remove it completely.
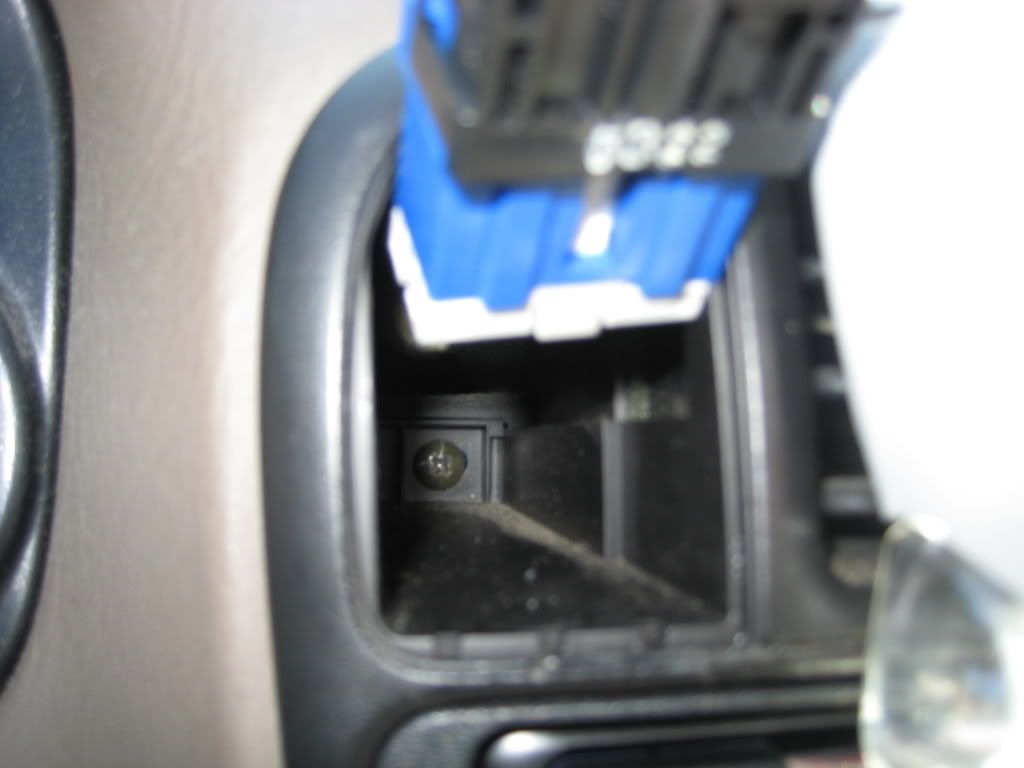
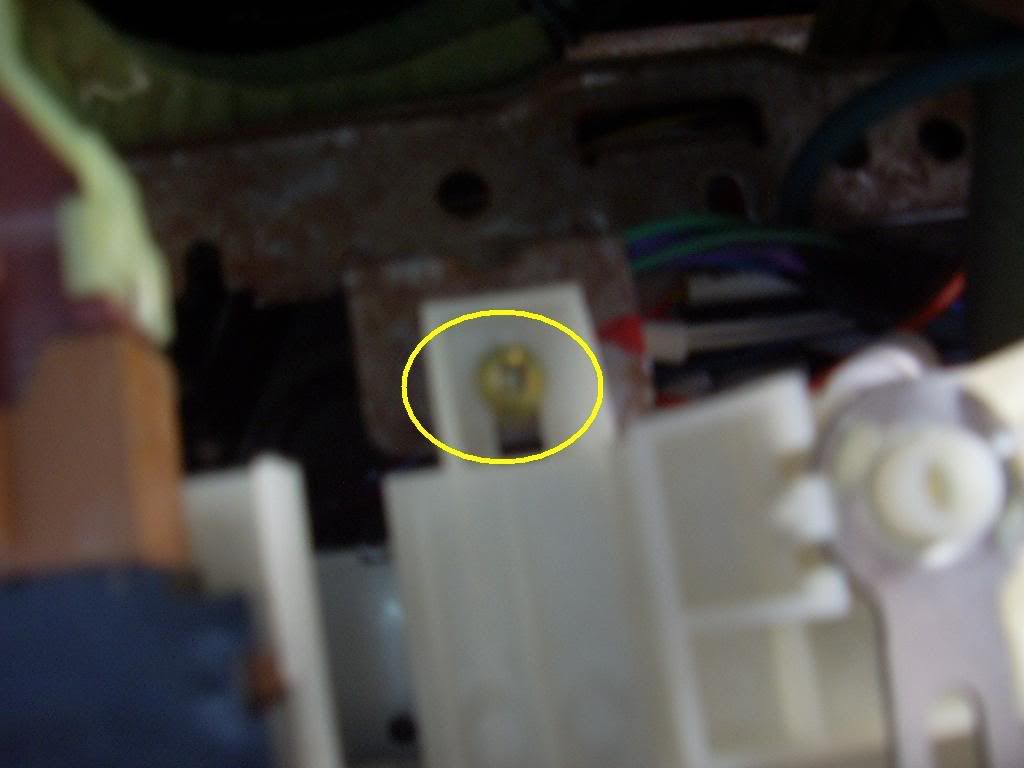
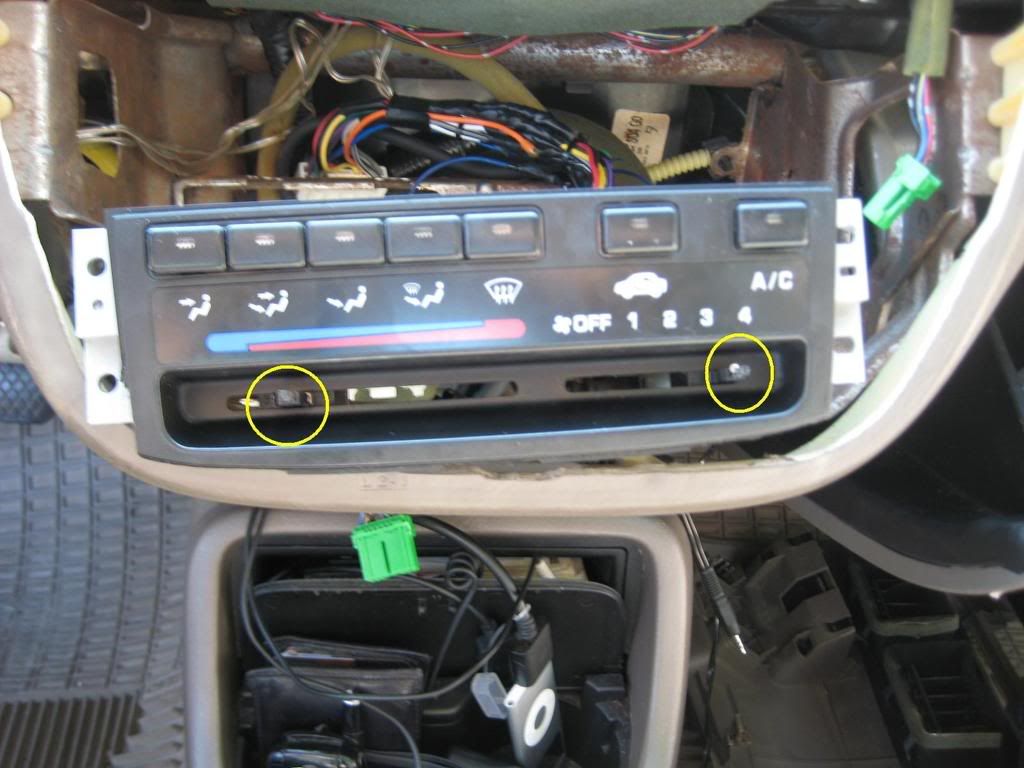
10) There are 3 screws under the climate control panel you need to remove. here is one of them. The other two are closer to the front, they're tough to see.
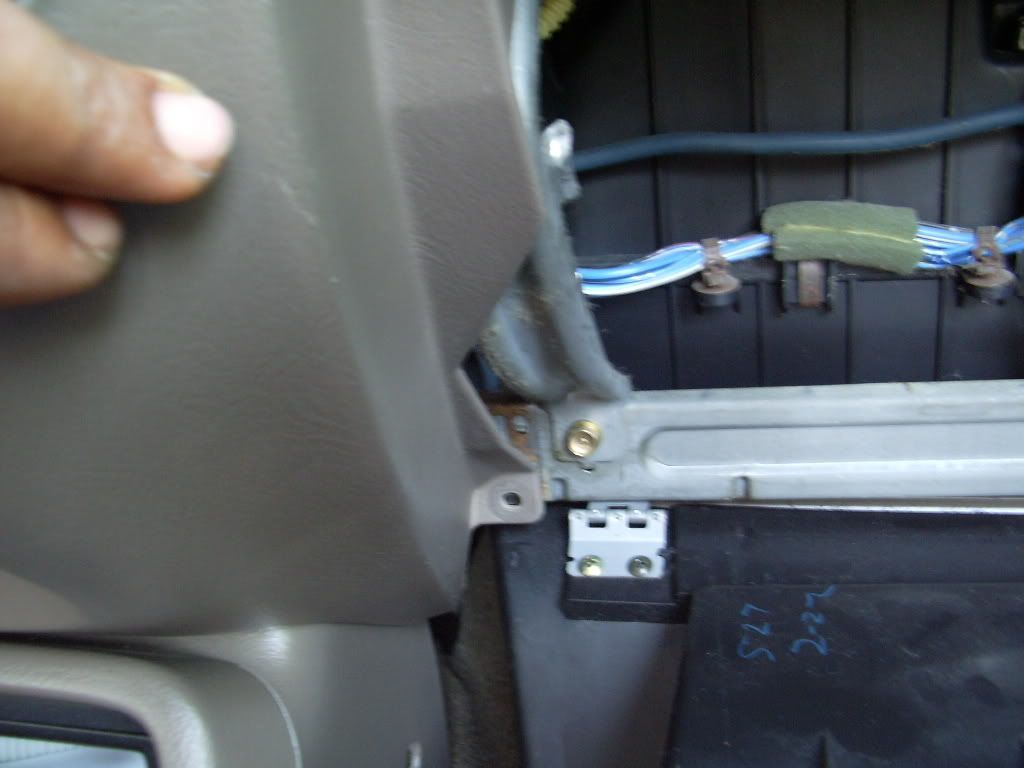
11) This part is a little tricky. There are 4 screws (2 on each side) behind the climate control panel. Remove all 4.
12) Remove the centre console. there are a few clips so you'll have to CAREFULLY pry it out
13.1) These are the 4 screws i was referring to in step 11.
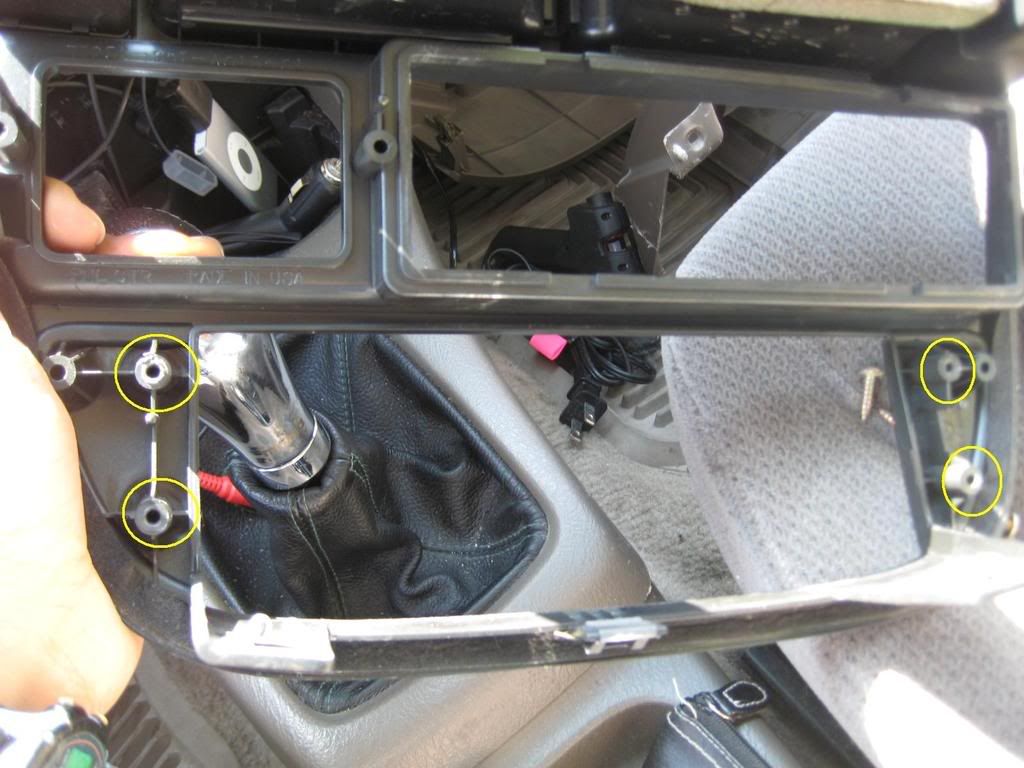
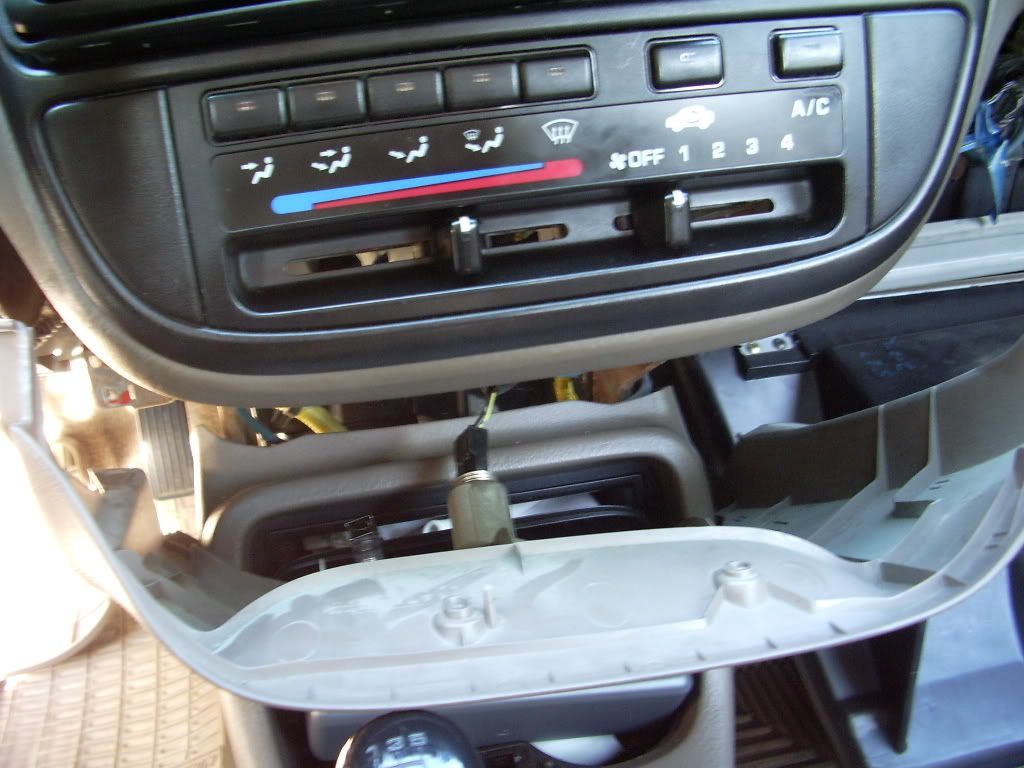
13.2) Remove both knobs for the climate control
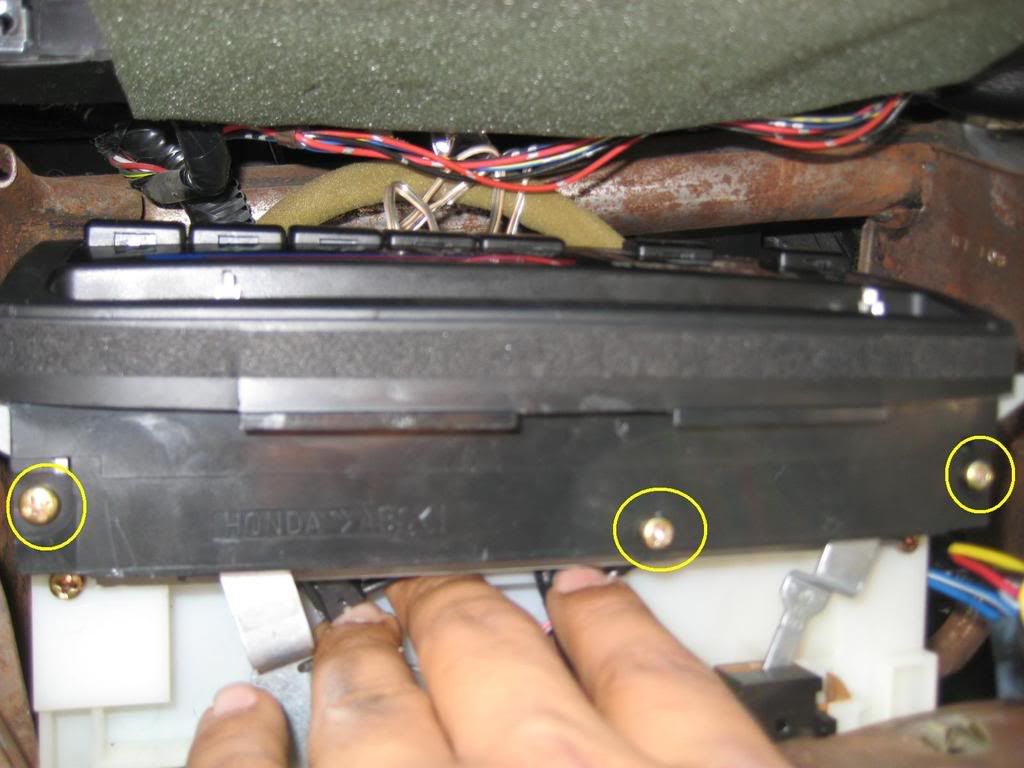
14) Turn the climate control upside down and remove these three golden philips screws
15) Carefully pop off the black plastic cover plate
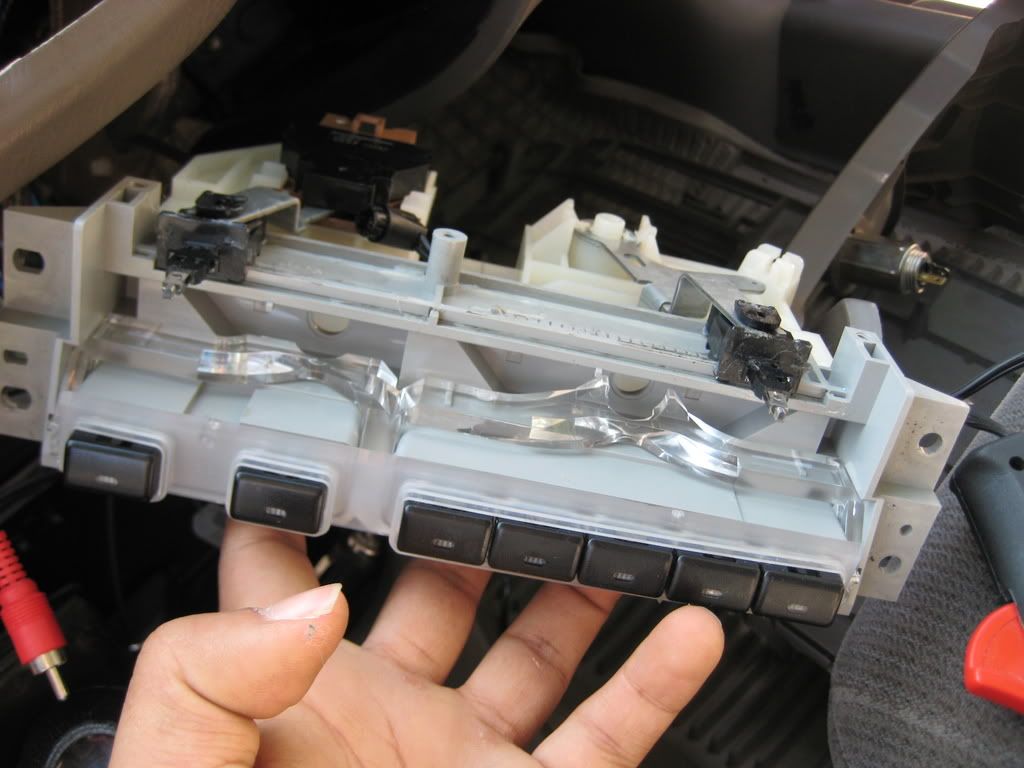
16) Pull out the stock bulbs

17) Cut off one of the bulbs (as close to the bulb as you can get)
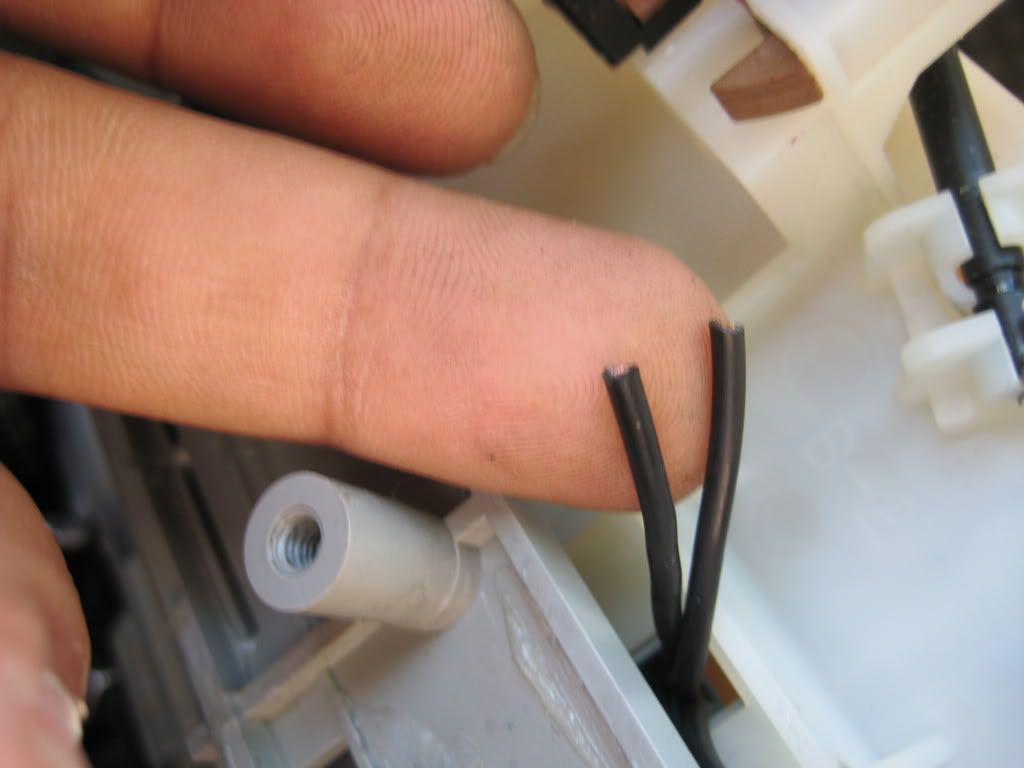
18) Strip the wire. You need to be very careful and get it right the first time since the wire is extremely short
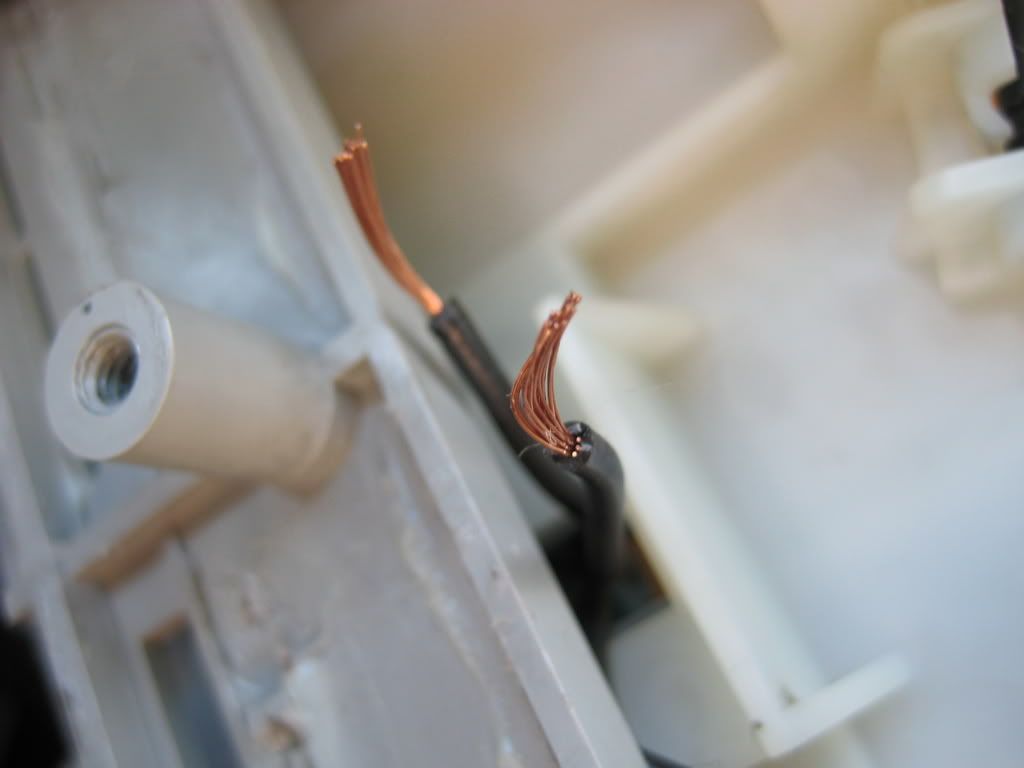
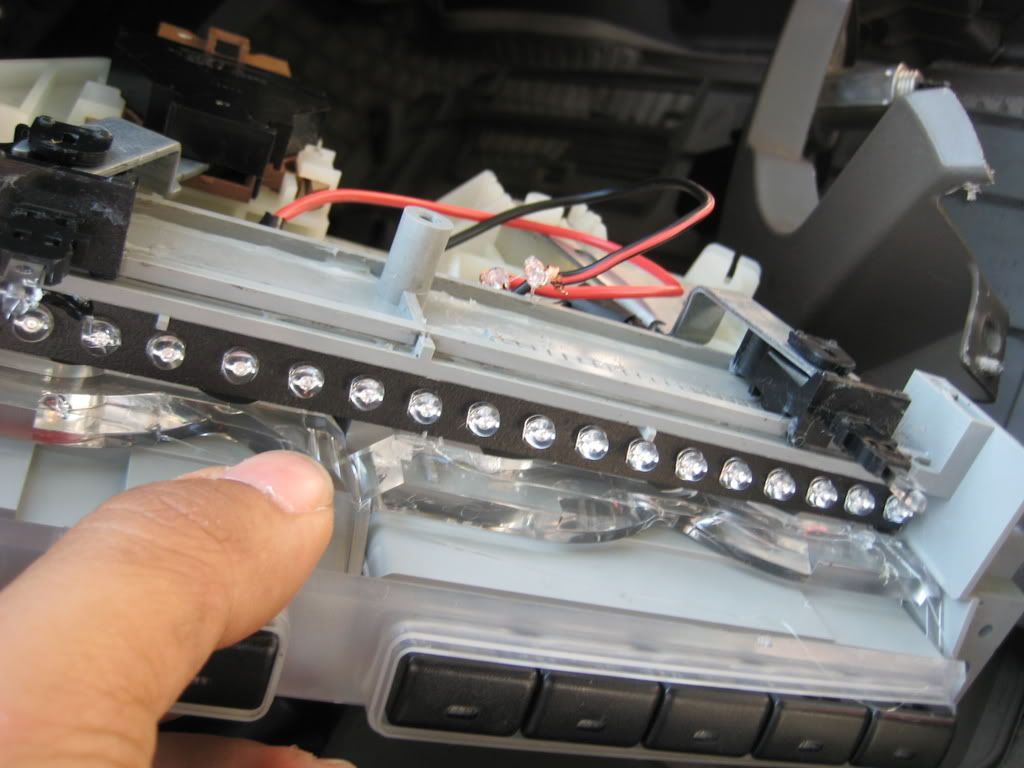
19) Take out your LED strip and cut one end off so it fits
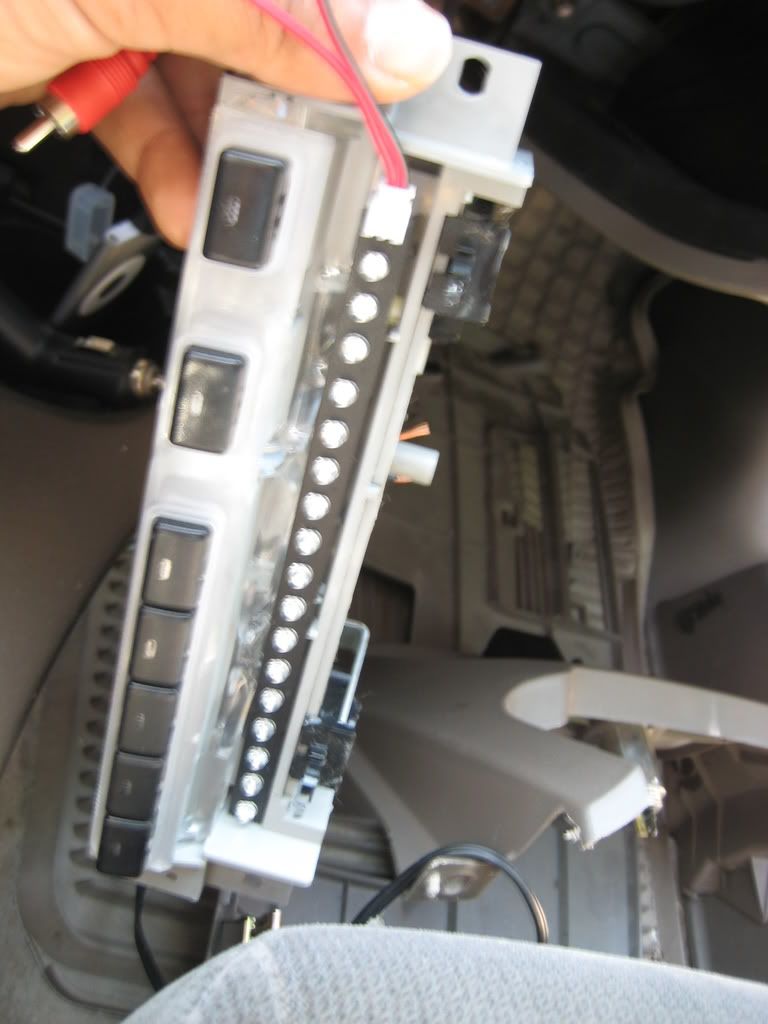
20) Use some electrical wire to connect the led strip to the wires you stripped in step 18 (you'll have to use tiral and error to figure out which one is positive and negative)
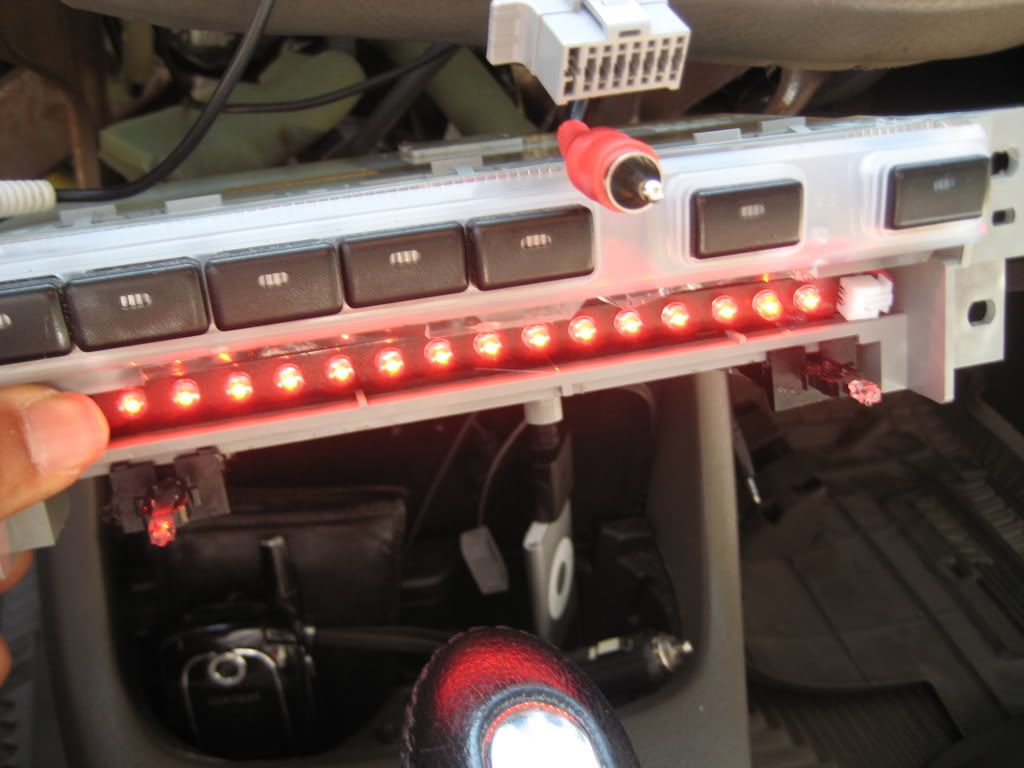
21) Test your led strip to make sure it works before you put everything back together. Make sure its plugged in! I forgot to plug it in (I don't know why i even unplugged it in the first place), and when i turned on my headlights and it wasn't working I was all like "WTF".
22) Put everything back follow the instructions backwards
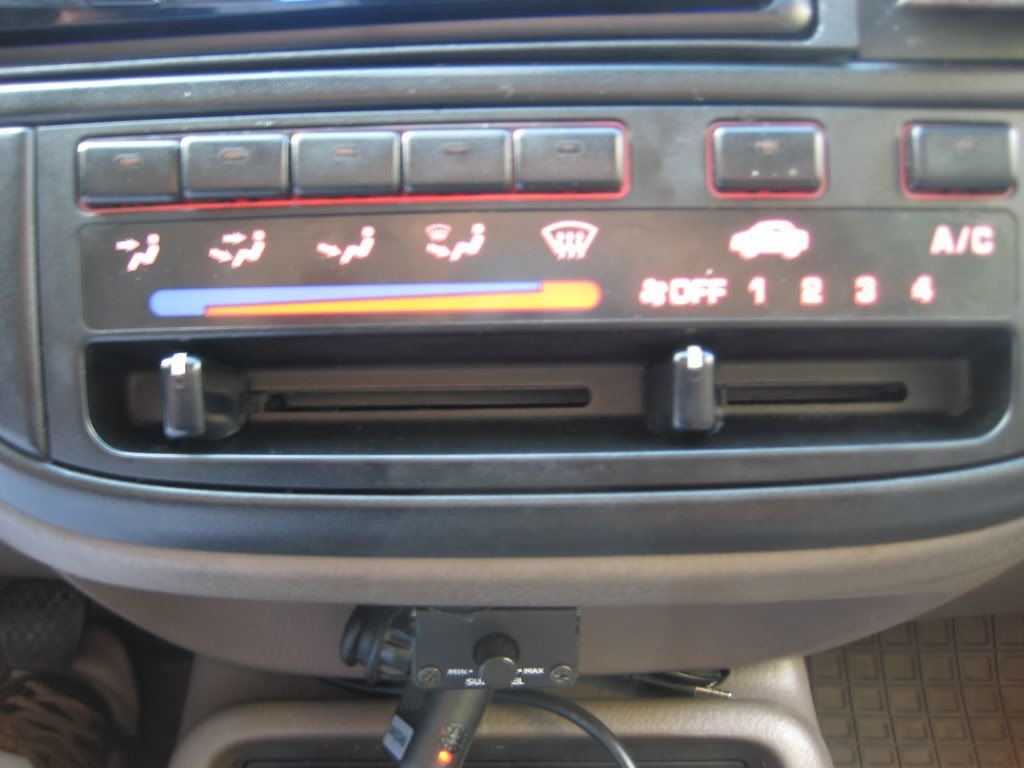
23) DONE!
I wanted to do these two mods for a while and since I recently finished my exams I've finally had the time. I couldn't find any DIY's so I decided to quickly make one.
What you'll need:
- flat head screw driver
- philips screw driver
- electrical wire
- led strips (I bought mine here: http://www.lck-led.com/p102/New-12%2...duct_info.html)
- about an hour of your time
- some patience
Climate Controls
I did this mod because the stock light doesn't match well with my Si cluster which lights up red. I couldn't live with this =)
1) Pop out the hazard signal and the rear defrost switches. Use a flat head screwdriver to pry them out and be careful not to wreck your dash.
2) When they are out, remove unplug the harness. You can see that there is a golden philps screw behind each switch. Take them out.
3) Remove the two golden screws under your centre panel.
4) Remove this screw in the glove box
5) Push the glove box in to bypass the rubber stopper
6) Remove the black screw at the bottom
7) Move to the other side of the dash and remove the panel under the steering wheel. There are three golden philips screws you need to remove
8) There are two additional screws on each side of the centre panel. remove them and the panel should become loose. Also unplug the cigarette lighter.
9) Remove all of the plugs for your radio/head unit and remove it completely.
10) There are 3 screws under the climate control panel you need to remove. here is one of them. The other two are closer to the front, they're tough to see.
11) This part is a little tricky. There are 4 screws (2 on each side) behind the climate control panel. Remove all 4.
12) Remove the centre console. there are a few clips so you'll have to CAREFULLY pry it out
13.1) These are the 4 screws i was referring to in step 11.
13.2) Remove both knobs for the climate control
14) Turn the climate control upside down and remove these three golden philips screws
15) Carefully pop off the black plastic cover plate
16) Pull out the stock bulbs
17) Cut off one of the bulbs (as close to the bulb as you can get)
18) Strip the wire. You need to be very careful and get it right the first time since the wire is extremely short
19) Take out your LED strip and cut one end off so it fits
20) Use some electrical wire to connect the led strip to the wires you stripped in step 18 (you'll have to use tiral and error to figure out which one is positive and negative)
21) Test your led strip to make sure it works before you put everything back together. Make sure its plugged in! I forgot to plug it in (I don't know why i even unplugged it in the first place), and when i turned on my headlights and it wasn't working I was all like "WTF".
22) Put everything back follow the instructions backwards
23) DONE!

 11-30-2008, 03:45 PM
#5
Junior Member

Join Date: Jul 2007
Posts: 4
Likes: 0
Received 0 Likes
on
0 Posts
03-18-2009, 02:38 PM
#7
Junior Member

Join Date: Dec 2008
Location: Tampa FL
Posts: 19
Likes: 0
Received 0 Likes
on
0 Posts
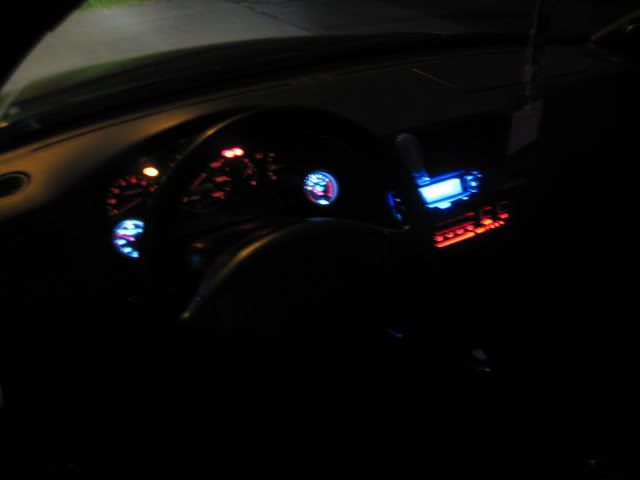
Really sweet job on your Civic, I might have to add that one to the toy list!  Got a question maybe have already had experience with, since it appears you have also swapped your gauge cluster bulbs too.
I'm updating all of the bulbs in my car, decided to make the switch over to LEDs in everything. I've can't remember how many bulbs are in the gauge cluster behind the tach, speedo, temp & fuel gauges? Had the thing apart a few years ago to dust out behind the bezel lens, but never really paid attention to counting them! They're #74's that twist-lock into the circuit board with sockets.
My car is a '95 Civic LX w/automatic, non-ABS, non-VTEC, 1.5L D15B7 motor. I'm going to use blue LED illumination behind the gauge cluster. I found what I think are some really nice LEDs (not the wanna-be LEDs behind a plastic bubble magnifier lens! - gimme a break!) hreally:
http://www.v-leds.com High Power Automotive LED Replacement Bulbs, V-HID Headlight Kits
I decided on these to use for the blue gauge illumination:
http://www.v-leds.com/Interior-LED/G...98444-1-2.html
They look like they're quality. Not cheep, but you usually get what u pay for.
Got a question maybe have already had experience with, since it appears you have also swapped your gauge cluster bulbs too.I'm updating all of the bulbs in my car, decided to make the switch over to LEDs in everything. I've can't remember how many bulbs are in the gauge cluster behind the tach, speedo, temp & fuel gauges? Had the thing apart a few years ago to dust out behind the bezel lens, but never really paid attention to counting them! They're #74's that twist-lock into the circuit board with sockets.
My car is a '95 Civic LX w/automatic, non-ABS, non-VTEC, 1.5L D15B7 motor. I'm going to use blue LED illumination behind the gauge cluster. I found what I think are some really nice LEDs (not the wanna-be LEDs behind a plastic bubble magnifier lens! - gimme a break!)
hreally:http://www.v-leds.com High Power Automotive LED Replacement Bulbs, V-HID Headlight Kits
I decided on these to use for the blue gauge illumination:
http://www.v-leds.com/Interior-LED/G...98444-1-2.html
They look like they're quality. Not cheep, but you usually get what u pay for.
Last edited by garykf16; 03-18-2009 at 02:40 PM.

